9
CLEANING/DISINFECTING AND FILTER REPLACEMENT INSTRUCTIONS
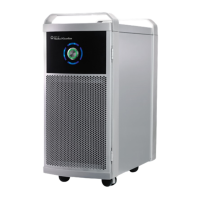
The ActivePure® Medical Guardian, model F170A is a device intended for medical purposes that is used for the reduction of staphylococcus
epidermidis and erwinia herbicola bacteria, MS2 and Phi-X174 viruses and aspergillum niger fungal spores and bacillus globigii bacterial spores from
the air in a temperature-controlled professional healthcare environment of 70~71°F, 40~45%RH.
The following instructions cover device cleaning, disinfecting and replacement of the lter. Thoroughly read all of the instructions before starting. It
is recommended to clean and disinfect the device each time the lter is replaced or when device becomes visibly soiled.
FILTER REPLACEMENT
Metrex CaviWipes are required to clean the device when replacing the lter, but they are not provided with the unit or lter.
Step 1: Always disconnect (unplug) device from electrical power source before cleaning, disinfecting or replacing the lter.
Step 2: If necessary, relocate the device to an appropriate area to perform the cleaning, disinfecting and lter replacement. It is not recommended
to perform these tasks in areas such as patient room, operating room, examination room, etc., where patient exposure may occur.
Step 3: Open the replacement lter carton which includes the following items inside.
• 1 replacement lter in a sealed wrapper
• 1 disposable surgical mask
• 1 pair disposable latex free gloves, large
• 1 disposable 8-quadrant wiping cloth
• 1 large plastic bag
• 1 red bio hazard sticker
• 1 plastic bag seal
• 1 printed copy of instruction for use, cleaning, disinfecting, lter replacement sheet
Step 4: Before removing and handling the used lter, put on the disposable mask and gloves.
Step 5: Slide (remove) the used lter from the device, placing it inside the large plastic bag provided for disposal,
then set it aside.
Step 6: Use Metrex CaviWipes to clean the device. These are NOT provided with the device or replacement lter.
NOTE: Metrex CaviWipes are required to clean the device when replacing the lter, but they are not provided with the
unit or lter.
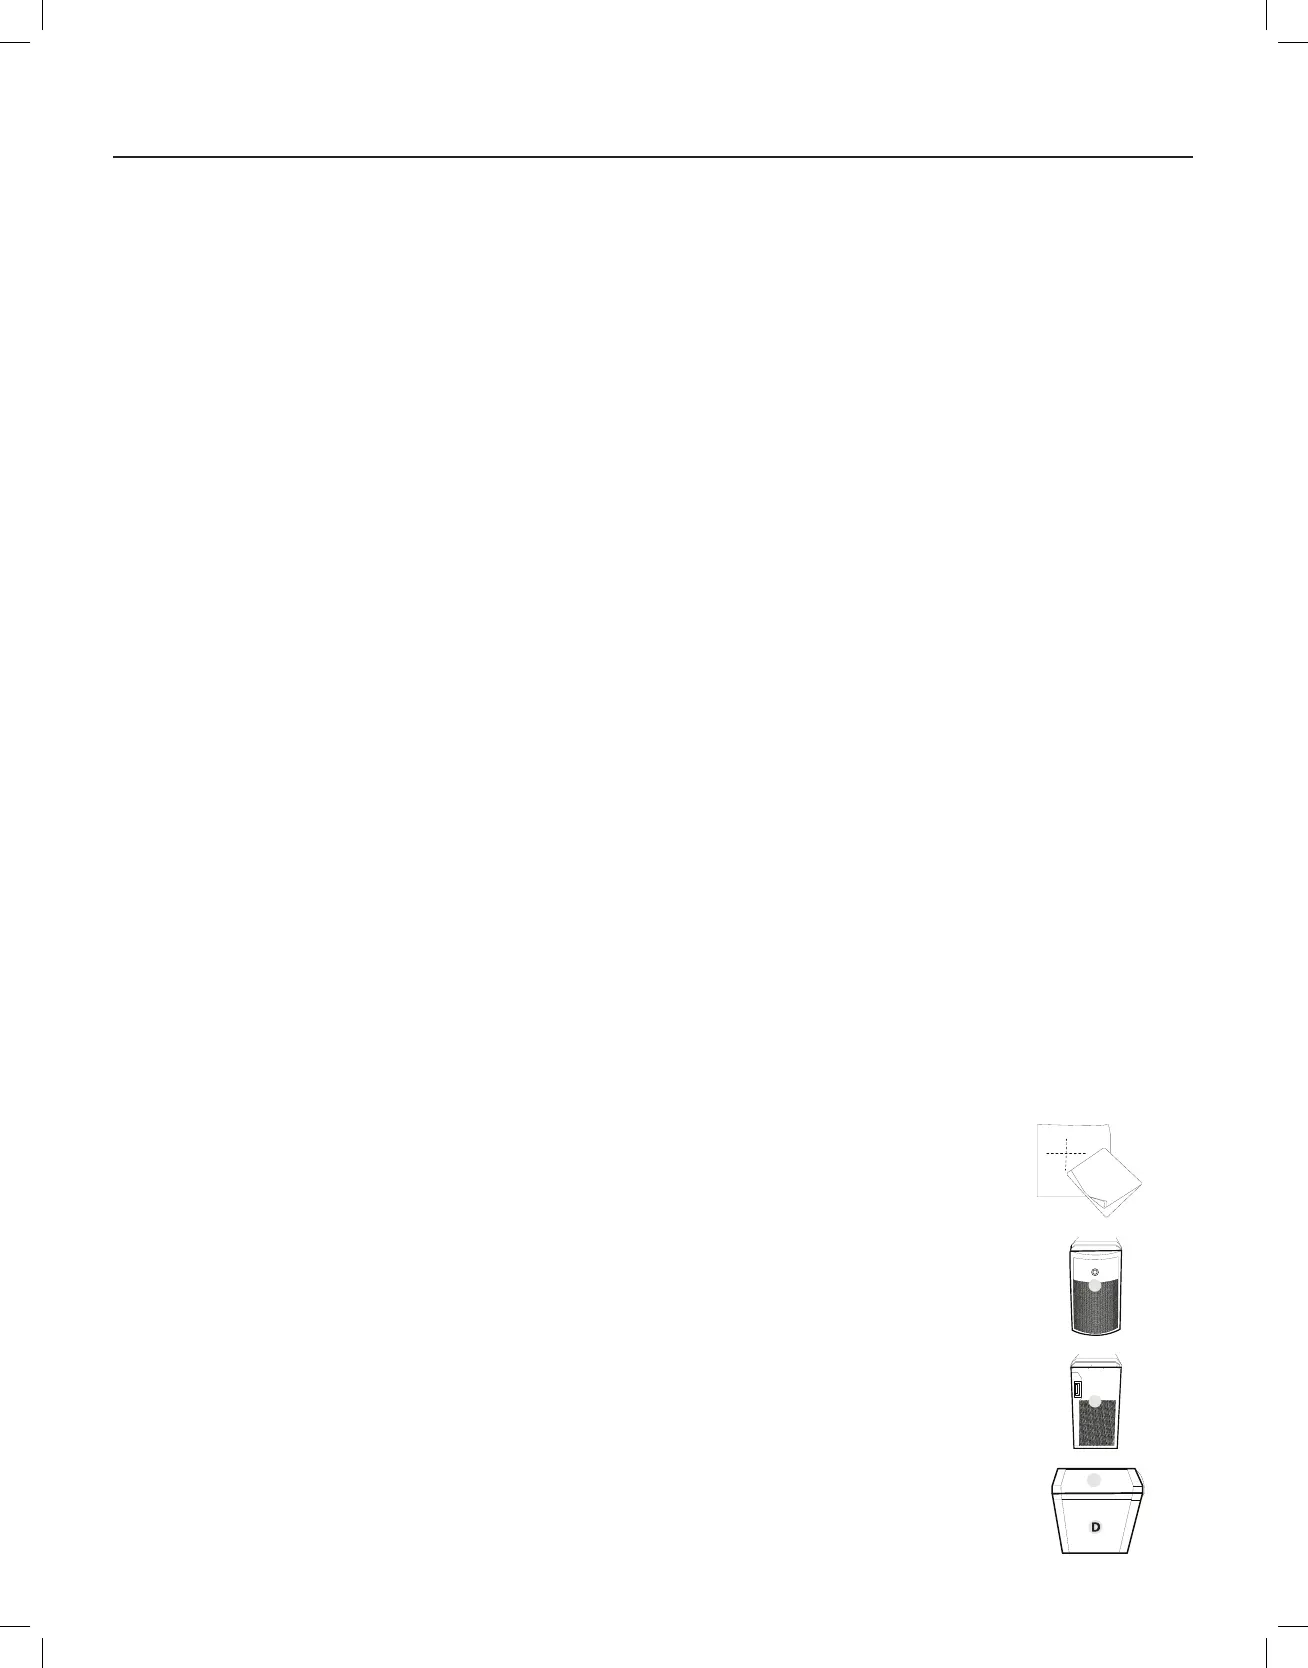
Step 7: Remove a Metrex CaviWipe from its package. Beginning by cleaning the surface “A”. Wipe the CaviWipe over the surface area,
thoroughly wetting the soil. Then using hand pressure rub the wipe over the surface until soil is no longer visible on this part of
the device. If soil is heavy or is still visible, repeat step with a new CaviWipe until soil is no longer visible.
Step 8: Remove a Metrex CaviWipe from its package. Beginning by cleaning the surface “B”. Wipe the CaviWipe over the surface area,
thoroughly wetting the soil. Then using hand pressure rub the wipe over the surface until soil is no longer visible on this part of
the device. If soil is heavy or is still visible, repeat step with a new CaviWipe until soil is no longer visible.
Step 9: Remove a Metrex CaviWipe from its package. Beginning by cleaning the surface “C”. Wipe the CaviWipe over the surface area,
thoroughly wetting the soil. Then using hand pressure rub the wipe over the surface until soil is no longer visible on this part of
the device. If soil is heavy or is still visible, repeat step with a new CaviWipe until soil is no longer visible.
1
2
3
4
5
A
B
C