06
LC7-2 Control Interface Insert
Document: 9590-3024 Ver. 2 200702
Installation Guide
LC7-2 Control Interface
. Enabling Zones and Assigning Sensors
NOTE
On initial power-up, an automatic zone detection takes place. If zones do not appear on the control upon commissioning,
cycling power will enable another automatic zone detection.
1. Press and hold the REPEAT and TIMER buttons for 3 seconds then release to enter Service Menu. Press the
button to scroll through to Service Menu 14.
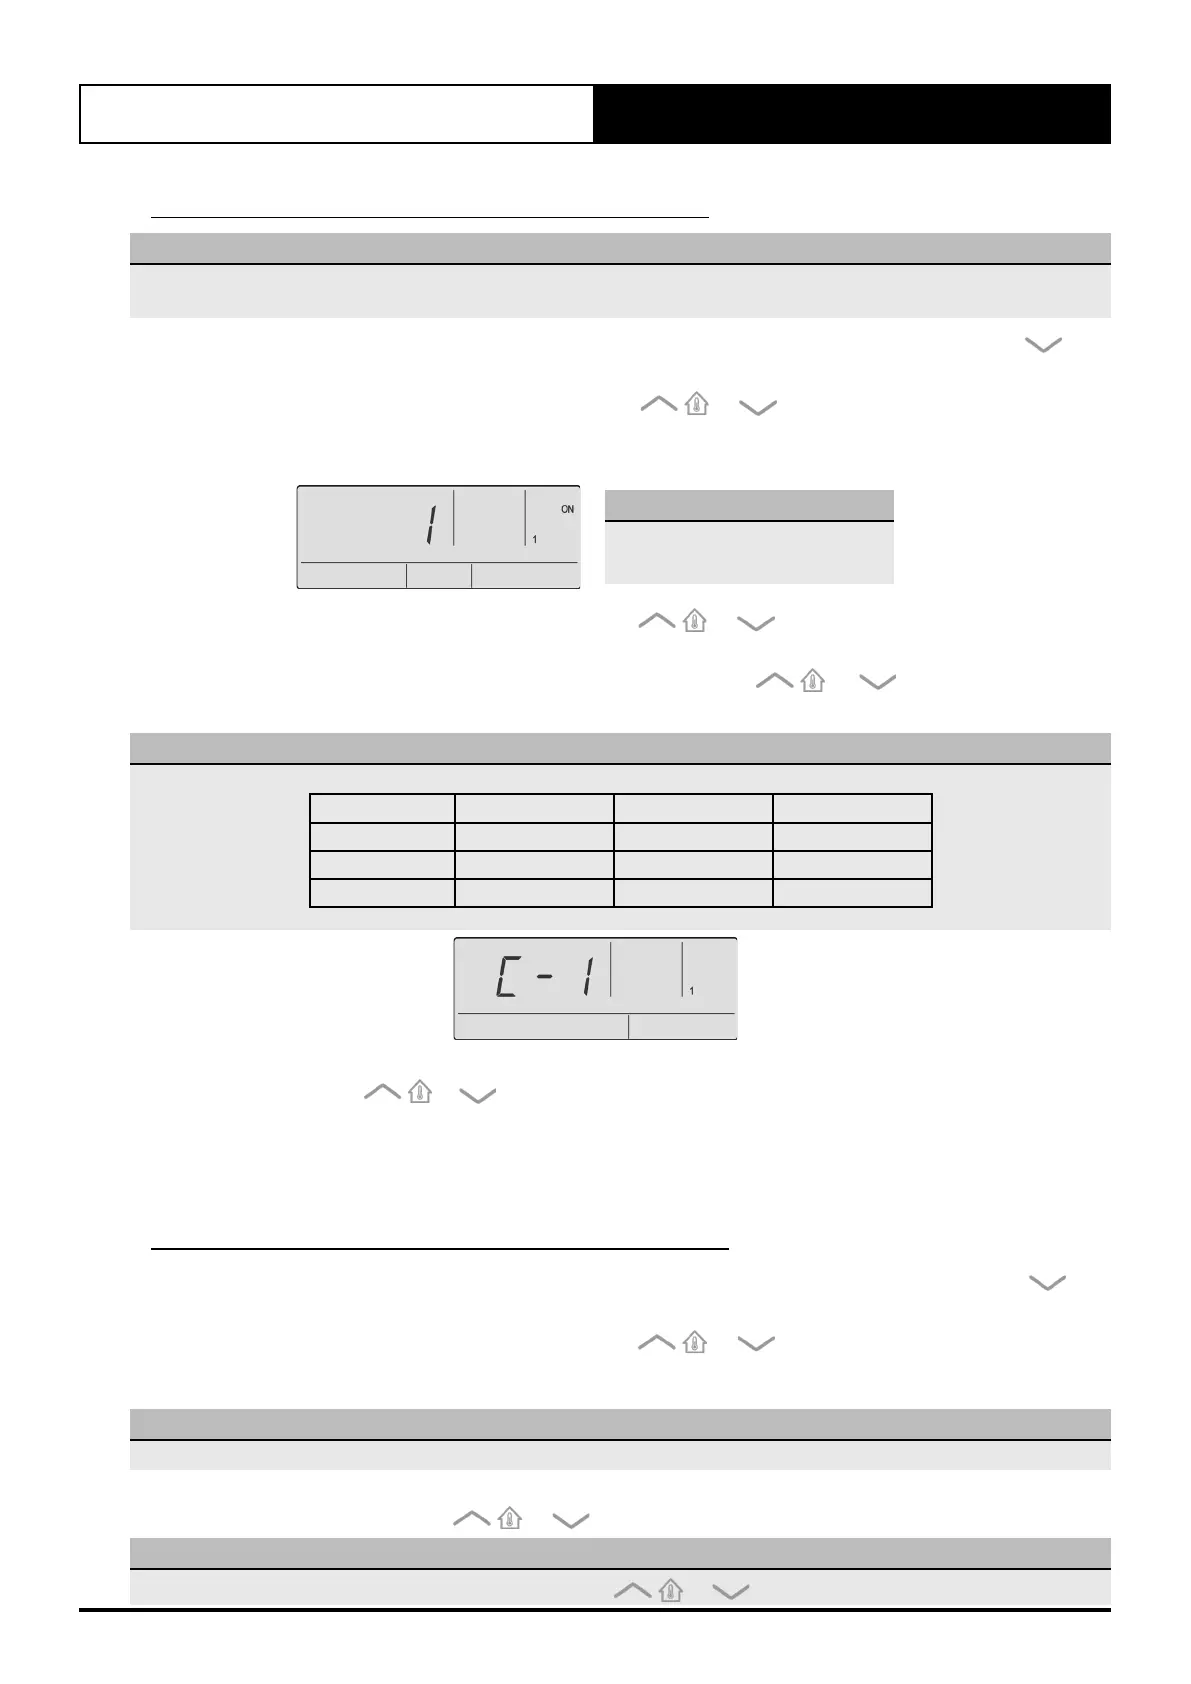
2. Press the PROG button to enter Service Menu 14. Press the or buttons to change the zone you wish to
enable or the required zone button on zone pad. Display will show zone number, enabled ON or OFF and number of
assigned sensors to that zone. Selected zone will also be indicated by the zone’s LED on the zone pad.
NOTE
ZONE 1 settings appear by default.
Zone 1 is ON by default.
3. Press the PROG button to enter ZONE 1 settings. Press the or buttons to toggle between ON and OFF.
For this example, switch on ZONE 1.
4. Press the PROG button to assign a sensor to the selected zone. Press the or buttons to cycle through
available sensors. For this example, select zone control sensor C - 1.
NOTE
The sensors are determined by what appears on the display screen.
Control Name Description Sensor Name Description
C-1 Wall Control 1 RS1 Remote Sensor 1
C-2 Wall Control 2 RS2 Remote Sensor 2
C-3 Wall Control 3 RS3* Remote Sensor 3
*No RS3 on CMI
5. Press the PROG button to select a second sensor. By default, the value is ---,indicating that there is no assigned
second sensor. Press the or buttons to cycle through available sensors. If a second sensor is selected,
the zone temperature will be averaged between the two sensors.
6. Press the PROG button to return to zone selection screen. Repeat steps 3-5 to configure zones. Press the EXIT
button to return to Main Screen.
. Minimum and Maximum Zone Positions
1. Press and hold the REPEAT and TIMER buttons for 3 seconds then release to enter Service Menu. Press the
button to scroll through to Service Menu 15.
2. Press the PROG button to enter Service Menu 15. Press the or buttons to change zones or press the
required zone button on zone pad. Display will show zone number, enabled ON or OFF and number of assigned
sensors to that zone. Selected zone will also be indicated by the zone’s LED on the zone pad.
NOTE
ZONE 1 settings appear by default. Detected Zones are ON by default.
3. Press the PROG button to enter the selected zone’s settings. Display will show the zone OPEN percentage and HIGH.
By default this will be 100. Press the or buttons to change value.
NOTE
OPEN and HIGH range is 5-100%, with 5% increments per the or buttons press.

 Loading...