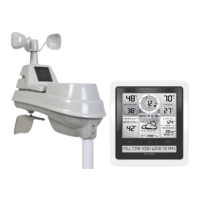
10
Download the PC Connect for Windows Software
The PC Connect for Windows software is available online as a free download.
An instruction manual for PC Connect for Windows is included (PDF le)
when you download the software. Read the manual to learn how to setup PC
Connect for Windows preferences and features.
1
Download PC Connect for Windows software to your computer by visiting:
http://www.acurite.com/pc-connect-download
Or, you can navigate to the page above using the following path:
www.acurite.com > Support > Manuals & Downloads > Downloads > PC Connect
2
Click the “setupacu-link” le you downloaded and follow the on-screen
instructions to install the PC Connect for Windows software. A folder
named “AcuRite” will be installed on your computer.
3
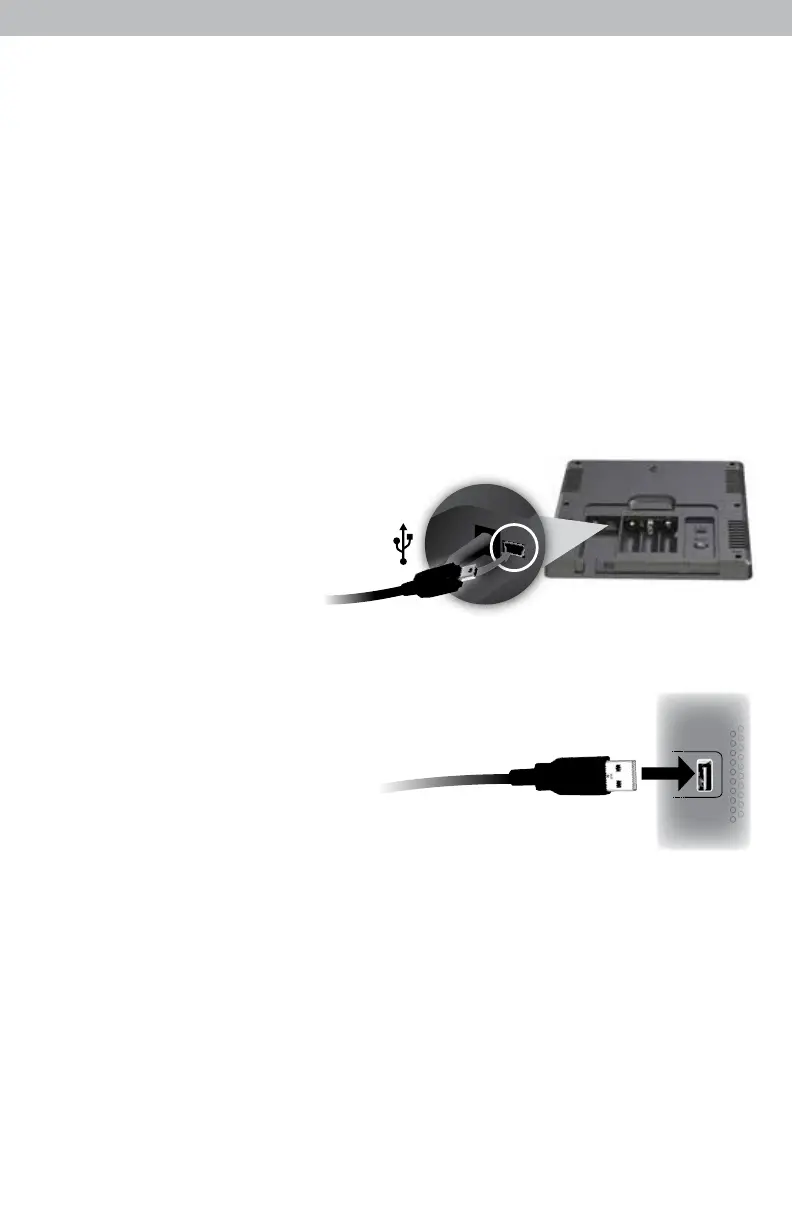
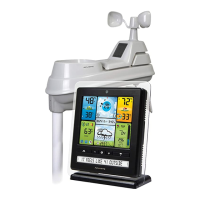
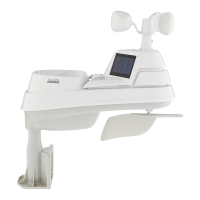
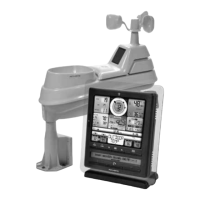
After PC Connect for
Windows is installed on
your computer, open the
PC Connect for Windows
app. Verify that the
display unit is powered
on with the AC power
adapter plugged in, then connect the small end of the USB cable into
the USB port located inside the battery compartment on the back of the
display unit.
4
Connect the larger end of the
USB cable into a USB port on
your computer.
5
USB functions on the display
unit are OFF by default. Verify the display unit is powered on and
receiving data from the outdoor sensor. Next, set the mode on the display
unit. Set to mode 3 for full PC Connect for Windows functionality, or see
page 9 for a description of all available
modes.
6
Select the SAME USB mode in the PC Connect for Windows software that
you chose on your display unit.
PC Connect for Windows is now ready for use. Please note that it may
take up to 1 minute for the PC Connect for Windows software to begin
receiving data from the display unit.