14 American Dryer Corp. 450374 - 1
NOTE: Identify location of each wire for correct
reinstallation.
IMPORTANT: Under no circumstances should the door
switch be disabled.
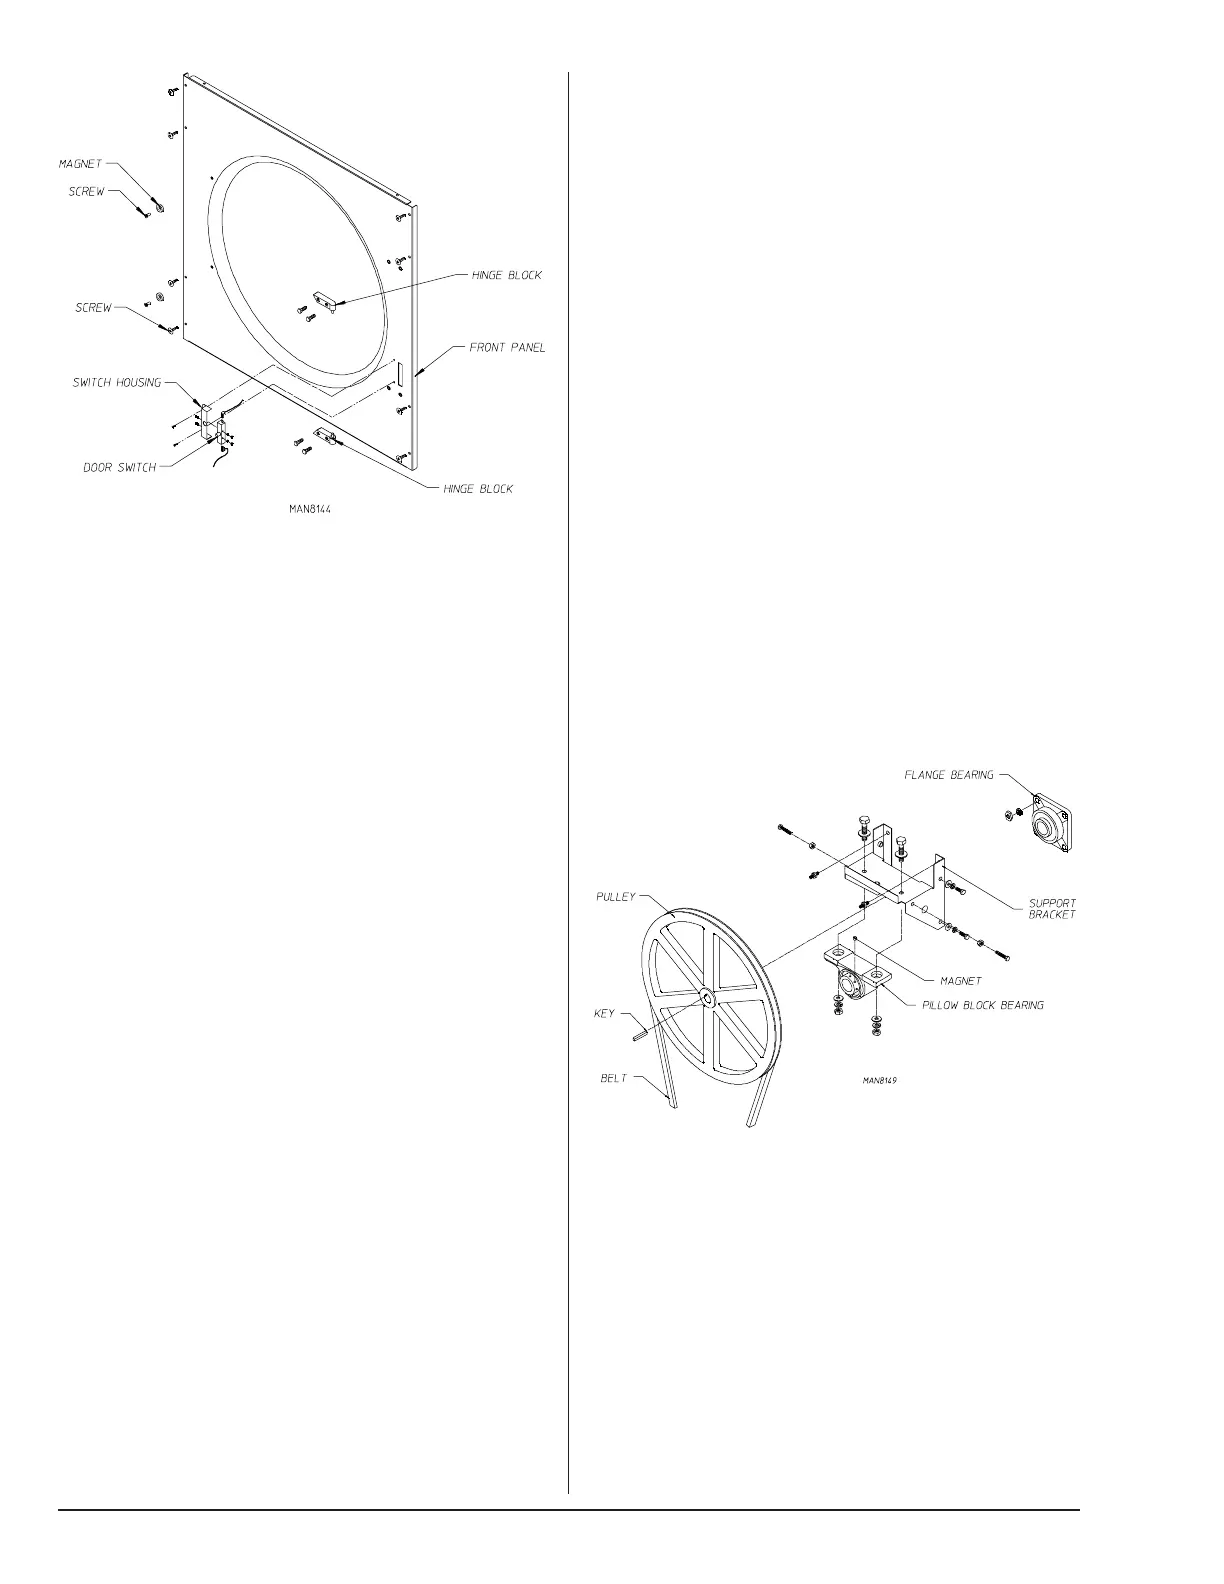
To Replace Main Door Assembly
1. Remove screws holding main door upper hinge block.
2. Lift and remove door off of lower hinge block.
3. Reverse this procedure for reinstalling the new main door
assembly.
To Install New Main Door Glass
1. Remove main door assembly from dryer (follow main door
removal procedure).
2. Lay main door on a flat surface with front of door face
down.
3. Remove glass and clean all old sealant off main door.
This area must be completely cleaned for correct bonding.
4. Apply a narrow bead of silicone (P/N 170730) all around
main door area where glass will rest.
5. Install glass on to door/adhesive and slightly pressed
glass in place.
IMPORTANT: Do not press hard or silicone thickness
between the glass and door will be reduced resulting in
poor bonding.
6. The door assembly should now be put in an area where it
will not be disturbed for at least 24 hours. Depending on
the conditions, the curing time of the adhesive is 24 to 36
hours.
7. After 24 hours curing period, install main door on dryer
by reversing the first step.
To Replace the Rear Tumbler Bearing
1. Disconnect power to the dryer.
2. Remove tumbler pulley (follow tumbler pulley removal
procedure).
3. Remove the four (4) bolts securing the bearing box to the
back of the dryer.
4. Loosen screws securing bearing to shaft.
5. Pull bearing box and bearing off of shaft.
6. Remove bolts securing bearing box and remove tumbler
bearing.
7. Reverse procedure for installing new tumbler bearing.
NOTE: Check alignment of pulley before operating dryer.
To Replace Front Panel
1. Discontinue power to dryer.
2. Follow procedure for removal of main door assembly.
3. Open control door (if replacing top panel).
4. Open lint door (if replacing bottom panel).
5. Remove the screws securing the front panel to the dryer.
6. Disconnect door switch wires from the connector.
7. Gently remove front panel assembly from dryer.
IMPORTANT: When removing front panel assembly be
careful not to damage switch wires disconnect in step 6.
8. Reverse this procedure for installing new front panel.
Tumbler and Bearing Assembly
(Remove back guard to access assembly)
To Replace Tumbler Pulley
1. Disconnect power to dryer.
2. Remove back guard.
3. Loosen V-belts, then rotate pulley and roll V-belts out of
grooves.
4. Loosen two (2) setscrews on the pulley and pull the pulley
off the shaft.
5. Reverse procedure for installing new tumbler pulley.
NOTE: Check belt alignment before operating dryer.