450374 -1 www.adclaundry.com 15
NOTE: Check the tension and alignment of belts before
operating dryer.
To Replace Idler Bearing Assembly
NOTE: Idler shaft is pressed onto the bearing. If this is not
done properly component failure could result. ADC
recommends that the whole idler assembly be replaced
(P/N 882777).
1. Remove idler pulley (follow “To Replace Idler Pulley”).
2. Remove idler arm.
a. Remove two (2) bolts securing idler arm to the idler
backup plate.
b. Remove idler arm assembly.
3. Reverse procedures for installing new idler bearing
assembly.
To Replace the Front Tumbler Bearing
1. Discontinue power to dryer.
2. Remove tumbler pulley and bearing box (follow “To
Replace the Rear Tumbler Bearing” steps 1 through 4).
3. Loosen setscrews on front tumbler bearing.
4. Using a wheel puller gently push the tumbler shaft towards
the front tumbler bearing.
NOTE: An alternative method would be to place a block of
wood on the end of the tumbler shaft and strike it with a
heavy hammer. To prevent damage to the shaft the wheel
puller method is preferred.
5. Remove the four (4) nuts securing the bearing to the dryer
back and remove the bearing.
6. Reverse the procedure for installing new tumbler bearing.
7. Replace back guard.
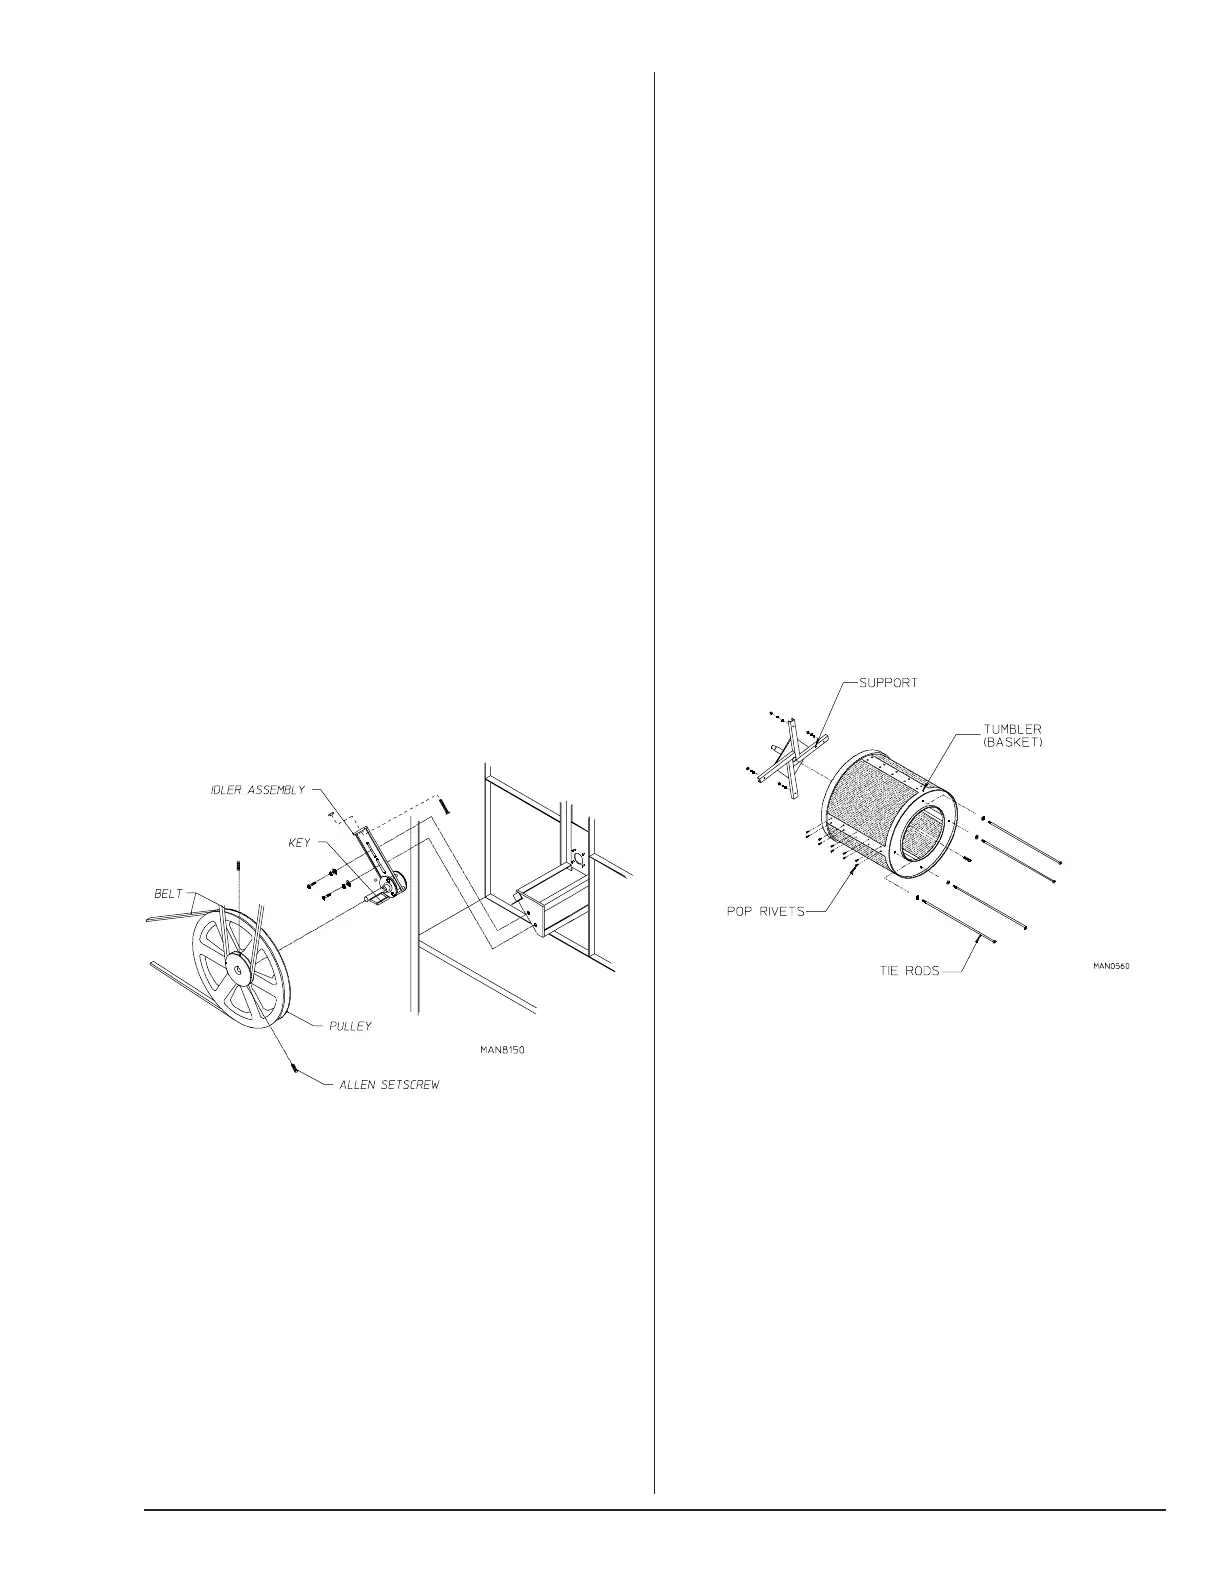
Idler and Bearing Assembly
(Remove back guard to access assembly)
To Replace Idler Pulley
1. Remove back guard.
2. Loosen V-belts, then rotate pulley and roll V-belts out of
grooves.
3. Loosen the two (2) setscrews on the pulley and pull off
the shaft.
4. Reverse procedure for installing new idler pulley.
NOTE: Check tensions and alignment of belts before
operating dryer.
Tumbler
Tumbler Alignment (Vertical)
1. Discontinue power to dryer.
2. Remove back guard.
3. Loosen the four (4) hex head bolts on the sides of the
bearing box (2 on each side).
4. Back off jam nuts on the two (2) Allen head adjustment
screws.
5. Turn the screws clockwise evenly to raise the tumbler or
counterclockwise evenly to lower the tumbler.
6. Rotate the tumbler from the front and check alignment
with the main door opening.
7. Leave a large gap from the inside ring on the top of the
front panel opening to the tumbler, and a smaller gap on
the bottom to compensate for the weight of the clothes
drying.
8. Tighten the four (4) hex head bolts on the sides of the
bearing box, and the two (2) Allen head adjustment screws.
9. Replace back guard.
10. Reconnect power to dryer.
 Loading...
