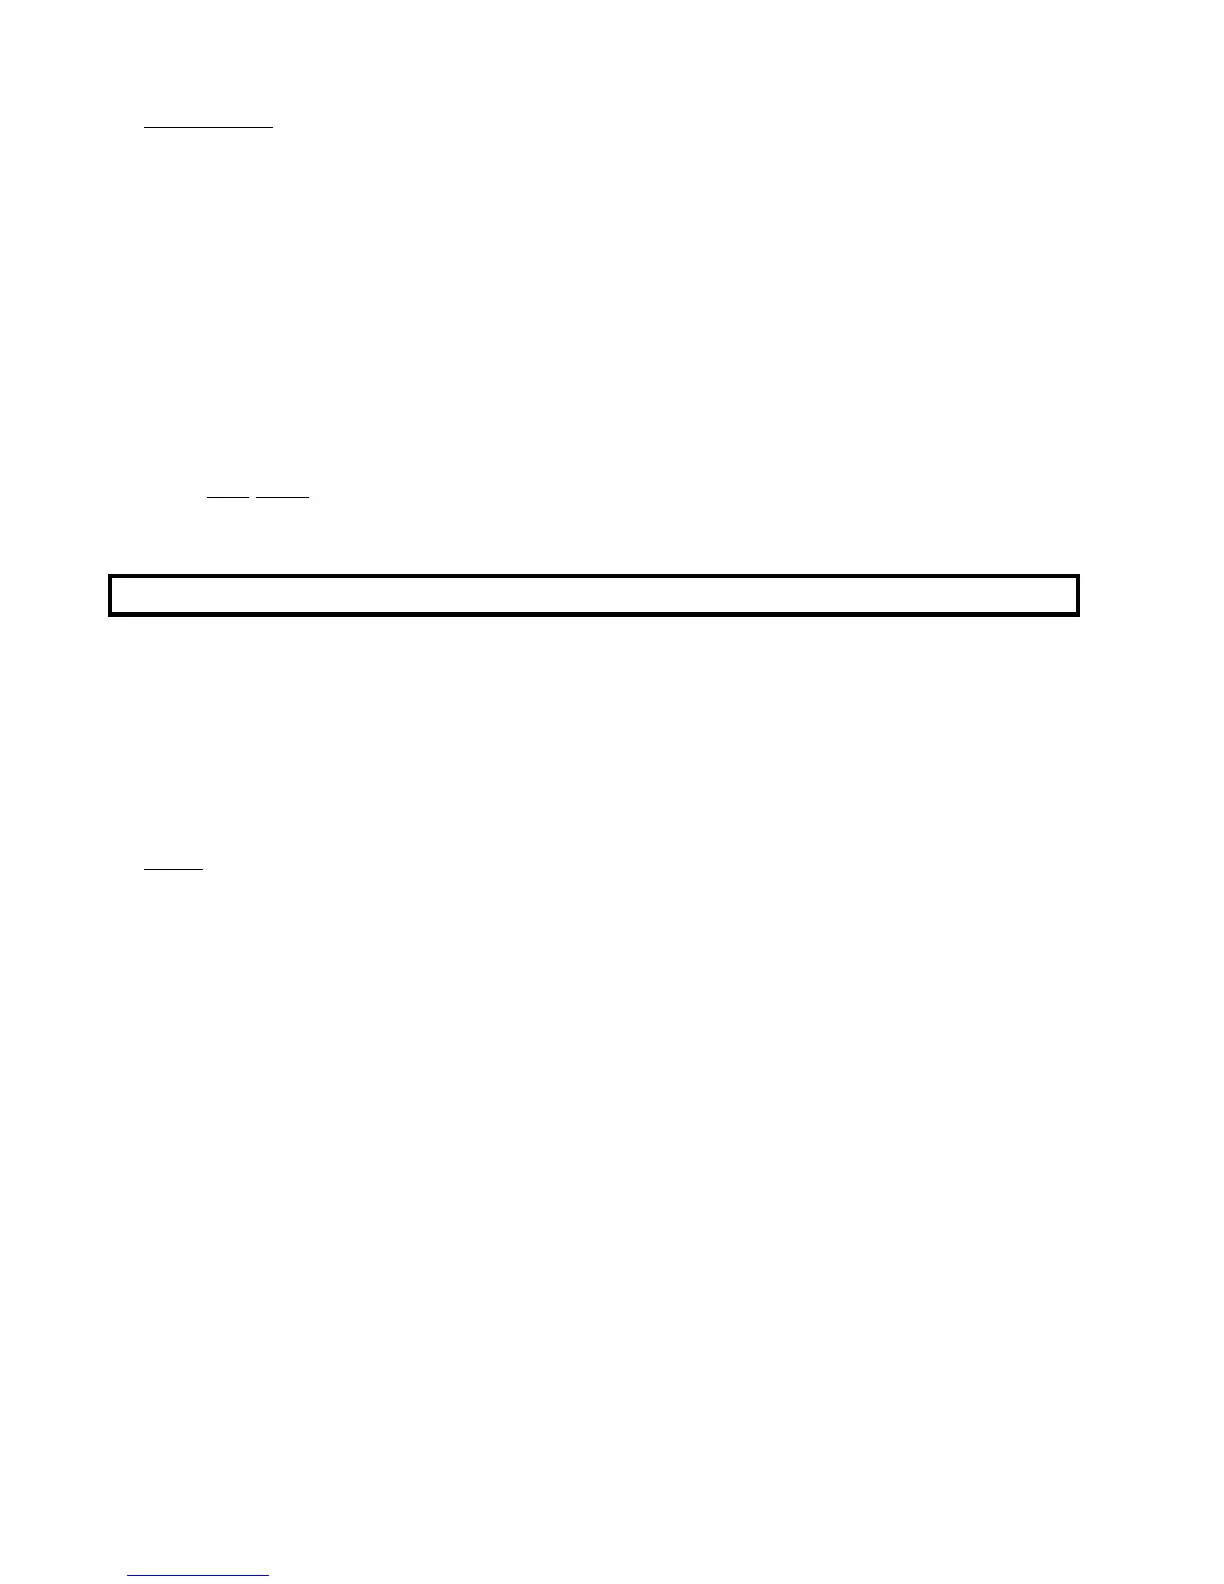
88
2. Solenoid Valve
a. Valve Replacement
1) Discontinue air supply to the dryer.
2) Discontinue electrical service to the dryer.
3) For models with a sprinkler system, discontinue water supply to the dryers' sprinkler system.
4) Loosen coil plug screw and remove the plug.
5) Carefully remove the two (2) valve mounting screws.
Take notice of the gasket.
6) Install new valve body.
CAUTION: DO NOT pinch the gasket.
7) Replace coil plug remove in Step #4.
8) Reestablish water supply to the dryer.
9) Reestablish electrical service to the dryer.
10) Reestablish air supply to the dryer.
3. Tubing
a. Tubing Replacement
1) Discontinue air supply to the dryer.
2) Discontinue electrical service to the dryer.
3) For models with a sprinkler system, discontinue water supply to the dryers' sprinkler system.
4) Push tubing in and at the same time push black ring on disconnect in, then while holding ring, pull tubing.
5) Install new tubing into the connector.
6) Pull on tubing to verify proper connection.
7) Reestablish water supply to the dryer.
8) Reestablish electrical service to the dryer.
9) Press sprinkler reset button (for models with a sprinkler system.
10) Reestablish air supply to the dryer.