INSTALLATION Continued
UNIT INSTALLATION
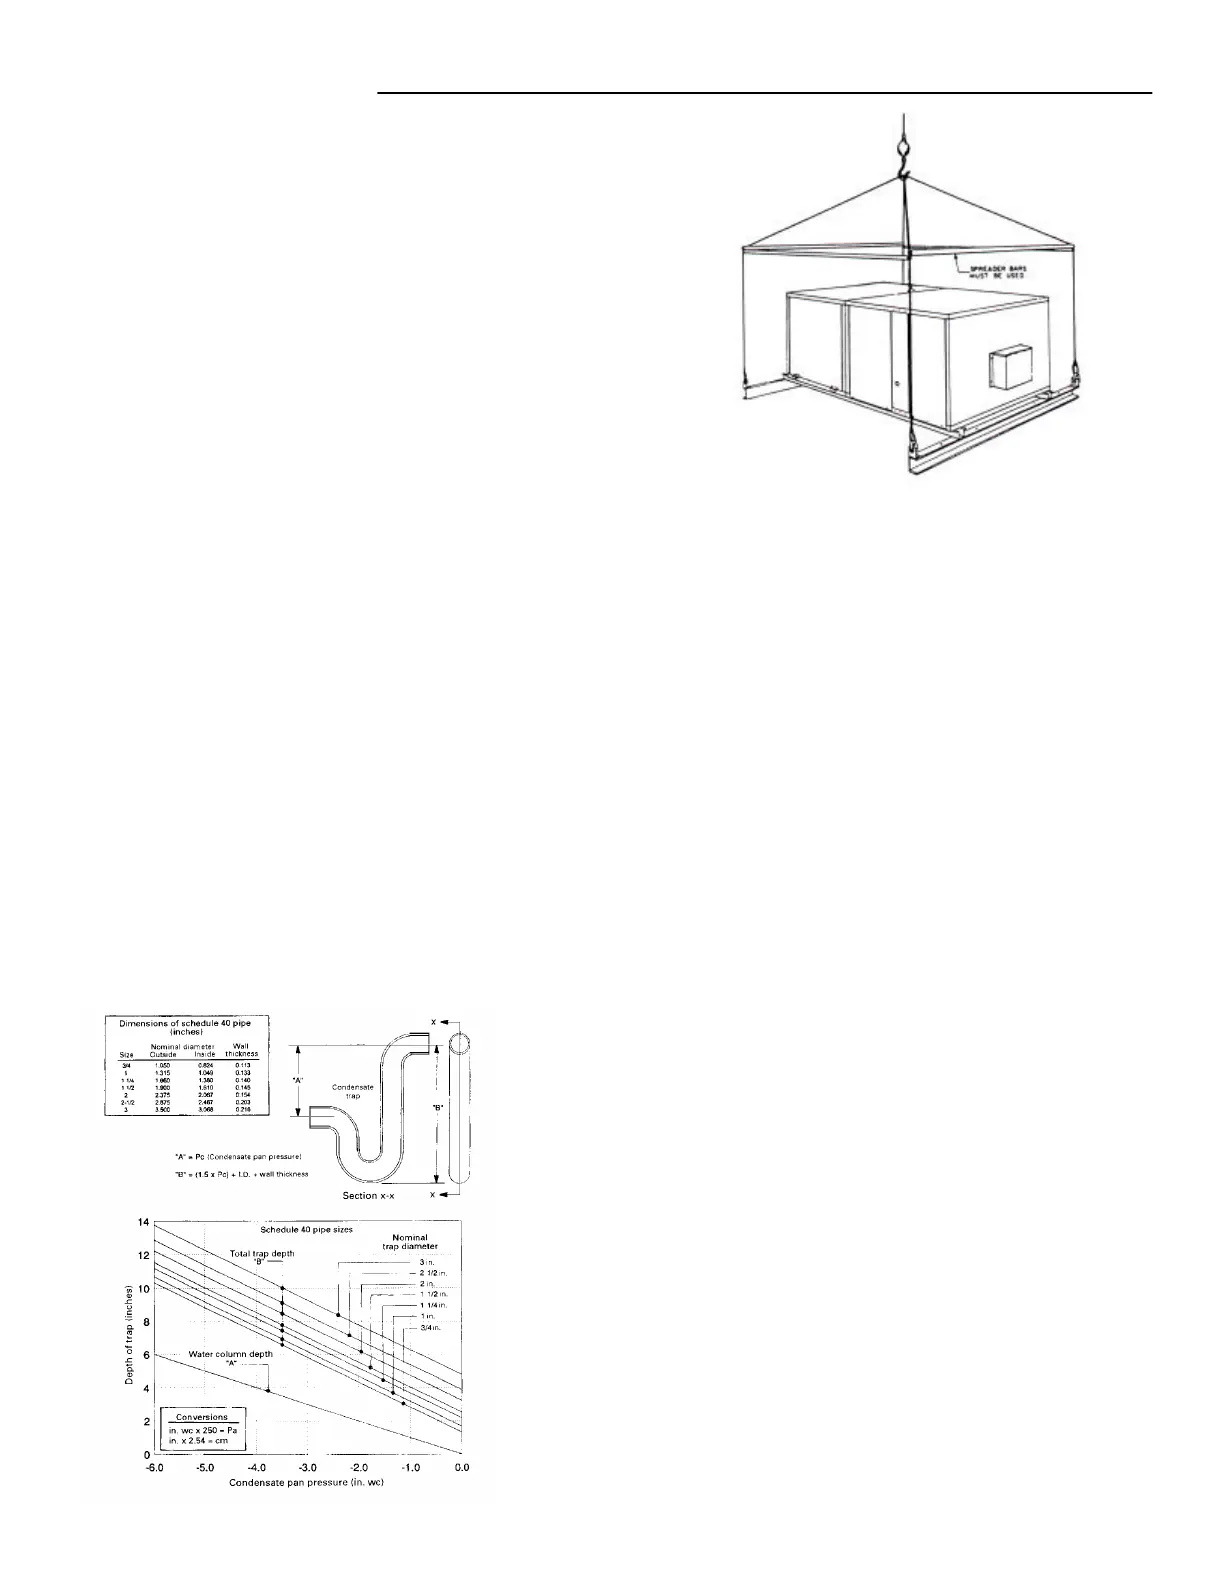
Lower unit carefully onto roof mounting curb or mounting
rails or ground level slab. While rigging unit, center of
gravity will cause condenser end to be lower than
supply/return air end. Bring condenser end of unit into
alignment with curb. With condenser end of unit resting
on curb member and using curb as fulcrum, lower front
end of unit until entire unit is seated on curb.
Rigging Removal
Remove spreader bars, lifting cables and other rigging
equipment.
CAUTION: Do not allow crane hooks and spreader bars
to rest on roof of unit.
Ductwork
Properly sized and installed ductwork is critical to
reliable performance of the unit and system. Unit
connection sizes are in the engineering specification
manual. All ductwork must be installed according to local
codes, practices and requirements.
Industry manuals should be used as a guide to sizing
and designing the duct system.
Ducts passing through unconditioned spaces must be
well insulated with vapor barrier to prevent
condensation.
Condensate Piping
A condensate trap must be provided by customer.
Drainage of condensate directly onto the roof is
acceptable if permitted by local codes. It is
recommended that a small drip pad of either stone,
mortar, wood or metal be provided to prevent any
possible damage to the roof. If condensate is to be
piped into the building drainage system, the drain line
must penetrate the roof external to the unit. Refer to
local codes for additional requirements.
Electrical
Wiring Connections
Power wiring should be connected to the main power
terminal block located within the unit main control
section. Power wiring connections on units with factory
disconnects should be made at the line side of the
disconnect switch.
Low voltage wiring connections are made to the remote
mounted controller or time clock.
DO NOT TAMPER WITH FACTORY WIRING
Contact your local representative or the factory if
assistance is required. The internal power and control
wiring of these units is factory installed and each unit is
thoroughly tested prior to shipment.
Independent Power Source
It is recommended that an independent 115 volt power
source be brought to the vicinity of the rooftop unit for
portable lights and tools used by the service mechanic.
Main Power Wiring
The units are factory wired for the voltage shown on the
nameplate.
Main power wiring should be sized for the minimum wire
ampacity shown on the nameplate.
An external weather-tight disconnect switch properly
sized for the unit total load is required for each unit.
Disconnect must be installed in accordance with Local
and/or National Electric Codes.
Power wiring may enter the Rooftop Unit through the
side on all models, or through the unit base and roof
curbs on models with the Power Through Curb option.
Install conduit connectors at the entrance locations.
External connectors must be weatherproof.
Grounding
All units must be properly grounded. The ground lug is
provided for this purpose. DO NOT use the ground lug
for connecting a neutral conductor. The unit must be
electrically grounded in accordance with local codes, or
in the absence of local codes, with the NEC ANSI/NFPA
70 1981.