IRIS-4 160
Quick Installation and
Maintenance Guide
5
4
IRIS-4 160
3. PACKAGE CONTENTS
Contents:
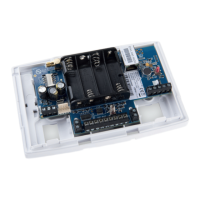
• Diallerboardinplastichousing
• 3xscrewsandplugsforxingthehousingtoaatsurface
• 2xscrewsandwashersforxingPCBtoplastics
• Ethernetcable
• 18kOhmssenseresistorfordialcapturetamperdetection
4. BOARD CONFIGURATION
5. BEFORE YOU START
Monitoring Centre (ARC)
Make sure that the monitoring centre to which the IRIS-4 160 device will send alarm signals is equipped with
the appropriate IRIS Secure Apps receiving system. The following information should be obtain from the
Monitoring Centre.
Dialler account number:
Monitoring centre IP address:
Ethernet Connection Details
The customer’s Ethernet (LAN) network details are required in order to connect the IRIS-4 160.
Obtain the following information from the customer.
Fixed IP address or DHCP: Fixed DHCP
If using DHCP then the following information will not be required
as it will be assigned by the network.
IP address:
Gateway address:
Subnet mask address:
Wi-Fi Connection Details
The customer’s Wi-Fi network details are required in order to connect the IRIS-4 160 and the configuration
device (e.g. Smart Phone). Obtain the following information from the customer.
Network name (SSID):
Security type:
(WEP/WPA/WPA2)
Password:
4G/3G/2G SIM Card and Access Point Name
If the installation uses 4G/3G/2G then a SIM card will be required. The IRIS-4 160 will also need to be given
a 4G/3G/2G ‘Access Point Name’ (APN) and other possible configurations as shown below. Obtain these from
the SIM card provider.
Access Point Name (APN):
User name (USR):
Password (PWD):
SIM Pin:
Due to the lack of space on this page, I suggest putting
LED INDICATION-tabell into another suitable location.
I suggest on page 15.
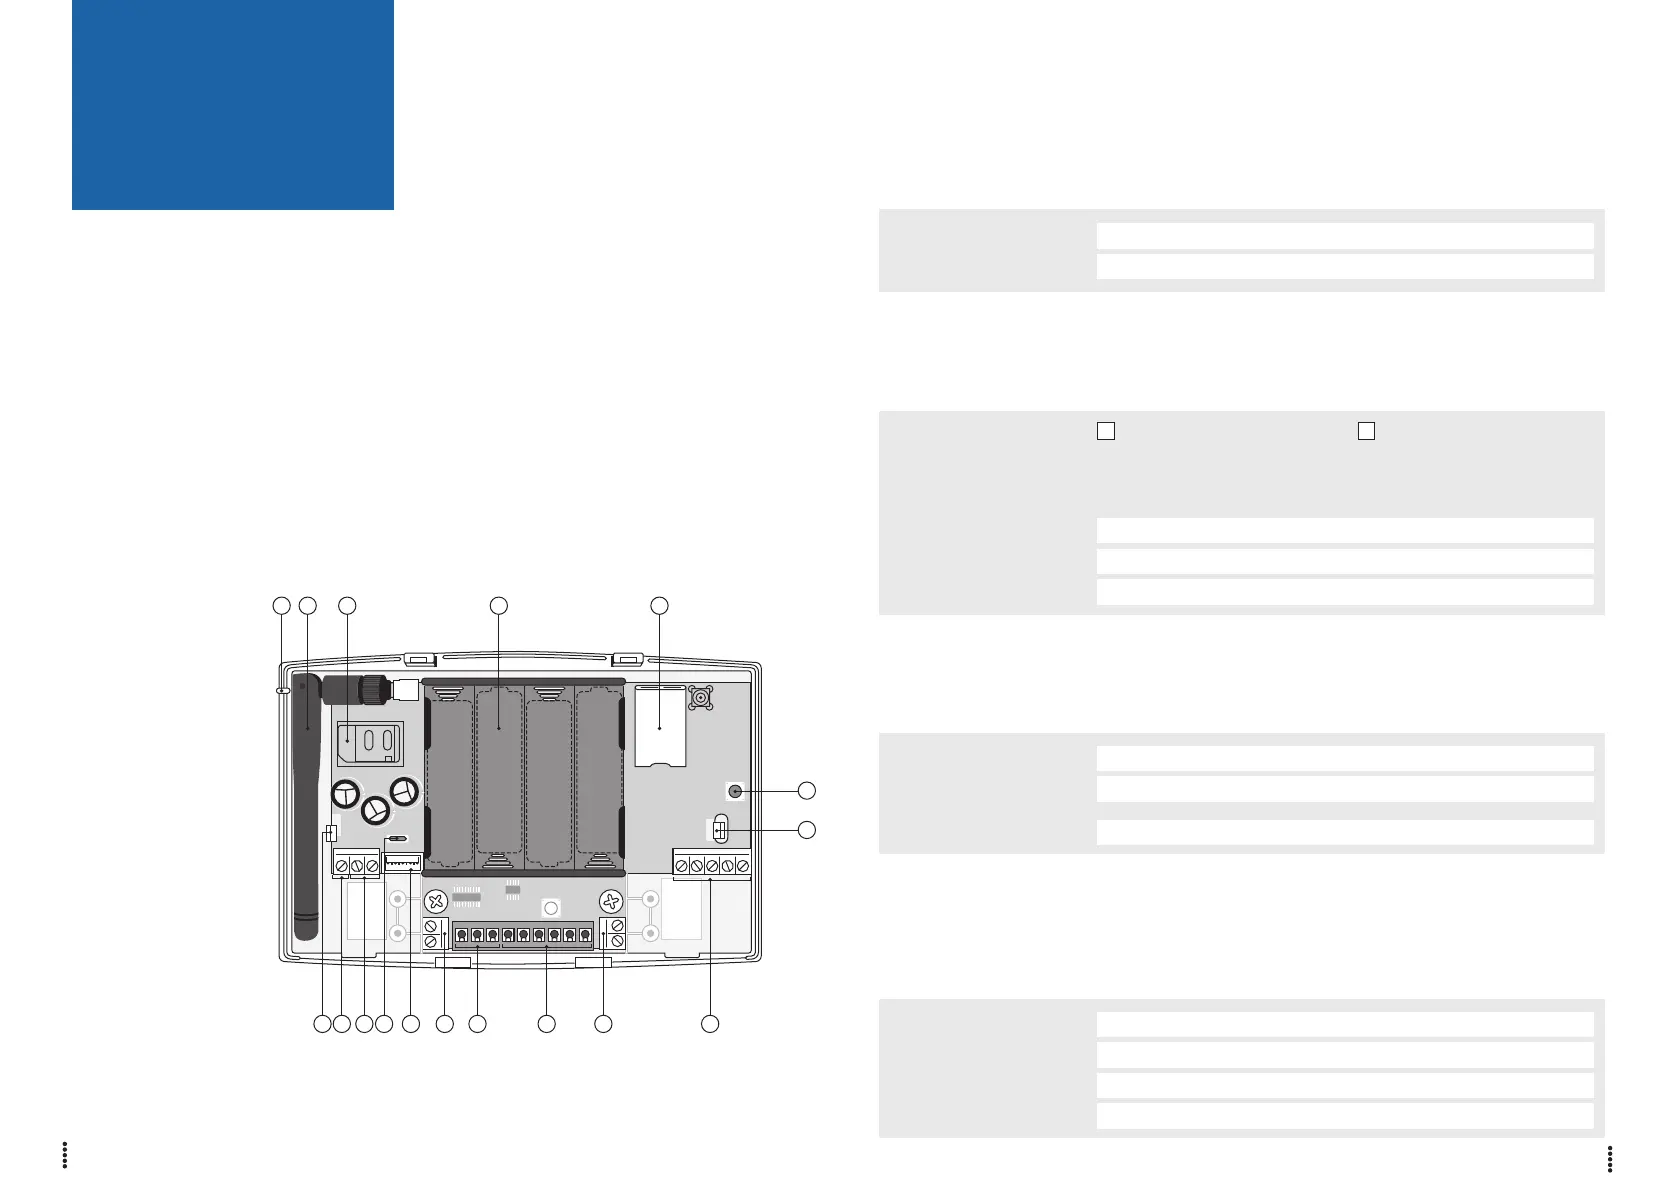
13141516 12
11
1
962 31 54 7 8 10
① = Release clip
② = Sense
③ = DC power
④ = Micro USB
⑤ = Serial (TTL)
⑥ = RS485
⑦ = RS232
⑧ = Relays
⑨ = Dial capture port
screw terminals
⑩ = Pin inputs
⑪ = AP Button
⑫ = Ethernet
⑬ = Battery case
⑭ = SIM card holder
⑮ = 4G/3G/2G antenna
⑯ = SYS LED
 Loading...