22
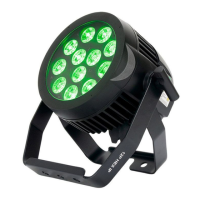
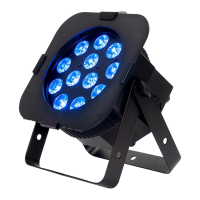
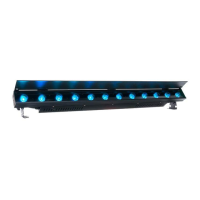
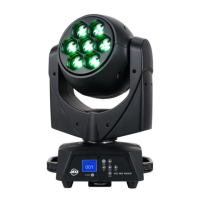
OPERATING INSTRUCTIONS
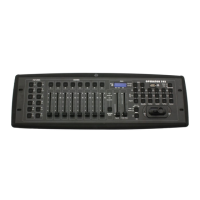
DMX Addressing: Operating through a DMX controller gives the user the freedom to create custom
programs tailored to his or her own needs. This device offers 4 DMX modes: 6 Channel mode, 7
Channel mode, 8 Channel mode, and a 13 Channel mode.
1. To run your xture in DMX mode, press the MODE button, and then press the UP or DOWN but-
tons until “Menu Set Addr” is displayed.
2. Press ENTER. The current DMX address will now be displayed. Use the UP or DOWN buttons to
nd your desired DMX address, and press ENTER to conrm. Please refer to the DMX Traits sec-
tion of this manual for detailed information.
DMX Channel Mode: Select your desired DMX channel mode.
1. Access the main menu, and press the UP or DOWN buttons so that “Menu User Mode” is high-
lighted, then press ENTER.
2. Press the UP or DOWN buttons to scroll through the 4 DMX channel modes. When you have
found your desired DMX channel mode, press ENTER.
3. Press the MODE button to return to the main menu.
Dimmer Mode Setting:
1. Access the main menu, and press the UP or DOWN buttons so that “Menu Function” is highlight-
ed, then press ENTER.
2. Press the UP or DOWN buttons so that “Dim Mode” is highlighted. Press ENTER.
3. Use the UP and DOWN buttons to scroll through the 5 available dimmer mode settings, and press
ENTER to select your desired option. Please see the Dimmer Mode Chart section of this manual
for detailed information.
DMX State: Denes how the xture will behave in the event that the DMX signal is lost or interrupted.
Also denes the mode the xture will start in when rst powered on.
1. Access the main menu, and press the UP or DOWN buttons so that “Menu Function” is highlight-
ed, then press ENTER.
2. Press the UP or DOWN buttons so that “NODMX” is highlighted, then press ENTER.
3. Use the UP and DOWN buttons to scroll through the 3 DMX standing states.
• “Hold” - The xture will stay in the last DMX set up.
• “Blackout” - The xture will automatically go into stand by mode.
• “Program” - The xture will automatically go into Auto Run mode.
4. Use the UP and DOWN buttons to nd your desired DMX state, and then press ENTER to con-
rm, or press MODE to exit without making changes.
Auto Run Mode:
1. Access the main menu, and press the UP or DOWN buttons so that “Menu Function” is highlight-
ed, then press ENTER.
2. Use the UP or DOWN buttons to highlight “AUTO RUN FQN” and press ENTER.
3. Use the UP or DOWN buttons to scroll through the 99 Auto Run programs. Press ENTER to con-
rm your selection.