CHAPTER 7
82
View Menu – Edit View
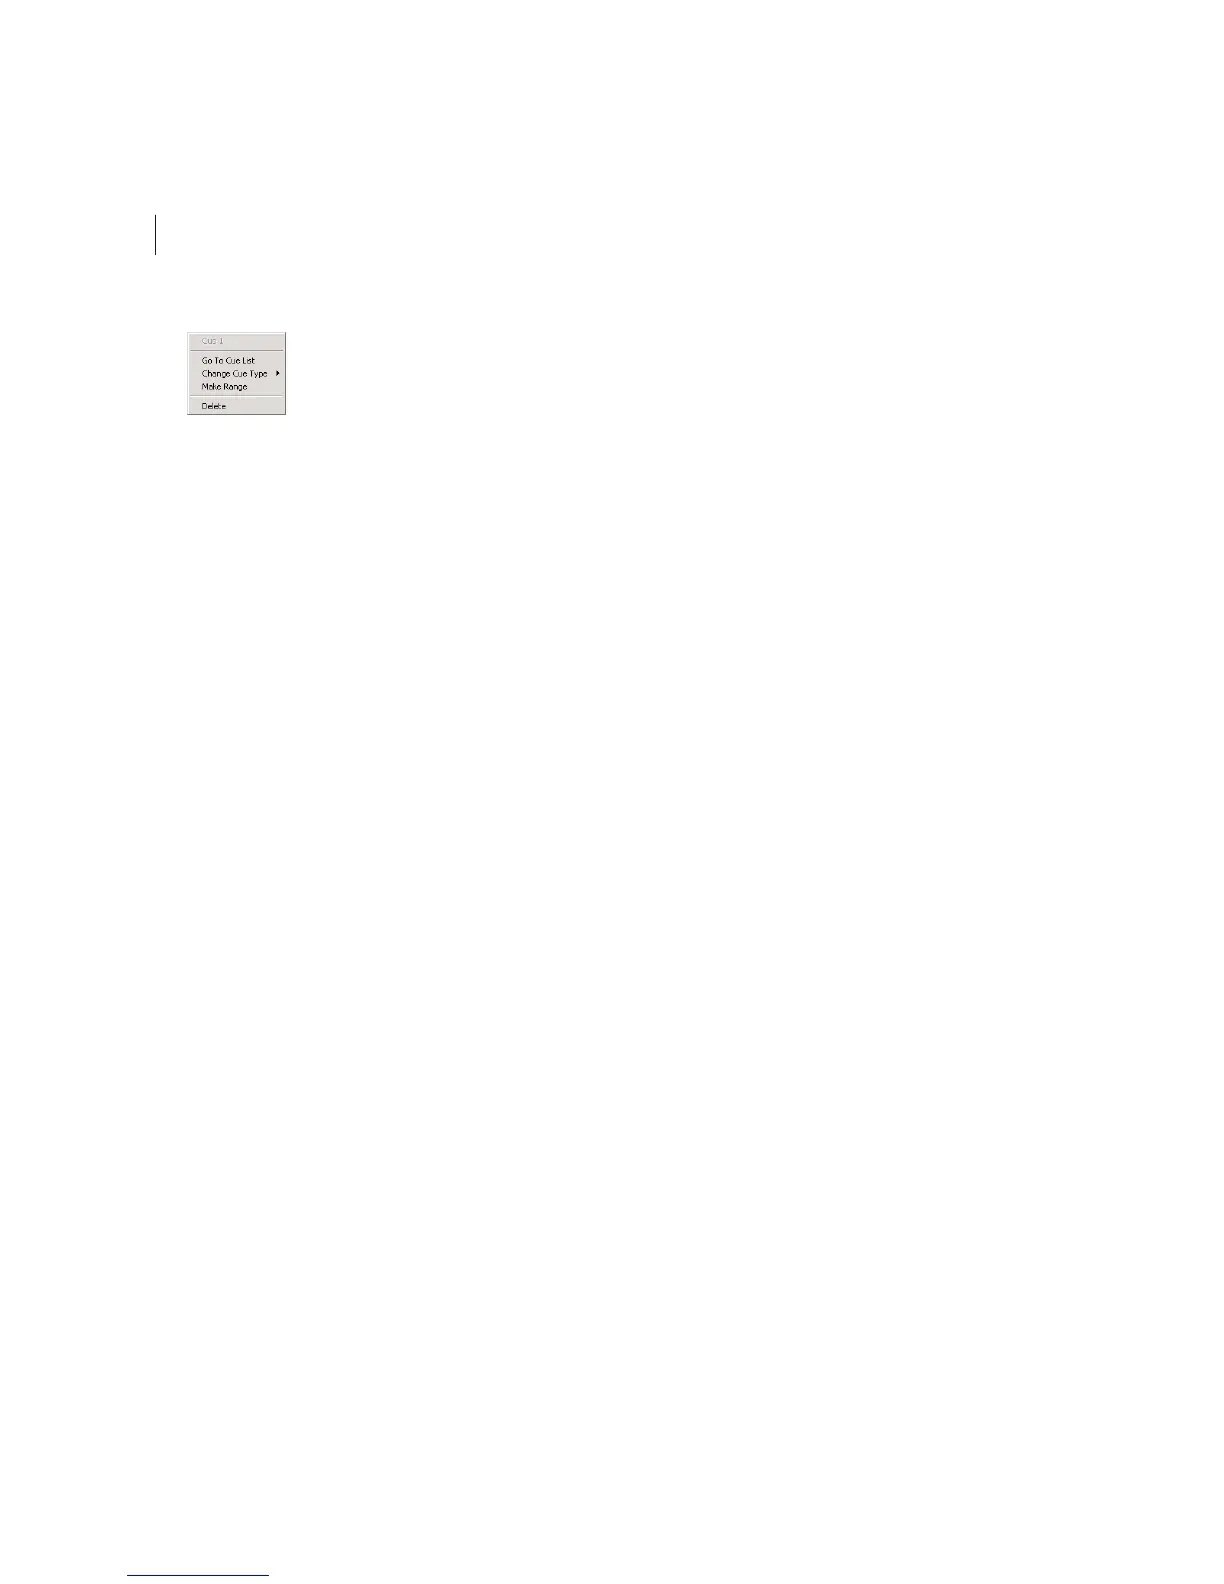
The Cue Handle context menu
The Cue Handle context menu has these commands:
• Go To Cue List: Accessing this command displays the Cue List, or if the Cue List is already displayed, makes it the active
window.
• Change Cue Type: Use this entry and its submenu to change a Cue from one type to another. A checkmark designates
the current Cue type.
• Make Range: If the Cue is already a point cue, this command turns it into a range cue. The Cue Handle is split into
two handles, one yellow and one blue. Drag either or both to set the beginning and ending times of the range.
Note: Adobe Audition automatically makes the second point of a cue range the end, even if you move the ranges around.
• Make Point: If the Cue is a range cue, this command turns it into a point Cue. The two parts of the range Cue Handles
are merged into a point Cue Handle, with the start time of the range becoming the time for the point Cue.
• Delete: This command deletes the Cue, removing it from both the Cue List and the Wave Display.
Here are the major components of the Cue List window:
Column Bar The column bar runs along the top of the Cue List window. It behaves similarly to the column bar in a
Windows Explorer window. Along with telling you the type of data in each column (Label, End, Begin, etc.), you can
click on a column header to sort the data in that column. For instance, a left-click on the Length column header will place
all of the items in the Cue List from shortest to longest. You may also select and slide a column header horizontally to
rearrange the sequence of column headers.
Edit Cue Info Button When you press this button, fields used to modify the information in the highlighted cue appear:
Begin (the cue’s starting time), End (the cue’s ending time), Length (the cue's length), Label (the cue's name), and Desc
(the cue’s description).
Left-click on the desired field to make it active, and then type in the new time or name. You can also use the drop-down
list to pick the type of cue: Basic, Beat, Track, or Index.
To hide the cue info fields, press the Edit Cue Info button once more.
Auto-Play If the Auto-Play button is depressed, the cue will automatically play whenever the cue is selected in the Cue
List. To deactivate the automatic play mode, click on the Auto-Play button to release it.
Add Press this button to add a Basic cue – either an exact point or a specified range – to the Cue List. You can also press
F8 to add a Basic cue, Shift+F8 to add a Track cue, or Ctrl+F8 to add an Index cue to the Cue List.