7
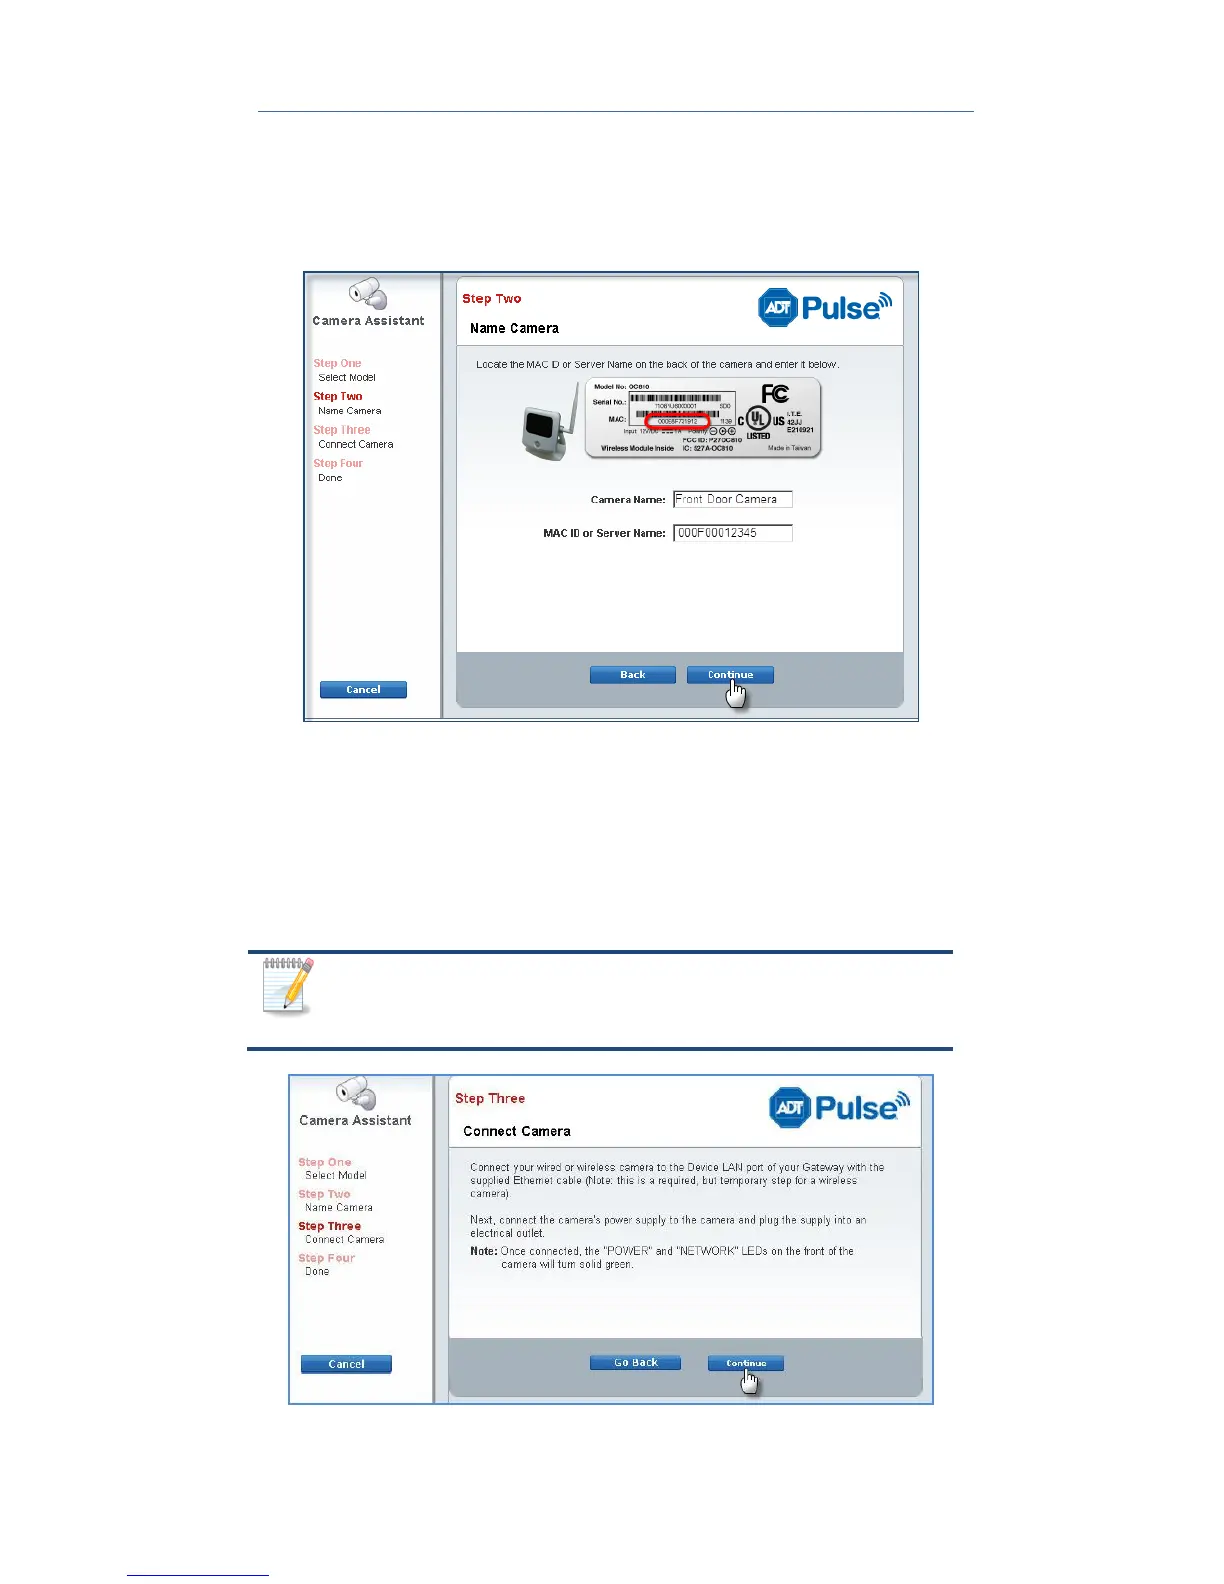
6. Assign the wireless camera a unique name (this is usually based on the
location of the wireless camera) in the space provided, and then type the
wireless camera’s MAC ID or Server Name.
7. Click the Continue button.
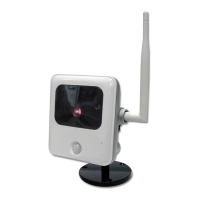
8. Attach the antenna to the wireless camera. To adjust the antenna, screw to
the rear mounting point and set the antenna to the upright position to
improve wireless reception.
9. Connect the wireless camera to the Device Port of the gateway using a
standard LAN cable.
10. Connect the supplied 12V power adapter to power up the wireless camera,
and then click the Continue button.
The Power LED turns on briefly, and then starts blinking during
startup, which takes approximately 5 to 20 seconds. After
startup is completed, the Power LED should remain ON.
 Loading...