12
3.4 INFLATION
IMPORTANT: Before inating, check to be sure that the kayak is completely assembled.
Inate your kayak in the following order. Failure to follow these instructions may cause
damagetoyourkayak.Donotoverinate.
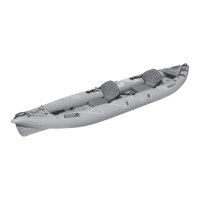
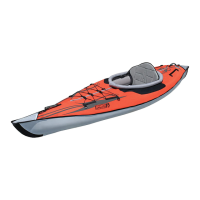
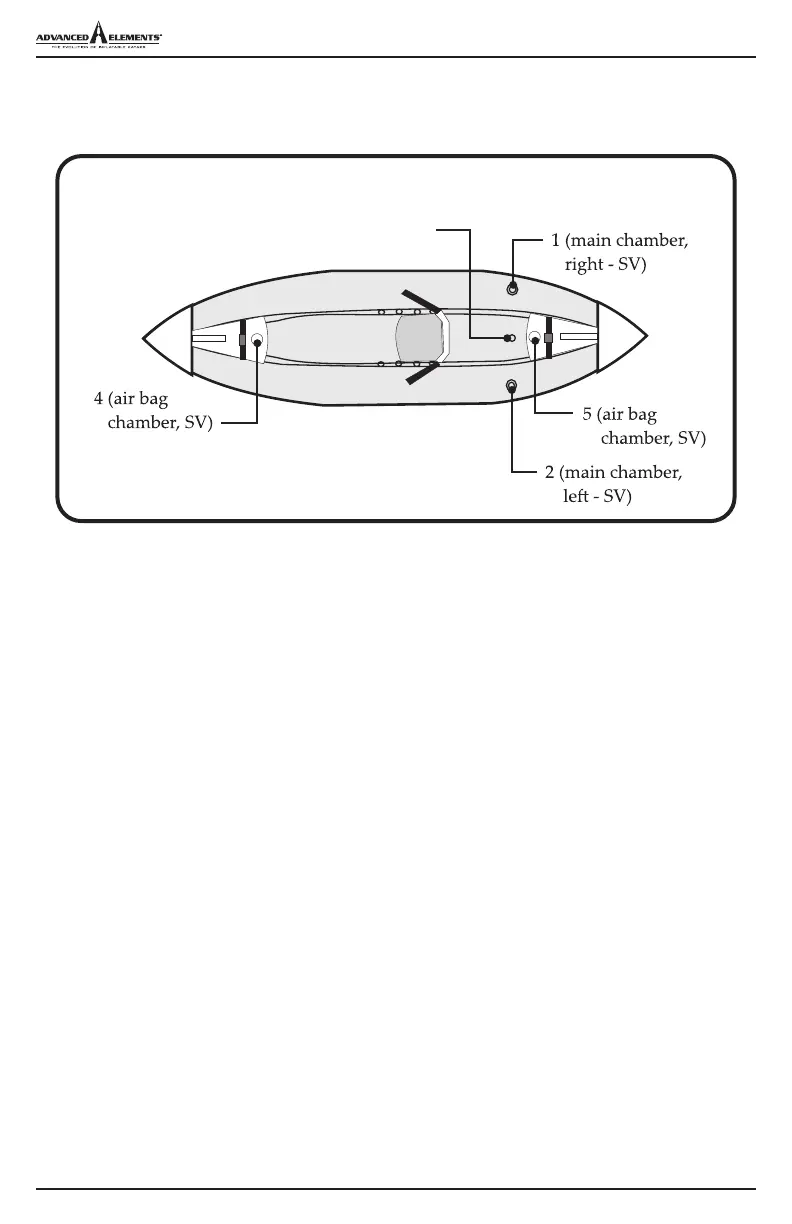
1. Locate chamber 1. Unscrew cap and check that plunger valve is in the inate position.
Inate Chamber 1 until rm to the touch (2.25 psi ONLY). (See gure 1 on pg 10).
2. Proceed to chamber 2. Inate chamber 2 until StraitEdge™ tube is rm to touch
(2.25 psi ONLY). Close caps on chambers 1 and 2 tightly. (See gure 1 on pg 10).
3. Inate Chamber 3 “Floor” using the adaptor included in the repair Kit. (6.0 psi MAX).
NOTE: You may nd it easier to attach the seat before inating the oor. IMPORTANT: If
you choose to attach the seat before inating the oor, make sure to fully extend the seat
attachment straps to prevent any damage to the d-rings when inating the oor!
4. Locate Chambers 4 and 5. Inate Chambers 4 and 5 until rm (1.0 psi ONLY).
5. Make sure all valves are closed tightly and properly.
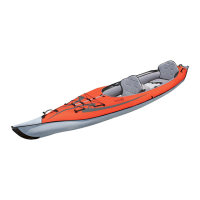
6. Locate the 4 steel d-rings along the sidewalls of the kayak in the 4 drainwell areas. Set seat in
the desired seating position and attach the 4 webbing straps to the steel d-rings. Adjust
webbing straps as needed to make sure that the seat stays tightly positioned in the kayak.
7. If you are paddling in deeper waters and you desire added tracking ability, install the
removable tracking n into the mount on the bottom of the kayak. If paddling shallow waters,
or areas with potential shallow submerged objects, do not attach the tracking n.
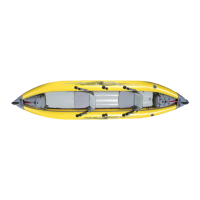
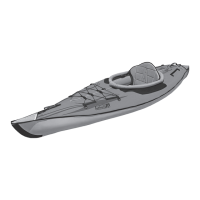
SV - Spring Valve
3 (oor chamber, SV)
STRAITEDGE
TM
ANGLER PRO 5-AIR CHAMBERS