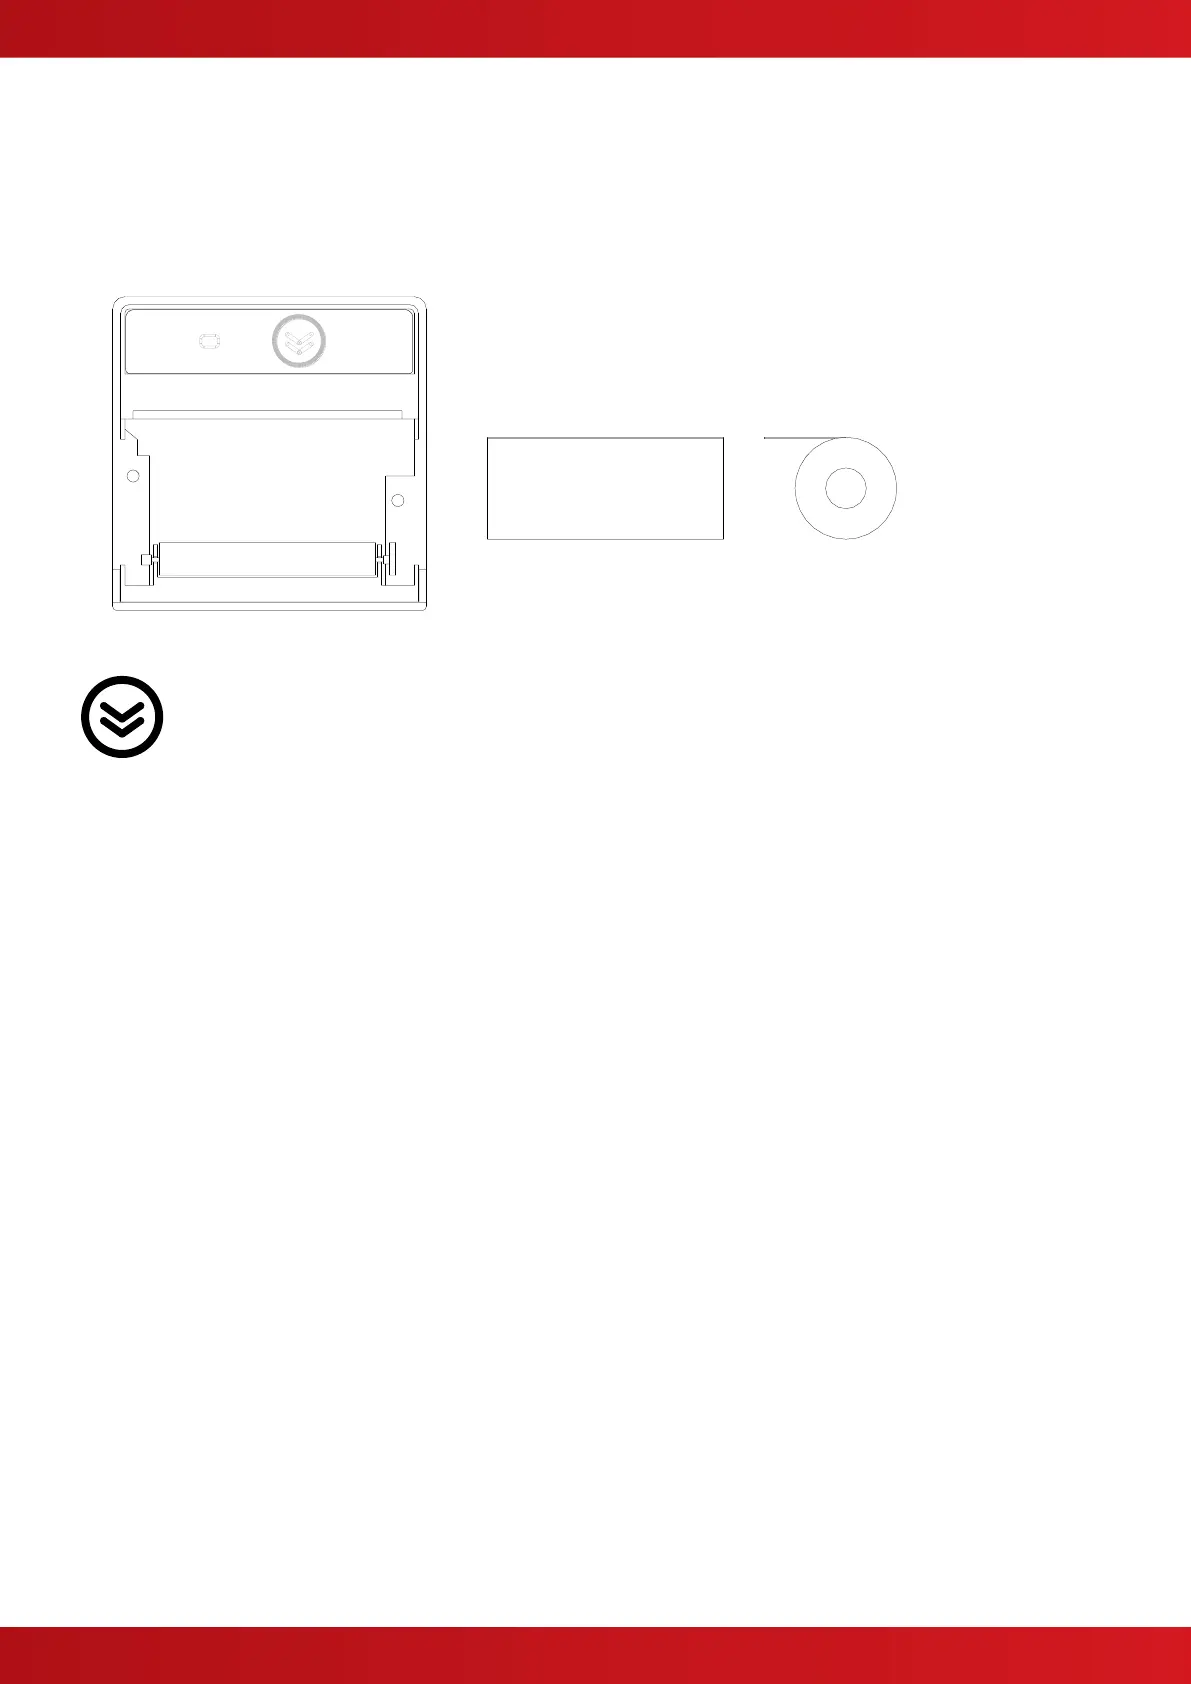
2.3 Installing the paper roll
Using the door release flap, open the paper roll aperture door.
Insert the roll so that the paper exits from the top as shown over the top of the roller.
Close and snap shut the door.
Tear off any excess paper using the tear-off strip.
After power is applied, ensure that the fault LED is not illuminated.
Feed the paper, if required, using the paper feed button.
Refer to operation section for details of how to configure and operate and how to perform a test print.
2.4 Logo Programming
The printer can be configured to print the logo used on the panel display.
This logo will be printed on a power up test print.
The logo is automatically updated, along with the display, when using the PC Logo Tool.
2.5 Fault LED
The fault LED on the front face will illuminate if the printer detects an internal problem such as paper out / door
open.
The panel will also indicate a fault condition and give further details on the nature of the problem.
 Loading...