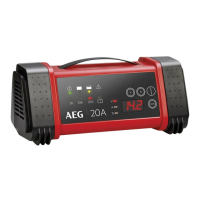
EasyManua.ls Logo

AEG WM 6 - Operation; Before use; Connecting the device; Start charging

AEG WM 6
68 pages
Go to English
Print Icon
To Next Page IconTo Next Page
To Previous Page IconTo Previous Page
Loading...
English
19
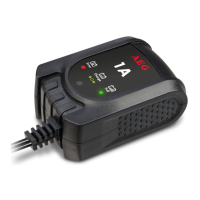
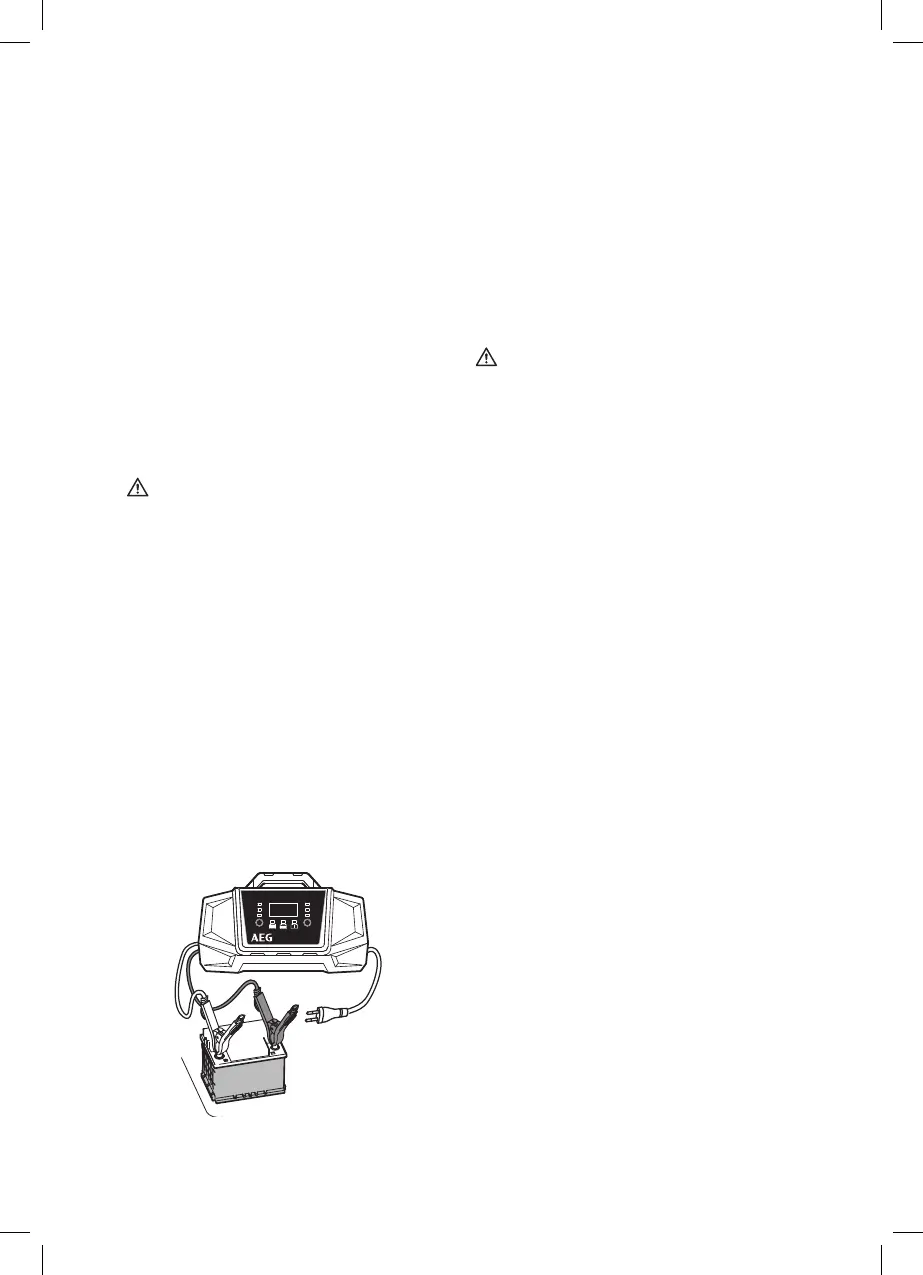
1. Connect the red (+) terminal connection cable

2. Connect the black (-) terminal connection cable

Note:
The black (-) clamp can also be connected to the
vehicle chassis (Please refer to the auto maker‘s in-
structions!). Be sure both clamps have good contact

Warning!

the charger to the 230 V power socket without
extension cable. In exceptions, use the shortest
possible undamaged and unrolled 230 V extension
cable.
3. Plug the charger plug into a 230V power socke.

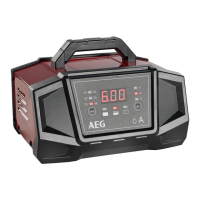
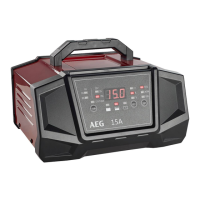
10 seconds after starting, the „Charge“ LED (8)
will light up and the charging voltage will be at the
preset lowest charging rate.

LED (7) will light up. In this case, unplug the charger


4. 
(6 V or 12 V) corresponds with the connected


5. 
during charging to select the charging voltage,
charge in %, and the charging current (see „Char-
ging current“).
Start charging






Note:

switch to trickle charge to maintain the charging

Functions
The charger is equipped with a microprocessor

automatic diagnostic, charging, and maintenance





maintained.

Before use
Warning!
Before using this device be sure to read the ope-



Ensure adequate ventilation.









manufacturer instructions on charging and the
charging speed.
Connecting the device
10 A
V
A
%
V/A/%
Mode
2 A
10 A
2 A6 V
12 V
12 V

Table of Contents

Related product manuals