530-268
P2008 © Firma WJG, Braunschweig. Nachdruck oder Vervielfältigung nur mit ausdrücklicher Genehmigung
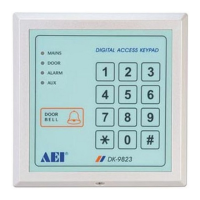
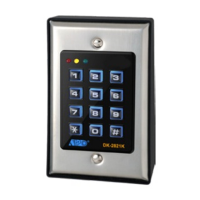
Programming of the Keypad:
To assess user codes or to make other adjustments you need the master code. The default master code of this
keypad is „0000“. It is possible to do multiple set-ups one after another.
¾ Enter „0000“ and validate it with the „*“-button.
¾ Press „0“ and choose a new 4-digit master-code.
¾ Validate it by pressing the „#“-button.
Now decide if you want to set up the keypad for single-user or multi-user purposes:
¾ Enter the master code and validate it with the „*“-button.
¾ If you enter „8900“ now all previously stored data will be cleared and the keypad is in single-user mode.
¾ If you enter „8901“ now all previously stored data will be cleared and the keypad is in multi-user mode.
User Codes for the Single-User Mode:
¾ Enter the master code and validate it with the „*“-button.
¾ Enter „1“ and choose a 4-digit user code.
¾ Validate it with the „#“-button.
¾ Repeat this procedure for the user codes „2“ and „3“.
User Codes for the Multi-User Mode (up to 120 users):
¾ Enter the master code and validate it with the „*“-button.
¾ Enter„1“ and choose a user-number between „00 – 99“.
¾ For this user choose a 4-digit to 8-digit user code now.
¾ Validate it with the „#“-button.
¾ For „1“ you can allocate up to 100 user-numbers including their user codes.
¾ Enter „2“ and choose a user-number between „0 – 9“.
¾ For this user choose a 4-digit to 8-digit user code now.
¾ Validate it with the „#“-button
¾ For „2“ you can allocate up to 10 user-numbers including their user codes.
¾ Analog to „2“ you can also set up for „3“ up to 10 users including their user codes.
To configurate Relay OUTPUT 1:
¾ Enter the master code and validate it with the „*“-button.
¾ Enter „40“ and choose a span of time between „0 – 999“ seconds.
¾ Validate it with the „#“-button.
¾ Enter a user code 1 and validate it with the „#“-button.
¾ Now the relay tightens for the set up period of time between „0 – 999“ seconds.
¾ Enter „41“ and validate it with the „#“-button.
¾ Enter a user code 1 and validate it with the „#“-button.
¾ Now you have switched the relay from „open“ to „closed“ or vice versa.
¾ Enter„42“ and validate it with the „#“-button.
¾ Enter a user code 1 and validate it with the „#“-button.
¾ Now you have switched the relay from „open“ to „closed“ or vice versa.
Set up the auxiliary relay OUTPUT 2 under „50“, „51“ and „52“ with a user code 2 as well as the auxiliary NPN-
transistor OUTPUT 3 under „60“, „61“ and „62“ with a user code 3 in the same way.