EasyManua.ls Logo

AGFA ePhoto CL50 - User Manual

AGFA ePhoto CL50
55 pages
Print Icon
To Next Page IconTo Next Page
Loading...
ePhoto CL50
User’s Guide
CL50User Page 1 Wednesday, January 27, 1999 10:10 AM

Questions and Answers

  • A
    Ana RosalesAug 17, 2025
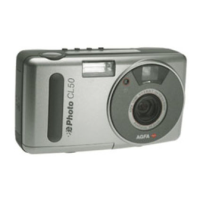
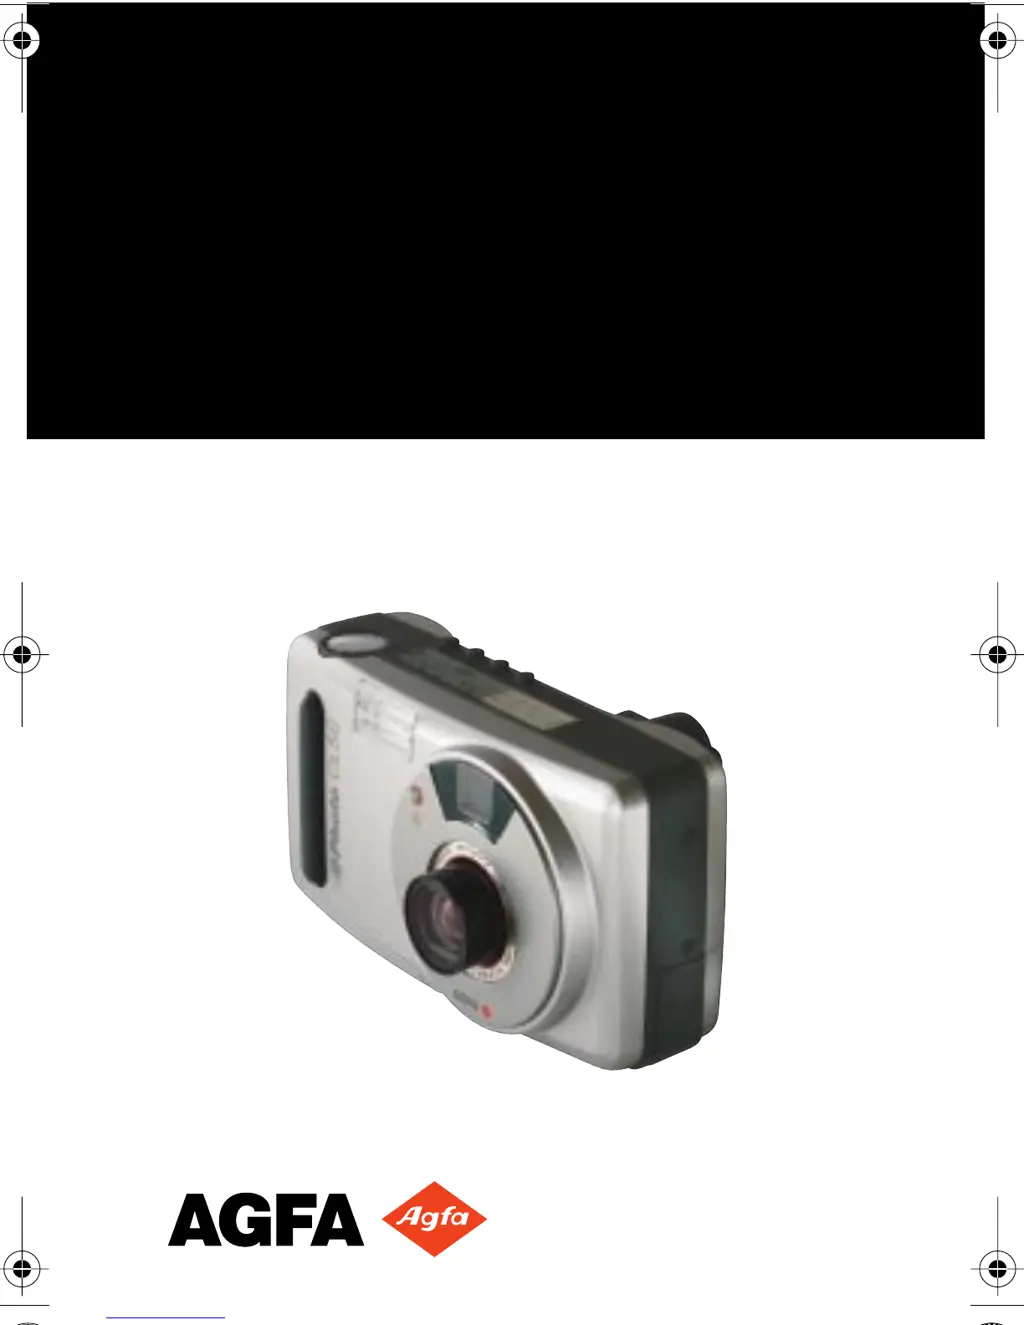
    How to fix AGFA ePhoto CL50 Digital Camera when it has no power?
    • T
      teresa68Aug 17, 2025
      If your AGFA Digital Camera has no power, try the following: * Slide the Mode switch to REC or PLAY. * Press the power button to turn it back on. * Replace the batteries. * Ensure the camera is securely plugged into a working outlet.
  • J
    jay31Aug 20, 2025
    What to do if the shutter button doesn’t work on AGFA ePhoto CL50?
    • M
      Micheal MoonAug 20, 2025
      If the shutter button on your AGFA Digital Camera isn’t working, here’s what you can do: 1. If the camera is still saving a picture, wait for the live image to appear on the LCD. 2. If the camera is in PLAY mode, slide the Mode switch to REC. 3. If the memory card is full, transfer images to your computer, delete some images, insert a different memory card, or lower the resolution.
  • S
    Steve DanielAug 23, 2025
    Why is my AGFA ePhoto CL50 taking blurry pictures?
    • P
      Phillip EspinozaAug 23, 2025
      If your recorded image is blurry on your AGFA Digital Camera, consider these possibilities: * If the subject moved, hold the camera steady and retake the picture. * If you moved the camera, retake the picture while holding the camera steady as you depress the shutter button. * If you used the wrong focus setting, ensure the subject’s distance from the lens and the focus setting match. * If you manually set the shutter speed too low, increase the shutter speed manually.
  • R
    robin76Aug 26, 2025
    Why are my photos too dark on AGFA ePhoto CL50 Digital Camera?
    • E
      Elizabeth BarnesAug 26, 2025
      If your AGFA Digital Camera recorded image is too dark: * If there was not enough light, set the flash to the Auto or Fill-in setting. * If the subject was too far away for the flash or you selected an incorrect advanced setting, readjust the setting or set it to automatic.
  • N
    Nicholas AdamsAug 28, 2025
    Why is my AGFA Digital Camera LCD too bright?
    • S
      Steve WaltersAug 28, 2025
      If the live image on the LCD of your AGFA Digital Camera looks brighter than it should be: * If the low light preview setting is selected, use the setting to take a dark picture, or restore the normal preview setting. * If you selected an incorrect advanced exposure setting, adjust the exposure setting or set it to automatic.
  • A
    april38Aug 31, 2025
    How to fix overexposed photos on AGFA ePhoto CL50?
    • M
      Marcia HenryAug 31, 2025
      If the recorded image from your AGFA Digital Camera is too bright: * If the flash was in Fill-in mode and there was too much light, change the flash setting to Auto. * If the camera was pointed directly at a bright light, take the picture from a different angle. * You can also use PhotoWise to adjust the brightness and contrast of your image.
  • D
    dharrisSep 2, 2025
    What to do if PhotoWise can't find AGFA ePhoto CL50 Digital Camera?
    • S
      Stephanie Nguyen MDSep 3, 2025
      If PhotoWise can’t find your AGFA Digital Camera, check the following: * Ensure the camera is on by sliding the Mode switch to PLAY or REC. * Check the serial cable and connections. * Replace weak batteries. * Ensure your PC’s serial port is dedicated to the ePhoto CL50.
  • H
    haasamberSep 5, 2025
    Why won't the LCD turn on my AGFA ePhoto CL50 Digital Camera?
    • A
      Angel WalkerSep 5, 2025
      If the color LCD on your AGFA Digital Camera doesn't turn on, try these solutions: * Disconnect the camera or use the camera controls in PhotoWise. * Disconnect the camera or view the images on your TV set. * Replace the batteries.
  • D
    dylanweaverSep 8, 2025
    Why is the LCD jerky on my AGFA ePhoto CL50 Digital Camera?
    • P
      phillipsgarySep 8, 2025
      If the live image on the LCD of your AGFA Digital Camera appears jerky, it may be due to the low light preview setting being selected. Use this setting to take a dark picture, or restore the normal preview setting.
  • C
    Cindy NewmanSep 12, 2025
    Why doesn't the flash work on my AGFA Digital Camera?
    • A
      amandanelsonSep 12, 2025
      If the built-in flash on your AGFA Digital Camera isn’t working, check the flash setting.

Summary

FCC Information

User Information

Canadian Radio Interference Regulations Statement

1-Year Limited Hardware Warranty

Introduction

Camera Parts

Identification and description of the camera's external components and their functions.

Memory Cards

Inserting a Memory Card

Instructions for inserting a memory card into the camera's slot.

Memory Card Capacity

Details on the storage capacity of memory cards based on image resolution.

Memory Card Conditions

Explanation of icons indicating memory card status like empty, full, or unreadable.

Batteries

Battery Conditions

How to interpret battery status icons on the display and LCD.

Controlling the Camera

Mode Switch

How to use the mode switch to turn the camera on, off, or select playback.

Navigating the Menus

Instructions for using the OK and arrow buttons to navigate camera menus.

Zoom Buttons

How to use the zoom buttons for lens control and image scrolling.

LCD ON;OFF Switch

How to turn the color LCD on or off for use as a viewfinder.

Shutter Button

Explanation of the two-position shutter button for focus and taking pictures.

Information Button

How to use the Information button to display camera data and status.

Status Display

Pictures Remaining Indicator

Information on how the display shows remaining picture count and error states.

Resolution Setting Indicator

How the display indicates the current image resolution setting.

Taking Pictures

How to Take Pictures

Step-by-step guide on how to operate the camera to capture images.

Changing Basic Settings

QuickReview Button

How to use the QuickReview button to discard, share, or record sound with images.

Macro;Self-Timer Button

How to activate Macro mode or the self-timer for specialized shots.

Flash Button

How to control the built-in flash settings like Auto, Fill-in, Off, and Red-eye.

Resolution Button

How to select image resolution settings using the dedicated button.

Changing Settings on the Color LCD

Resolution Settings

Detailed explanation of changing resolution settings via the color LCD menu.

Flash Settings

How to adjust flash settings using the color LCD menu.

Digital Zoom

Using the digital zoom feature to magnify parts of an image.

Preview Settings

Options for previewing images on the LCD, including Normal and Low light modes.

Panorama Mode

Instructions on how to capture sequential images to form a panorama.

Changing Advanced Settings

Tips on Using the Advanced Menu

Advice on using the camera's advanced settings and menu options.

Focus Settings

How to manually select focal distances for different subject distances.

Exposure Adjustment

Adjusting image lightness or darkness using aperture value or manual settings.

Metering Modes

Selecting light-metering methods like center-weighted, matrix, or spot.

White Point Adjustment

Manually adjusting color balance using preset or custom white point settings.

External Flash Compatibility

Using external flashes with the camera and their compatible settings.

Preferences Settings

Saving advanced settings, setting date/time, and sleep delay.

Self-Timer Delay

Configuring the delay time for the self-timer function.

Date & Time Format

Setting the preferred format for displaying date and time on images.

Sleep Delay Settings

Adjusting the automatic power-down inactivity period for REC and PLAY modes.

Date & Time Settings

Setting the current date and time for accurate image tagging.

Working With Captured Images

Single-Image View

Viewing and scrolling through captured images one at a time.

Deleting Images

Steps to delete single, multiple, or all images from the memory card.

Locking;Unlocking Images

How to protect images from accidental deletion by locking them.

Zooming in on an Image

Using the digital zoom feature to magnify portions of an image.

Recording Sound with Images

Adding or overwriting audio recordings for captured images.

Printing Images

Tagging images for printing and specifying print quantities.

Using Multi-Image View

Viewing multiple captured images simultaneously as thumbnails.

Deleting Images in Multi-Image View

How to delete images when using the multi-image view mode.

Locking;Unlocking Images in Multi-Image View

How to lock or unlock images when viewing them in multi-image mode.

Printing Images in Multi-Image View

Tagging images for printing, similar to single-image view.

Using Slide Show View

Automatically displaying captured images in a slideshow format.

Slide Show Settings

Adjusting slide show interval, duration, and image order.

Using the Camera with a TV

Viewing Images on a TV

Step-by-step instructions for connecting the camera to a television for viewing.

Using the Camera with a Computer

Checking System Requirements

System requirements for PC and Macintosh to use the camera software.

Installing PhotoWise Software

Guide to installing the PhotoWise software from the included CD.

Connecting to Your Computer

Steps to physically connect the camera to a computer using the serial cable.

Transferring Images into Your Computer

Process of moving images from the camera to the computer using PhotoWise.

Creating Installation Diskettes for PhotoWise

Procedure to create installation diskettes for PhotoWise if no CD drive is available.

Care and Maintenance

Camera Care

General guidelines for handling and protecting the camera from damage and environmental factors.

AC Adapter Use

Recommendations for using the AC adapter with the camera.

Battery Installation and Handling

Instructions for installing and handling camera batteries.

Memory Card Care

Advice on storing and handling memory cards to prevent damage.

Cleaning the Camera

How to clean the camera lens, LCD, and exterior surfaces.

Troubleshooting

Camera Has No Power

Solutions for the camera not turning on or responding.

Shutter Button Not Working

Troubleshooting steps when the shutter button fails to operate.

Color LCD Not Turning On

Causes and solutions for the camera's color LCD failing to display an image.

Jerky Live LCD Image

Diagnosing and fixing jerky live image display on the LCD.

Overly Bright LCD Image

Addressing issues where the LCD displays an overly bright image.

Built-in Flash Not Working

Troubleshooting why the camera's built-in flash is not firing.

Recorded Image is Blurry

Solutions for images appearing out of focus or blurred.

Recorded Image is Too Dark

Identifying causes and fixes for images that are too dark.

Recorded Image is Too Bright

Addressing issues where captured images are excessively bright.

Incorrect Date;Time Display

Correcting incorrect date and time settings displayed on the camera.

PhotoWise Connection Issues

Troubleshooting connection issues between PhotoWise software and the camera.

PhotoWise Camera Detection (Mac)

Troubleshooting detection issues when connecting to Mac systems.

Image Cannot Be Deleted

Resolving issues where images are locked and cannot be deleted.

Camera Specifications

Physical Specifications

Physical dimensions, weight, and mounting specifications of the camera.

Optics Specifications

Specifications related to the camera's lens, aperture, focal range, and shutter speed.

Image Specifications

Details on image compression standards used by the camera.

Resolution Specifications

Camera resolution options, including pixel count and compression levels.

Storage Capacity on 8 MB Card

Number of images that can be stored on an 8 MB memory card for different resolutions.

Power Specifications

Information on battery types, life, and alternative power sources.

Operation Specifications

Specifications for camera startup time, shutter delay, and burst mode.

Average Image Processing Time (REC)

Time taken by the camera to process images during recording.

Average Image Display Time (PLAY)

Time taken by the camera to display images during playback.

Environment Specifications

Operating and storage conditions for the camera, including temperature and humidity.

AGFA ePhoto CL50 Specifications

General IconGeneral
BrandAGFA
ModelePhoto CL50
CategoryDigital Camera
LanguageEnglish

Related product manuals