6
7. By clicking “Test Connection” in step 6, “The instrument is present” message appears when
the settings are all correct. Click “OK” button located at the lower right corner of the window.
If the setting are not correct, “Could not connect” message appears. In this case, check
whether each step was followed correctly.
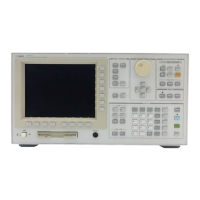
8. After step 7, the 4294A appears under “LAN(TCIPI0)” in the “Instrument I/O on this PC”
pane. Select “TCPIP…” (the 4294A’s VISA address) and click “Change Properties…”
button.
9. Change the configurable properties of the 4294A as shown in the figure below.
 Loading...


