Chapter 1 31
Quick Start Guide
Making a Basic Measurement
Connect a short cable from the analyzer CAL OUTPUT connector to the
INPUT 50 Ω connector (both connectors are on the front panel of the
spectrum analyzer). Then perform the following steps:
1. Set the center frequency.
a. Press
FREQUENCY. This activates the center frequency function,
indicated by CENTER appearing in the active function block on the
left side of the display (see Figure 1-5 on page 32). It also brings
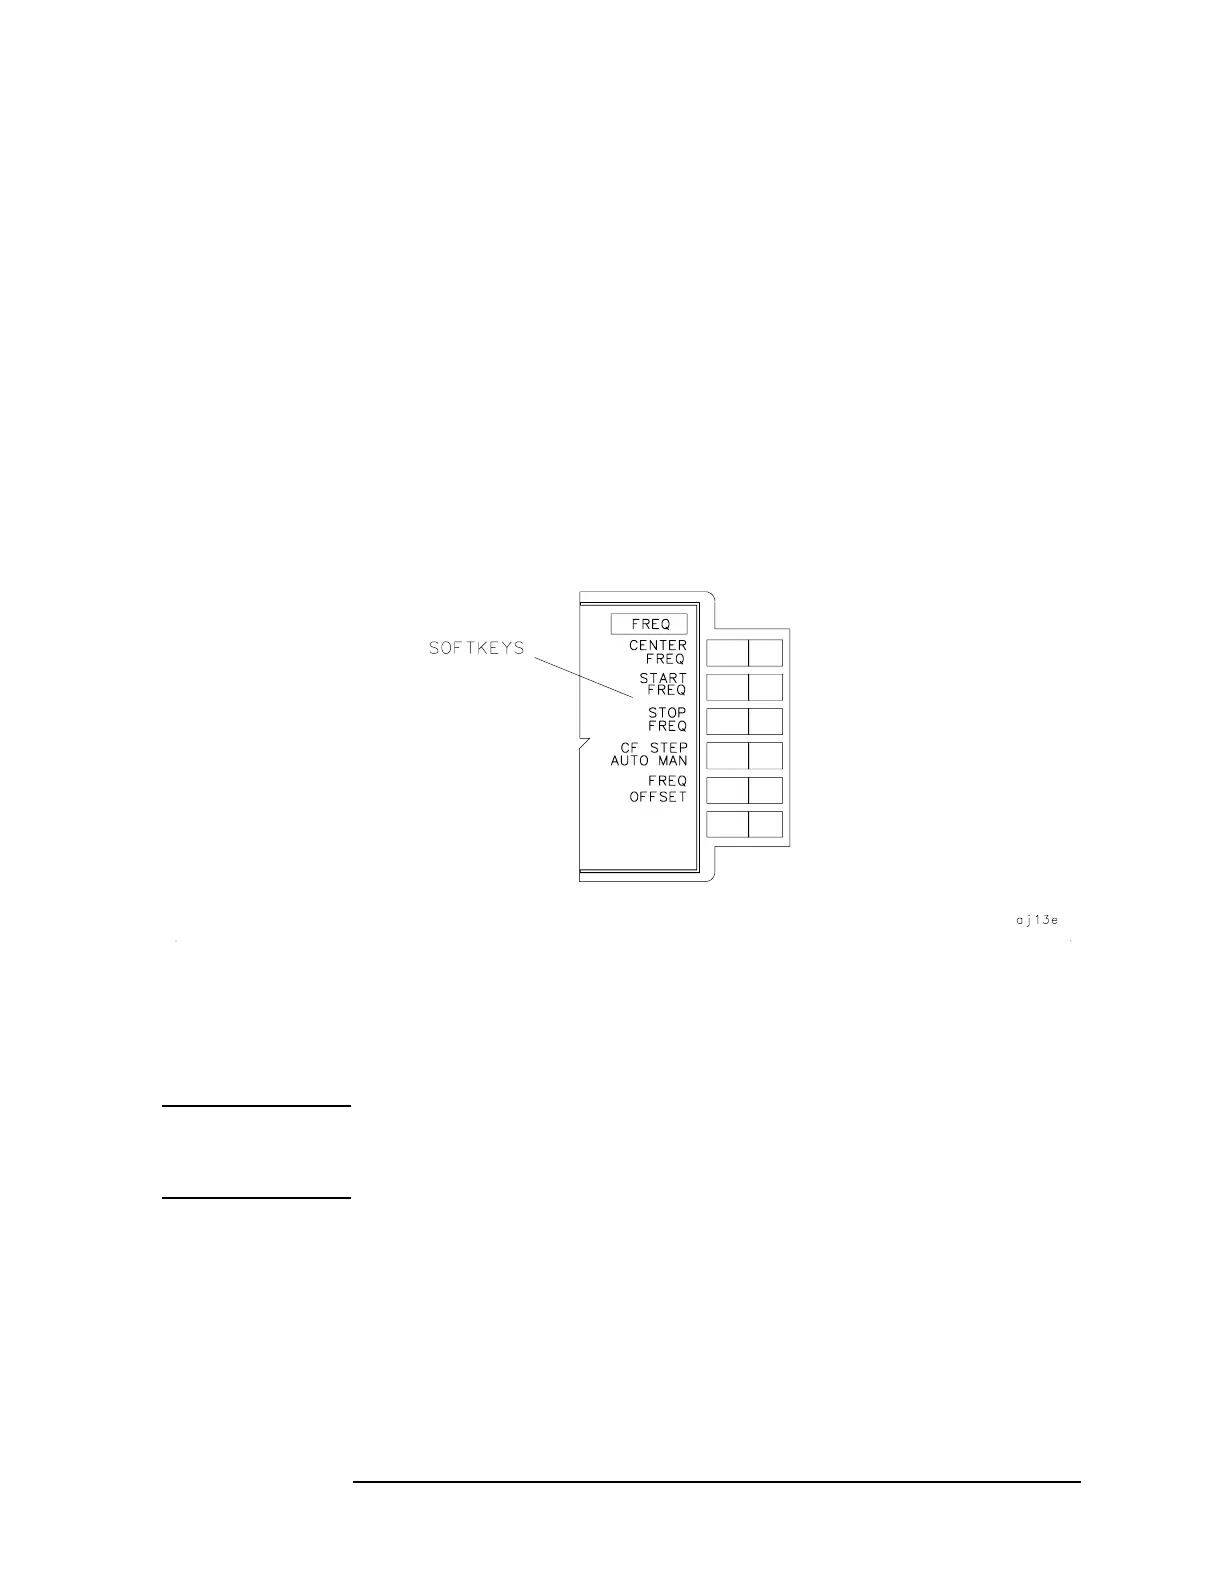
up a menu of other frequency functions. See Figure 1-4 on page
31.
These functions are called softkeys and are designated in the
manual by shading. (e.g.
CENTER FREQ) Most front panel keys
access menus of softkey functions.
Figure 1-4 Softkey Menu
b. To set the center frequency to 300 MHz, use the keys in the DATA
section of the front panel and enter 300 MHz. These data keys
allow you to select the exact numeric value of the active function,
which, in this case, is the center frequency. The step keys and
knob also allow you to select values for the function.
NOTE When entering some data values, such as unitless entries, ENTER must
be used to terminate the data entry.
ENTER is located in the lower right
corner of the spectrum analyzer front panel. It is also labeled Hz/µV/µs.
 Loading...
