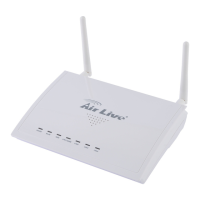
2.2 Procedure for Hardware Installation
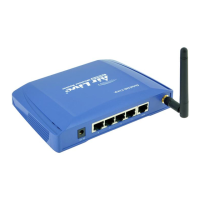
2. Decide where to place your Wireless Broadband Router
You can place your Wireless Broadband Router on a desk or other flat surface, or you can mount it on a wall.
For optimal performance, place your Wireless Broadband Router in the center of your office (or your home)
in a location that is away from any potential source of interference, such as a metal wall or microwave oven.
This location must be close to power and network connection.
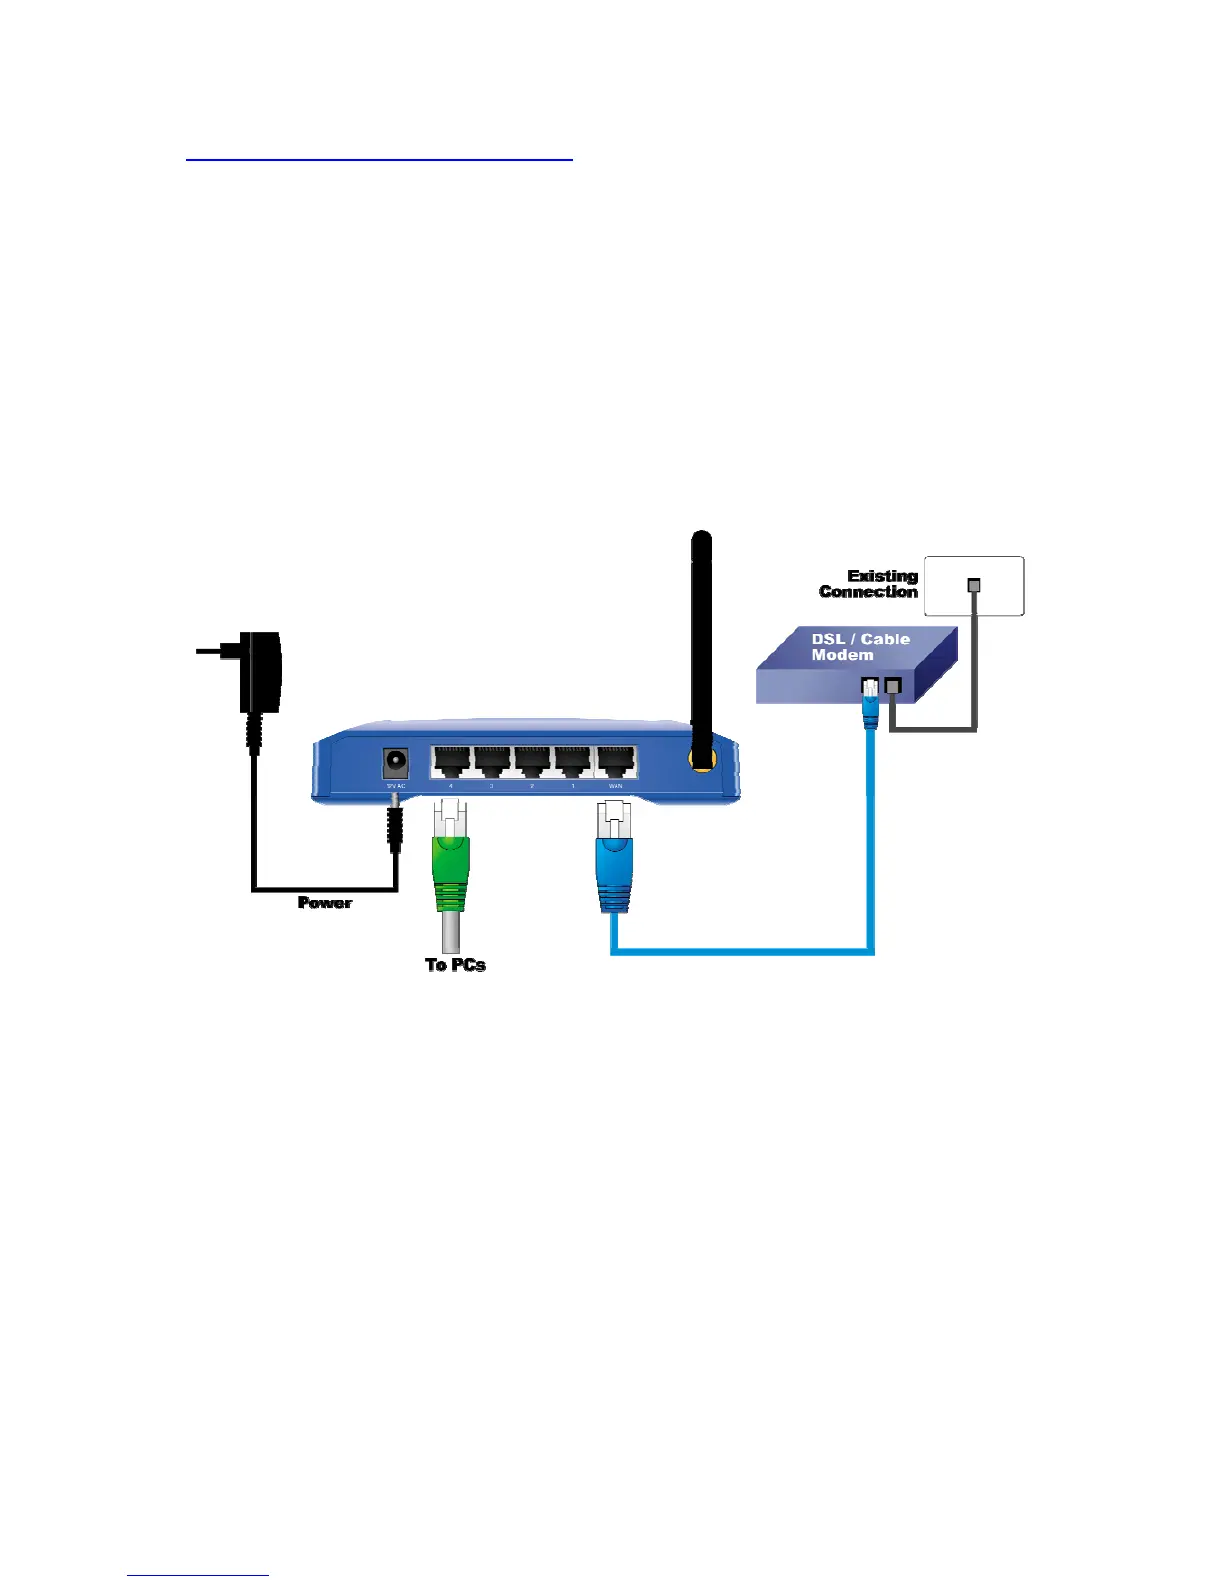
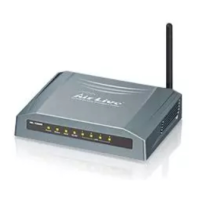
2. Setup LAN connection
a. Wired LAN connection: connects an Ethernet cable from your computer’s Ethernet port to one of the
LAN ports of this product.
b. Wireless LAN connection: locate this product at a proper position to gain the best transmit performance.
Figure 2-3 Setup of LAN and WAN connections for this product.
3. Setup WAN connection
Prepare an Ethernet cable for connecting this product to your cable/xDSL modem or Ethernet backbone.
Figure 2-3 illustrates the WAN connection.
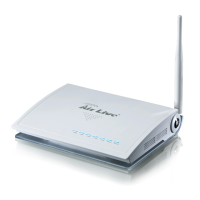
4. Power on
Connecting the power cord to power inlet and turning the power switch on, this product will automatically
enter the self-test phase. When it is in the self-test phase, the indicators M1 will be lighted ON for about 10
seconds, and then M1 will be flashed 3 times to indicate that the self-test operation has finished. Finally, the
M1 will be continuously flashed once per second to indicate that this product is in normal operation.
AirLive WT-200R User’s Manual
9