Exterior
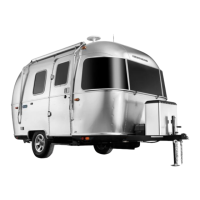
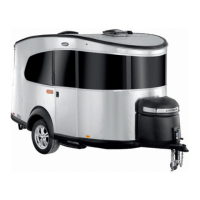
2017 Basecamp 6-3
General Information and Operation
Step
To operate the step, lift up on the front of the step and
pull straight out until step locks into place�
CAUTION
Once the steps are lowered, press down on them to
make sure they are secure in their notches. Never
travel with the step lowered or extended.
Main Door
The main door of the trailer is manufactured with a
built-in, keyed dead bolt and door lock� The door lock
is engaged from the outside by use of a key� The dead
bolt is engaged from the inside by turning the red knob
or from the outside by a key�
A main door hold-back is mounted on the trailer’s
exterior side skin� The hold-back secures the door to
the side of the trailer� When opening the door, latch the
hook into the eyelet on the door� To release the door,
unlatch the hold-back hook�
For lubrication and out-of-adjustment issues, refer to
Section 8 - Maintenance�
CAUTION
When towing, both locks must be secured. The
constant vibration of travel may cause the door to
open resulting in possible damage.
Screen Door
The screen door is secured to the threshold of the main
door and can be operated independently by sliding
and latching it via a magnet catch� This innovated door
takes a fresh approach to maximizing fresh air and
your view while offering a smooth and steady screen
operation�
Rear Door and Screen
The rear door provides easy access to the rear, as
well as, allowing for storage of larger items such as
canoes or bicycles� A removable screen door has
been provided that easily snaps to the door frame� The
screen door can be unsnapped at the sides and rolled
up for entry or completely removed and stored when
not in use�
Front End Protection
The front end of the trailer exterior shell is equipped
with a 3-M lm protective covering the lower corner
wraps. The 3-M lm provides added protection on the
shell from road damage�
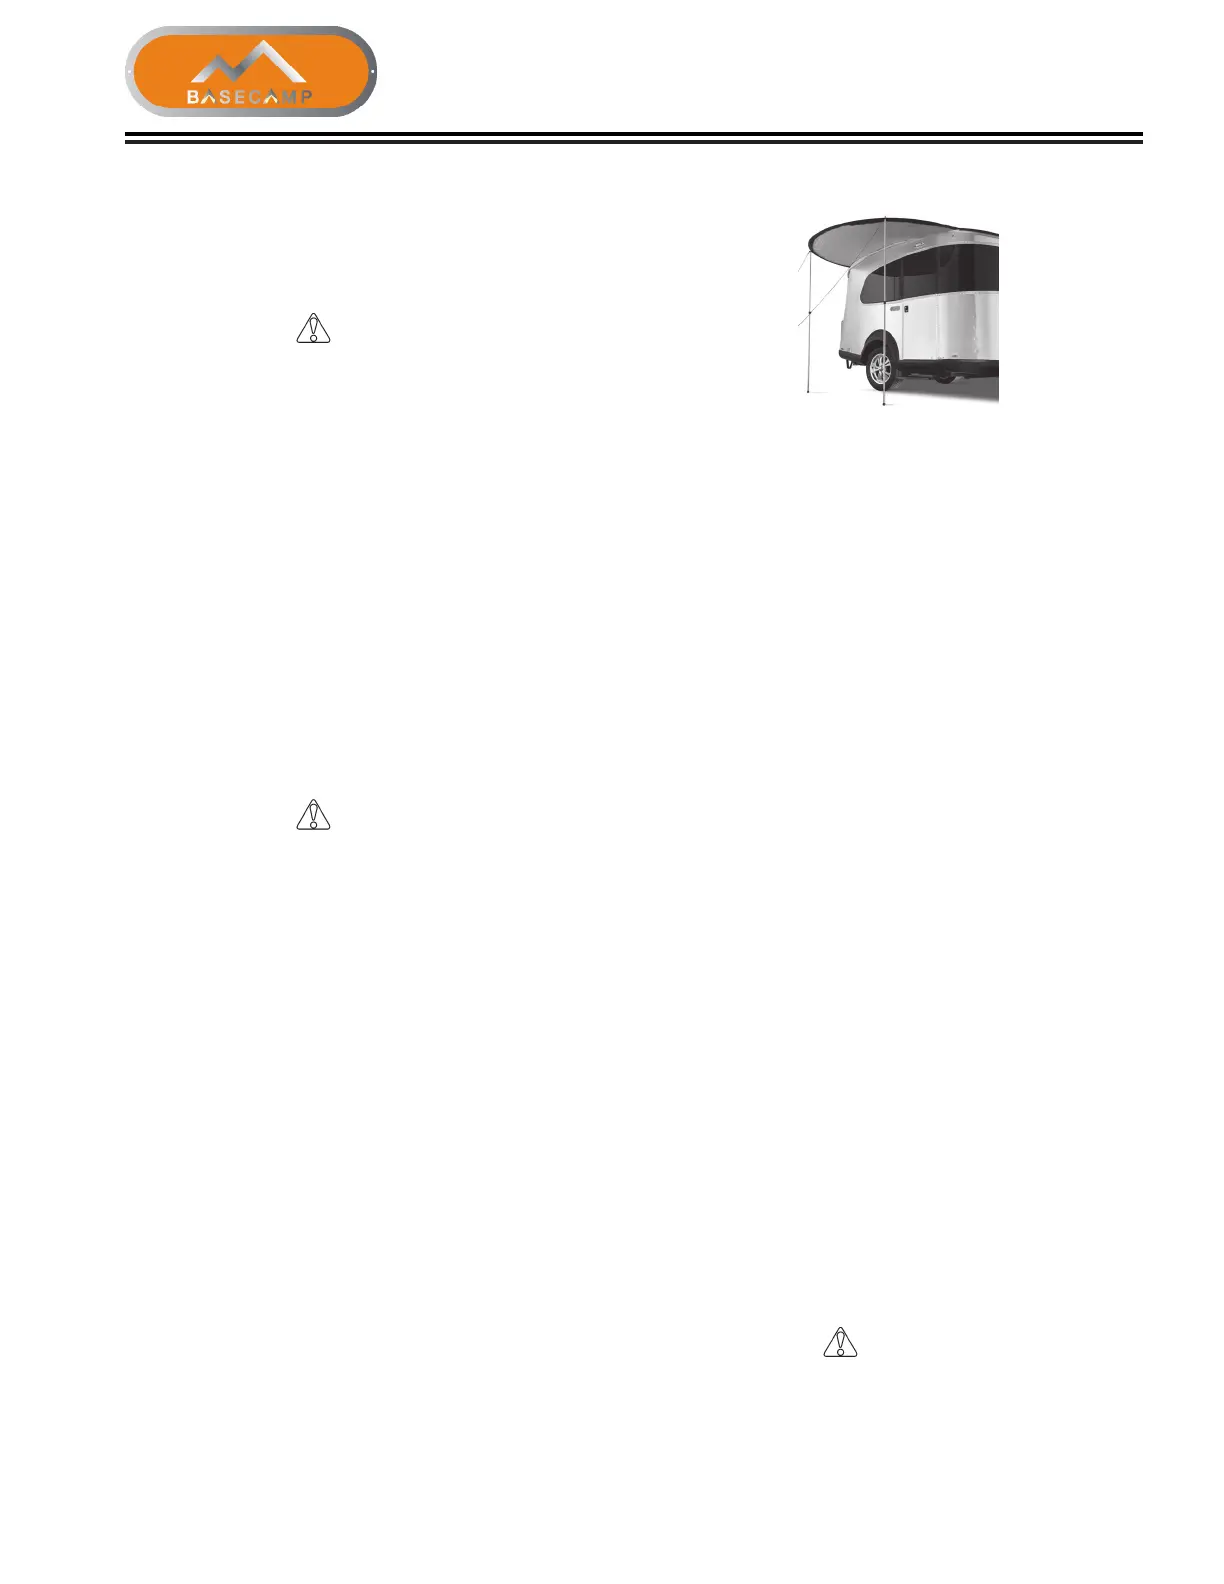
Visor
The Basecamp can be equipped with the included
removable visor designed for sun and light rain
protection over the door and curbside� The visor’s
primary function is sun protection, therefore, it should
be removed during heavy rain, wind, or snow� To
prevent water buildup during a light rain adjust the rear
pole lower and front pole higher to help shed water
towards the aft of the trailer� Complete instructions for
the visor has been provided with your owner’s packet�
Setting Up Your Visor
1� Assemble all of the poles� DO NOT allow the shock
cord to snap the pole sections together, as this can
damage the poles�
2� Lay the visor on a clean surface with the visor
body up-side-down� Locate the opening at the end
of the pole sleeve and insert the berglass pole
completely through the pole sleeve� Note that there
will be a good deal of tension on the pole and visor
body when inserted�
3� Lock the pole tip into the sleeve pocket�
4� Turn the visor right-side-up so that the pole sleeve
slit is facing down and towards the rear of your
trailer� Begin inserting the keder cord through the
keder rail on your trailer, starting at the rear and
working towards the trailer front�
5� Locate the two aluminum adjustable height awning
poles, adjustable guy lines, and ground stakes�
Install the two awning poles into the grommets on
the visor and adjust to your desired height� Finally,
extend the pre-attached guy lines at a 45° angle
and stake to the ground for added support�
When not in use the visor and poles can be folded
up and stored in the provided bag below the curbside
dinette seat�
CAUTION
The effects of wind and rain on the visor are
unpredictable. Severe damage to the trailer and/or
visor may result. Please remove the visor in heavy
wind or rain.






 To Next Page