Introduction
Saxophone
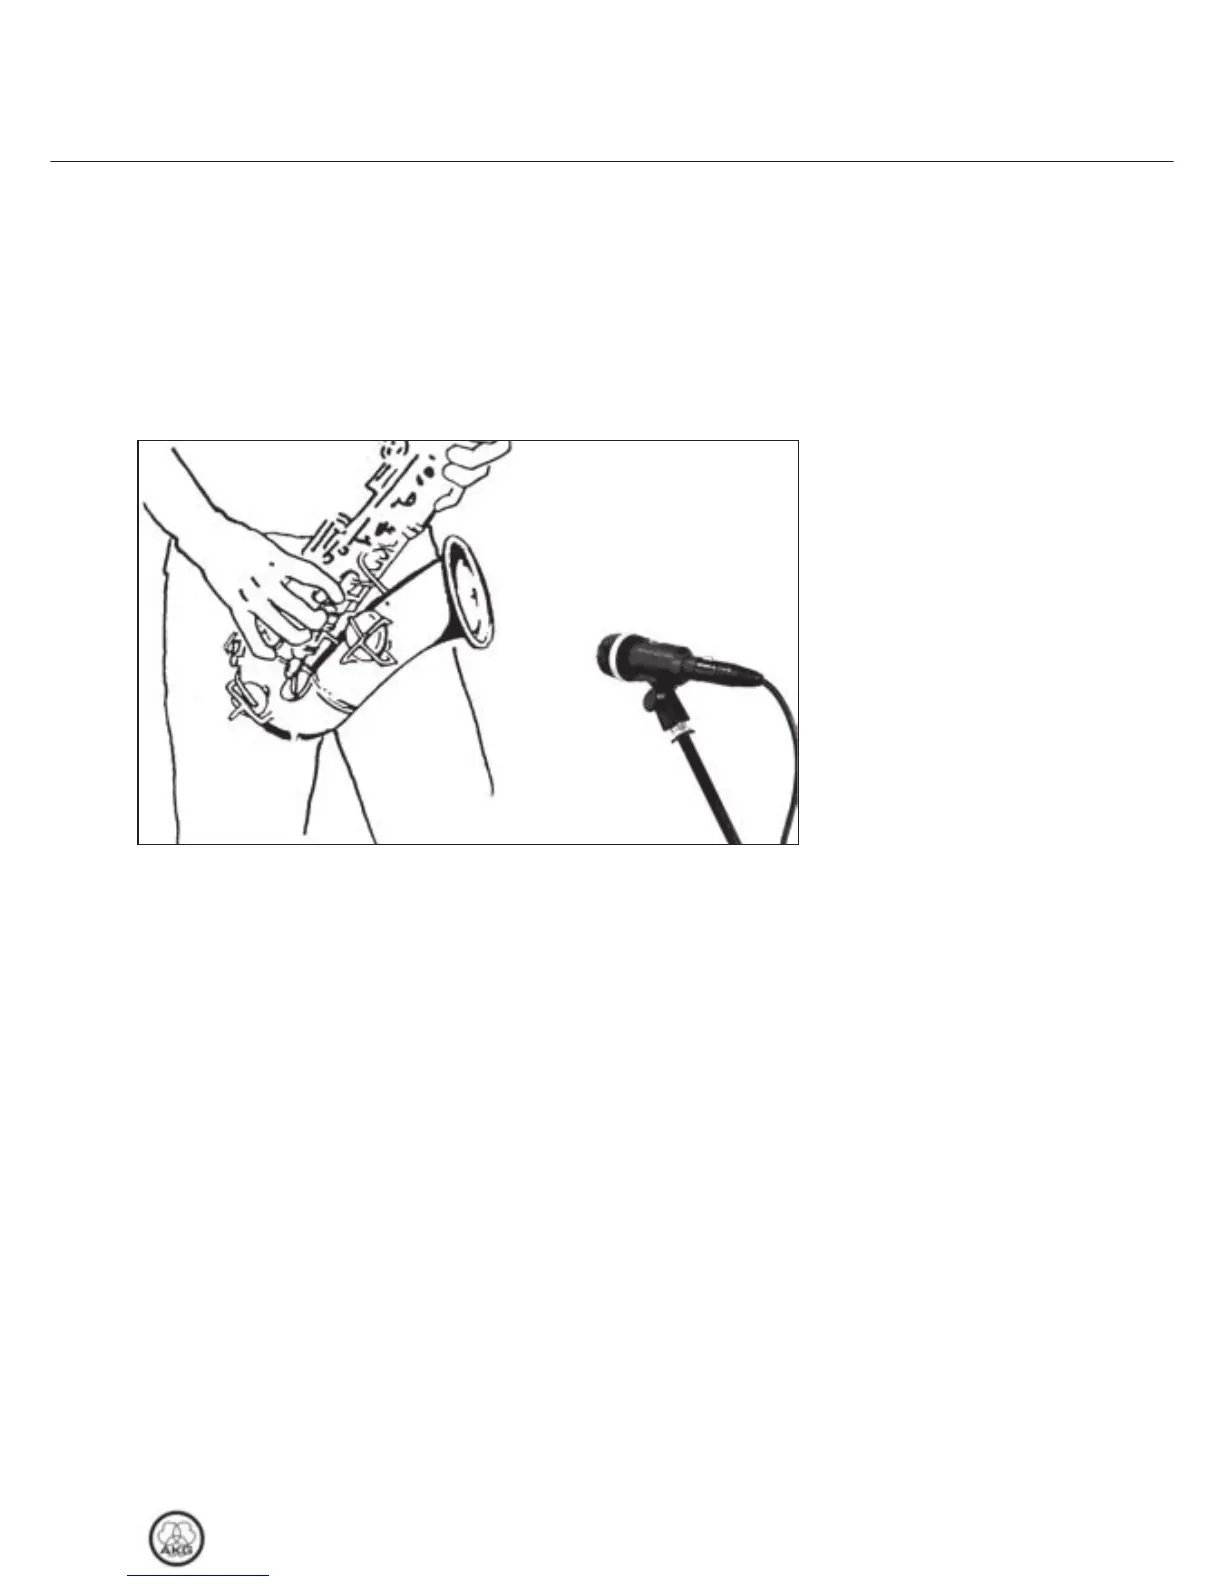
Fig. 1: Microphone
placement for the
saxophone.
Refer to fig. 1.
The best way to get the “right” sound is to experiment with mi-
crophone placement.The following sections contain useful sug-
gestions.
Please note that moving the microphone closer to the instru-
ment will boost the bass range. (This is known as “proximity ef-
fect”.)
If you consider the noise produced by the keys as characteristic
of the saxophone sound or the song, point the microphone at
the middle of the instrument.
However, if you want no key noise, direct the microphone to-
ward the front outer rim of the bell.
If you aim the microphone into the bell, you will get a high
amount of wind noise.
Optimum working distance is 8 to 12 inches.
On stage, you may have to move as close as
2 inches to the microphone in order to avoid getting feedback or
spillover from other instruments. In this situation, make sure not
to blow right into the microphone.
3 Using Your Microphone
D40
17