3 - Setup Wi-Fi on the MyQ® Garage Wi-Fi Hub
Method 1: Using Internet Connected Device
1)
Make note of the home Wi-Fi’s network name and its associated security
key/password.
2)
Plug in the Wi-Fi Hub. The Blue LED will blink.
3)
Make sure internet connected device’s Wi-Fi settings are on.
4)
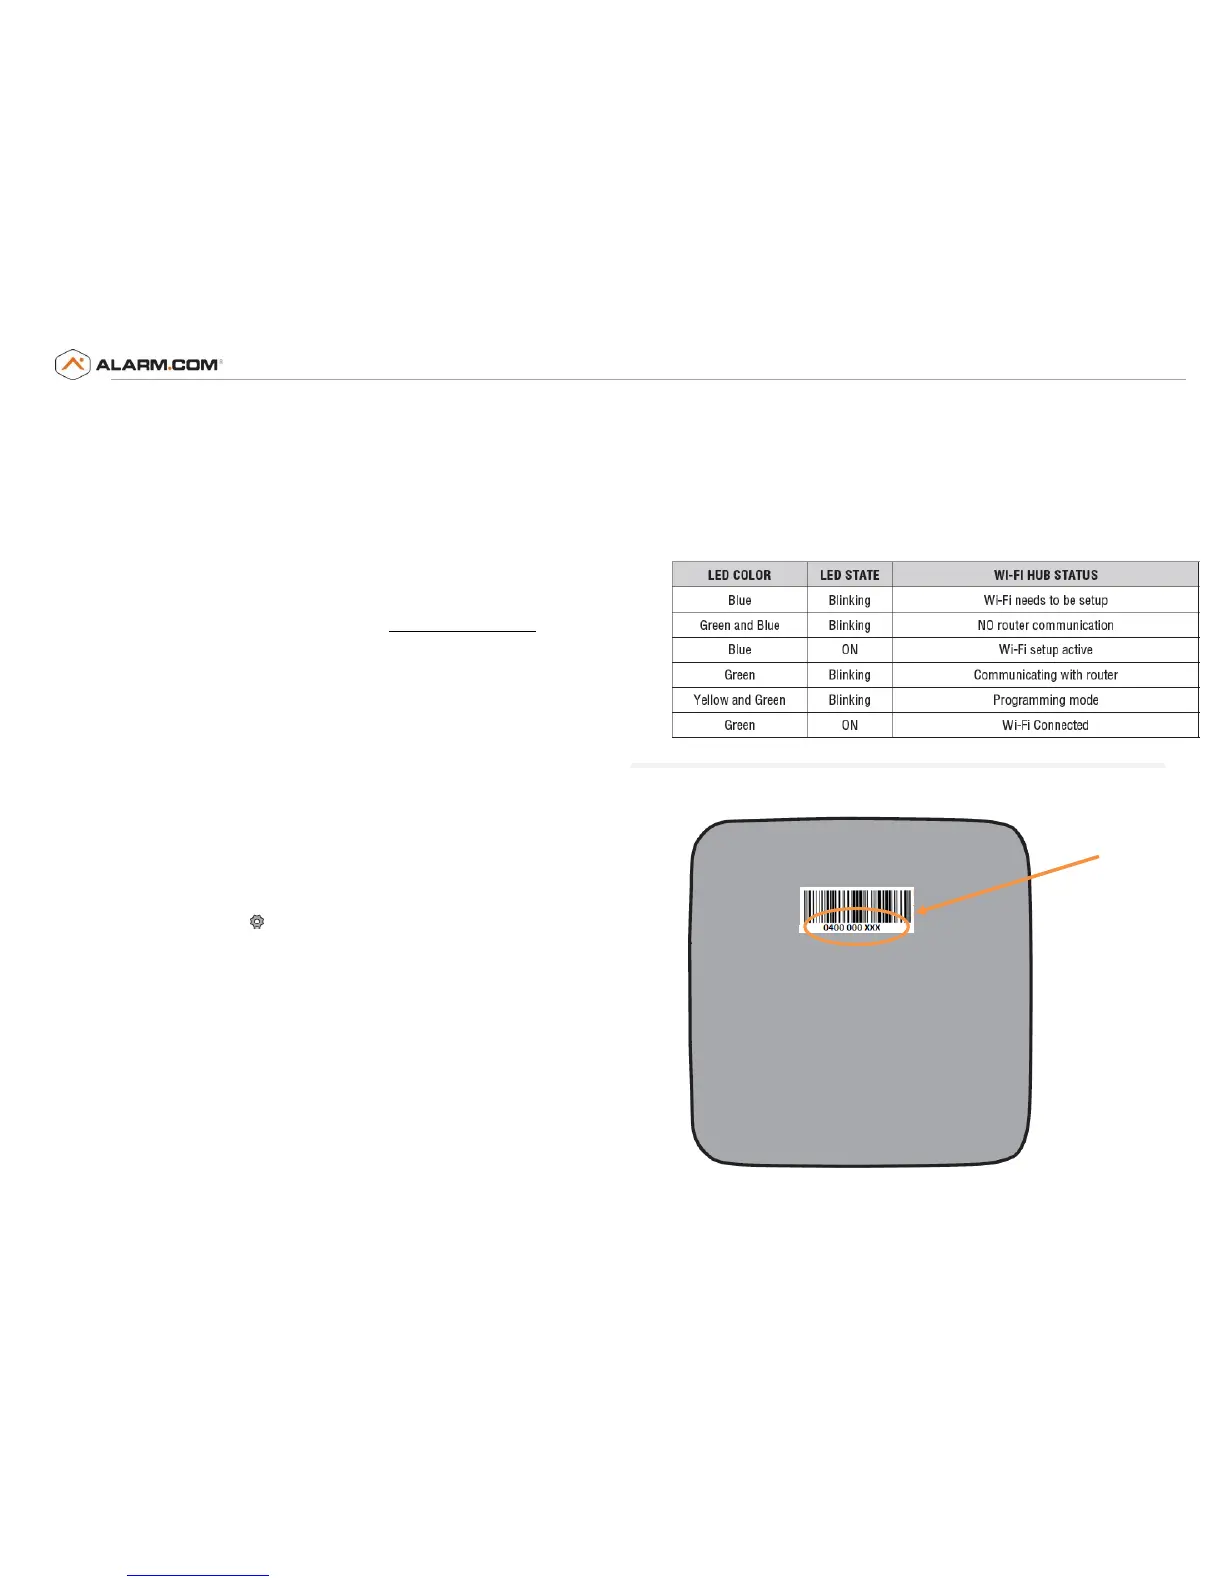
Locate the list of available Wi-Fi networks and select “MyQ-nnn” network.
“nnn” is the last 3 digits of the Wi-Fi Hub’s serial number.
5)
Launch the device’s web browser and type “setup.myqhome.com” into
the web browser’s address bar. If unable to load try using a different
browser.
6)
Follow the steps in the MyQ® Wi-Fi Setup page to complete the setup.
You will be required to enter the Wi-Fi name and password for the home
network.
7)
When prompted, do not install the MyQ® Garage app. When the LED light
is solid green, Wi-Fi connection has been established and you may close
the internet browser.
Method 2: Using WPS
1)
Put the Hub into WPS mode: With Hub powered and Blue LED blinking,
press/release the Hub’s BUTTON. The Hub’s Blue LED will turn on solid.
2)
Within one minute, press/release the WPS button on the router.
3)
Within a few minutes, the Hub will connect to the network and the Green
LED will turn on solid indicating successful connection.
Note: See troubleshooting for an alternative method using Bluetooth enabled
device.
LED Indicators:
Back of Wi-Fi Hub:
 Loading...