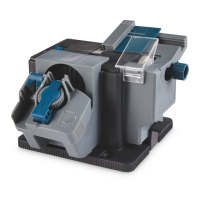
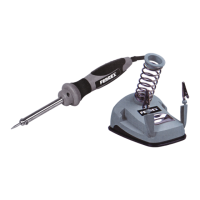
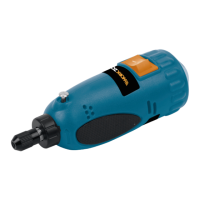
65 W Multifunctional sharpener
AFTER SALES SUPPORT
e-mail: info.aldi@positecgroup.com
1300 889 028
MODEL No.: BDS651 • 05/2021 • 705715
(toll free)
Sharpening scissors
WARNING: Before assembling the knife &
scissor sharpener module (7) , be sure the
sharpener is unplugged and the on/o switch (10) is
in ‘’O’’ position.
NOTICE! This module is suitable for all straight
edged, household knives and scissors only. Do not
use serrated edged blades.
1) Slide the knife & scissor sharpener module (7)
onto the side of the machine with the grinding wheel (1) . Make sure the
knife & scissor sharpener module (7) is locked in place.
2) Insert the plug into the mains power socket and switch on the power.
Move the on/o switch (10) to the “I” position to turn the sharpener on.
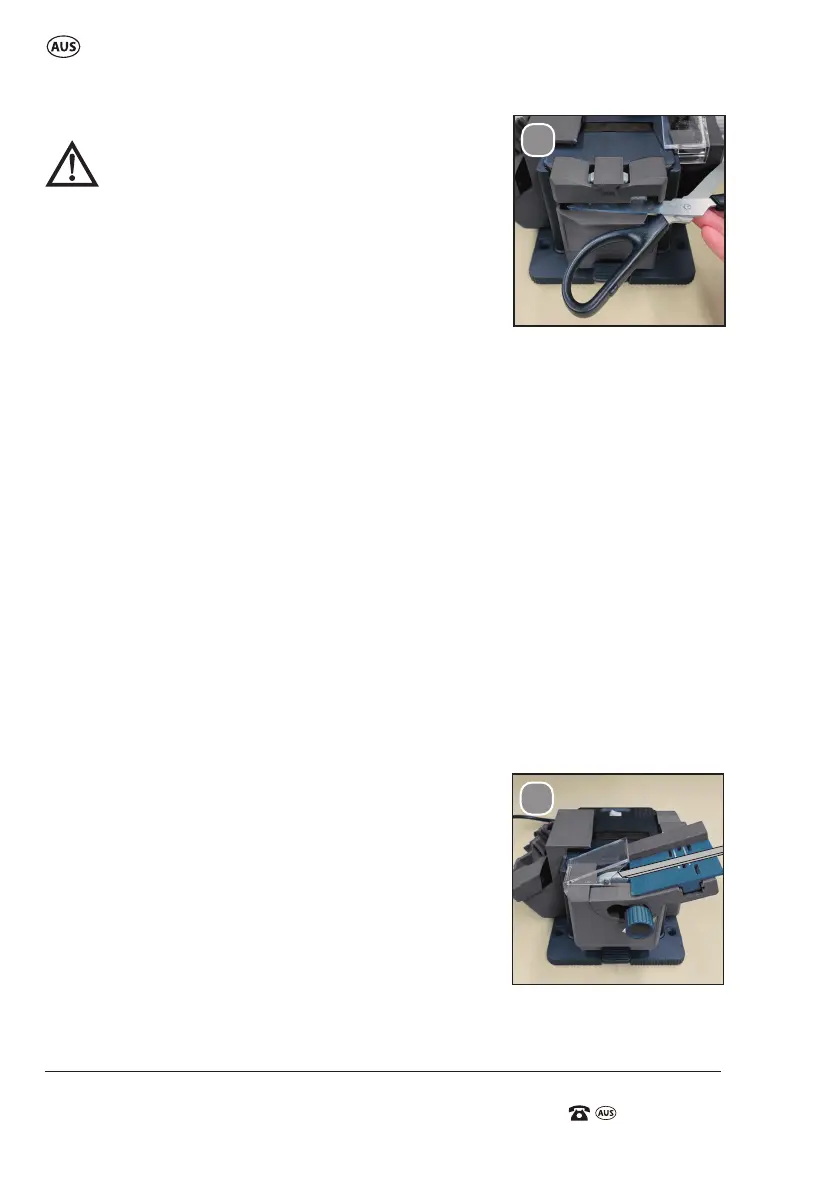
3) Open the scissors fully.
4) Slide the rst scissor blade through the scissor sharpening slot (8) . Keep
the pivot of the scissors and other blade to the right hand side (See Fig. D).
5) Draw the blade across the grinding wheel (1) from pivot to tip. Use a light
steady pressure, do not press too hard.
6) Remove and turn scissors over to sharpen the second blade. Keep the
pivot to the right and sharpen from pivot to tip.
7) Repeat if necessary, until clean sharp edges are achieved.
8) When you have nished sharpening, turn o the sharpener by moving
the on/o switch (10) to the “O” position. Before removing the module,
ensure that the grinding wheel has stopped.
Sharpening chisel & planer blades
Before assembling the chisel & planer sharpener
module (11) , be sure the sharpener is unplugged
and the on/o switch (10) is in ‘’O’’ position.
1) Slide the chisel & planer sharpener module(11)
onto the side of the machine with the grinding
wheel (1). Make sure the chisel & planer sharpener
module (11) is locked in place.
2) Place the blade against the back lip of the plate.
The magnet helps to hold it in place (See Fig. E1).
3) The sharpening angle must match the existing
beveled angle on the blade tip. Adjust, if necessary.
D.
E1.
13