14
AFTER SALES SUPPORT
support@scheppach.com.au
1300 855 831
MODEL: NTS16 PRODUCT CODE: 706650 10/2021
AUS
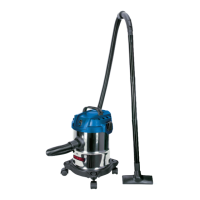
Assembly NTS16
VII. Assembly
m IMPORTANT!
Prior to use, ensure that the device has been correctly and fully assembled.
Unpacking (Fig. 1, 2, 3)
1 Release the locking hooks (4) and remove the machine head (2). The accessories
are located inside the container (6). Only the plastic extension tubes (3x) are locat-
ed outside the container (6), in the packaging. Remove all of the accessories from
the container (6).
Installing the castors (Fig. 4)
1. Press the four castors (5) into the holes in the castor mounts.
Installing the machine head (2) (Fig. 5)
1 Place the machine head (2) on the container (6). Secure the machine head (2) with
the locking hooks (4). When installing the machine head (2), ensure that the locking
hooks (4) latch into place correctly.
Installing the foam lter (13) (Fig. 6)
Never use the device without lter! Always ensure that the lters are correctly tted!
Installing the foam lter (13): For wet vacuuming, slide the foam lter (13) provided
over the lter basket with safety oat valve (11).
Installing the paper lter bag (14) (Fig. 7)
It is recommended to use an additional paper lter bag (14) when vacuuming ne, dry
dirt. Slide the paper lter bag (14) over the suction opening in the container (6). The
paper lter bag (14) is only suitable for dry vacuuming. The paper lter bag (14) makes
it easier to dispose of the dust collected.
Fitting the cloth lter (Fig.2/3)
For dry vacuum cleaning always use the supplied cloth lter (18) additionally to the
paper lter bag (14). Slip the cloth lter (18) over the lter basket (11).
Installing the suction hose (Fig. 8, 9)
Connect the suction hose (12) to the corresponding port, depending on the desired
use, on the wet and dry vacuum.