First use
Checking the laminator and product contents
NOTICE!
Risk of damage!
If you are not cautious when opening the packaging with a sharp
knife or other pointed object, you may easily damage the laminator.
− For this reason, be very careful when opening the packaging.
1. Take the laminator out of the packaging.
2. Check whether the laminator or the individual parts exhibit damage. If this is the
case, do not use the laminator. Contact the manufacturer at the service address
specified on the warranty card.
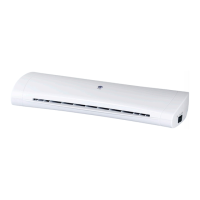
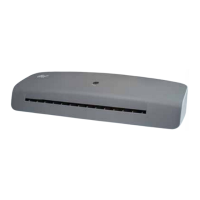
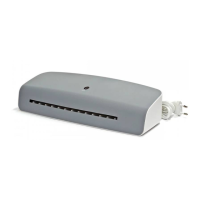
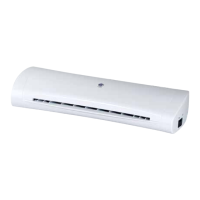
3. Check to make sure that the delivery is complete (see fig. A).
Setting up the laminator
1. Position the laminator so that there is enough space to insert a laminating
pouch
5
. Do not position the laminator directly in front of a wall or other
objects.
2. Connect the mains plug to a properly installed socket with an earth link
(220–240V = house connection).
Activating / deactivating the laminator
1. Switch the multi-function switch
7
to “I” (COLD) to switch the laminator on for
cold lamination (see fig. C).
2. Move the multi-function switch to “II” (HOT) to switch the laminator to hot
lamination.
The READY indicator with thermo-transfer-technology
1
will turn
from blue to red once the laminator has reached the correct
temperature for hot lamination. The preheating time may vary
depending on the ambient temperature and air humidity.
3. Move the multi-function switch to “O” (OFF) to switch the laminator off.