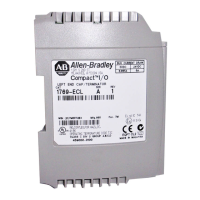
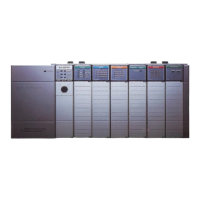
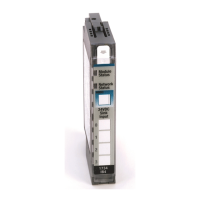
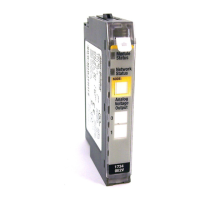
The Allen-Bradley Compact I/O Thermocouple/mV Input Module (Catalog Numbers 1769-IT6) is a solid-state device designed for use in control systems, particularly with MicroLogix 1500 or CompactLogix controllers. This user manual provides comprehensive information for designing, installing, programming, and troubleshooting these modules.
Function Description:
The 1769-IT6 module is a thermocouple/millivolt input module that supports thermocouple and millivolt signal measurement. It digitally converts and stores thermocouple and/or millivolt analog data from any combination of up to six thermocouple or millivolt analog sensors. Each input channel is individually configurable for specific input device, data format, and filter frequency. The module also provides open-circuit, over-range, and under-range detection and indication.
When the module receives a differential input from an analog device, its circuitry multiplexes the input into an A/D converter. The converter reads the signal and converts it as required for the type of input. The module continuously samples the Cold Junction Compensation (CJC) sensors and compensates for temperature changes at the terminal block cold junction, between the thermocouple wire and the input channel. For thermocouple input types, the module converts the analog input voltages into cold-junction compensated and linearized digital temperature readings using the National Institute of Standards and Technology (NIST) ITS-90 standard. For millivolt inputs, the module converts the analog values directly into digital counts.
Important Technical Specifications:
- Current Draw:
- 100 mA for 5V DC
- 40 mA for 24V DC
- Input Types: Thermocouple (J, K, T, E, R, S, B, N, C types) and Millivolt (±50 mV, ±100 mV).
- Thermocouple Temperature Ranges:
- J: -210...1200 °C (-346...2192 °F)
- K: -270...1370 °C (-454...2498 °F)
- T: -270...400 °C (-454...752 °F)
- E: -270...1000 °C (-454...1832 °F)
- R: 0...1768 °C (32...3214 °F)
- S: 0...1768 °C (32...3214 °F)
- B: 300...1820 °C (572...3308 °F)
- N: -270...1300 °C (-454...2372 °F)
- C: 0...2315 °C (32...4199 °F)
- CJC Sensor: 0...85 °C (32...185 °F)
- Millivolt Input Ranges:
- ±50 mV: -50...50 mV
- ±100 mV: -100...100 mV
- Data Formats (Configurable):
- Engineering units x 1
- Engineering units x 10
- Scaled-for-PID
- Percent of full-scale
- Raw/proportional data
- Filter Frequencies (Configurable per channel): 10 Hz, 50 Hz, 60 Hz, 250 Hz, 500 Hz, 1000 Hz.
- Wiring Guidelines:
- Power and input wiring must be in accordance with Class I, Division 2 wiring methods, Article 501-4(b) of the National Electric Code, NFPA 70, and in accordance with the authority having jurisdiction.
- Channels are isolated from one another by ±10V DC maximum.
- Route field wiring away from any other wiring and keep it as far as possible from sources of electrical noise, such as motors, transformers, contactors, and AC devices. As a general rule, allow at least 15.2 cm (6 in.) of separation for every 120V of power.
- Routing field wiring in a grounded conduit can reduce electrical noise.
- If field wiring must cross AC or power cables, be sure that they cross at right angles.
- If multiple power supplies are used with analog millivolt inputs, the power supply commons must be connected.
- Terminal Block Guidelines:
- Do not use the module’s NC terminals as connection points.
- Do not tamper with or remove the CJC sensors on the terminal block. Removal of either one or both sensors will reduce accuracy.
- For millivolt sensors, use Belden 8761 shielded, twisted-pair wire (or equivalent) to be sure of proper operation and high immunity to electrical noise.
- For a thermocouple, use the shielded, twisted-pair thermocouple extension lead wires specified by the thermocouple manufacturer. Using the incorrect type of thermocouple extension wire or not following the correct polarity will cause invalid readings.
- To be sure of optimum accuracy, limit overall cable impedance by keeping a cable as short as possible. Locate the module as close to input devices as the application permits.
- Grounding Guidelines:
- This product is intended to be mounted to a well-grounded mounting surface such as a metal panel. Additional grounding connections from the module to mounting rail or DIN rail (if used) are not required unless the mounting surface cannot be grounded.
- Keep cable shield connections to ground as short as possible.
- Ground the shield drain wire at one end only. The preferred location is as follows:
- For grounded thermocouples or millivolt sensors, this is at the sensor end.
- For insulated/ungrounded thermocouples, this is at the module end.
- Contact your sensor manufacturer for additional details.
- Refer to Industrial Automation Wiring and Grounding Guidelines, Allen-Bradley publication 1770-4.1, for additional information.
Usage Features:
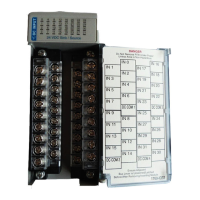
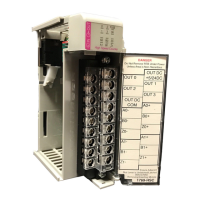
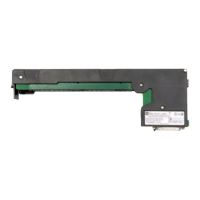
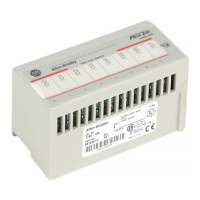
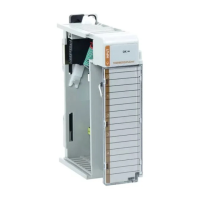
- Removable Terminal Block: The module contains a removable terminal block for easy wiring and maintenance.
- Differential Inputs: Channels are wired as differential inputs.
- Cold Junction Compensation (CJC): Two CJC sensors are attached to the terminal block to enable accurate readings by compensating for offset voltages introduced at the cold-junction.
- Module Configuration: Configuration is typically done via the controller's programming software, with some controllers supporting configuration via the user program. The configuration is stored in the controller's memory.
- System Operation: After power-up, the module performs internal circuit, memory, and basic function checks. If no faults are found, the module status indicator remains off. If an invalid configuration is detected, the module generates a configuration error. Once a channel is properly configured and enabled, it continuously converts the thermocouple or millivolt input value to a value within the range selected for that channel.
- Data Interpretation: The controller reads the two's complement binary converted thermocouple or millivolt data from the module. This typically occurs at the end of the program scan or when commanded by the control program.
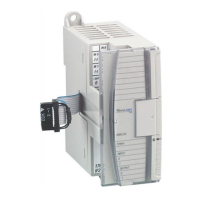
- Mounting: The module can be panel or DIN rail mounted. Modules can be assembled before or after mounting.
- Electrical Noise Reduction: To reduce the effects of electrical noise, install the 1769-IT6 module at least two slots away from Compact I/O 120/240V AC power supplies.
- Bus Lever System: Modules are secured together using upper and lower tongue-and-groove slots and a bus lever system that allows communication between the controller and module.
Maintenance Features:
- Module Field Calibration: The module provides autocalibration, which compensates for offset and gain drift of the A/D converter caused by temperature change within the module. An internal high-precision DC drift voltage and system ground reference are used for this purpose. The input module performs autocalibration when a channel is initially enabled. Additionally, the module can be programmed to perform a calibration cycle every 5 minutes. Refer to "Selecting Enable/Disable Cyclic Calibration (word 6, bit 0) on page 50" for information on configuring the module to perform periodic autocalibration.
- Status Indicator: The module contains a diagnostic status indicator that helps identify anomalies during power-up or normal channel operation. Power-up and channel diagnostics are explained in "Chapter 5, Diagnostics and Troubleshooting."
- Safety Considerations:
- WARNING: Identifies information about practices or circumstances that can cause an explosion in a hazardous environment, which may lead to personal injury or death, property damage, or economic loss.
- ATTENTION: Identifies information about practices or circumstances that can lead to personal injury or death, property damage, or economic loss. Attentions help you identify a hazard, avoid a hazard, and recognize the consequence.
- SHOCK HAZARD: Labels may be on or inside the equipment, for example, a drive or motor, to alert people that dangerous voltage may be present.
- BURN HAZARD: Labels may be on or inside the equipment, for example, a drive or motor, to alert people that surfaces may reach dangerous temperatures.
- Power Removal: Remove power before removing or inserting this module. If you remove or insert a module with power applied, an electrical arc may occur.