M
marissa88Aug 3, 2025
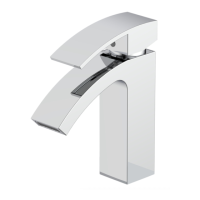
Why is my Allen + Roth Bathroom Fixtures aerator leaking or has inconsistent water flow?
- RRobert JonesAug 3, 2025
The aerator may be leaking or have an inconsistent water flow because it is either dirty or misfitted. To resolve this, remove the aerator, inspect it for any debris within the screens, and ensure that the rubber washer is correctly installed.