
B
Blake BrownAug 8, 2025
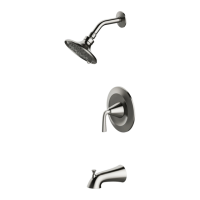
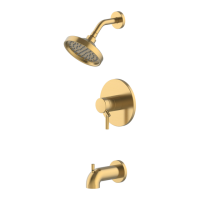
What to do if Allen + Roth 870X-504408 Bathroom Fixtures showerhead has reduced water flow?
- JJane GonzalezAug 8, 2025
If your Allen + Roth Bathroom Fixtures showerhead has reduced water flow, it might be due to debris clogging the showerhead connection. To resolve this, remove the showerhead and clear any debris that you find. If the problem persists after cleaning, contact customer service for a new showerhead and replace it after you receive it.