Specification Model Requirement
Steam inlet con-
nection size, in.
BSP
7.5 kg - 28 kg /
20 lb. - 70 lb. /
75 L - 280 L
1/2
35 kg - 52 kg /
80 lb. - 120 lb. /
332 L - 520 L
3/4
Table 39
IMPORTANT: It is necessary to insert a filter with per-
meability up to 0.01
18 in. [300 µm] in front of the steam
valve. Dirt larger than 0.0118 in. [300 µm] may damage
the steam valve and cause leaks.
NOTE: Failure to install the customer supplied steam
filter may void the warranty.
Use an inlet steam pressure hose only adapted to the steam valve
with appropriate seal suitable for the applied working pressure.
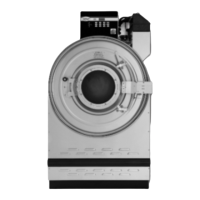
Steam Valve Installation
1. Remove the rear cover.
2. Fit the bracket with the steam valve and filter onto the rear
part of machine.
3.
Connect steam hose to steam valve.
4. Connect the cable to the steam coil.
5. Fit rear cover back to its original place.
1. Bracket
2. Steam hose
3. Cable
4. Steam coil
Figure 34
Chemical Injection Supply System
NOTE: Read Important Safety Instruction first.
Supply Dispensing
Number of external liquid supply connections 8
Liquid supply connection size, in. [mm] 5/16 [8]
Number of diluted liquid soap supply connec-
tions
3
Diluted liquid soap supply connection size, in.
[mm]
7/16 [11.5]
Table 40
NOTE: Always use liquid soap pumps with a flow that
bring the requested quantity in less than 30 sec.
IMPORTANT: Start pumping immediately after water
valves are open. The incoming water dilutes the liquid
soap and brings it into the tub assembly.
Secure the location of the wiring and hoses so they can not be
pinched, damaged or rubbed. Before you start to use liquid soap,
Installation
©
Copyright, Alliance Laundry Systems LLC -
DO NOT COPY or TRANSMIT
67 Part No. D1599ENR16
 Loading...