Installation and Safety Guide
9
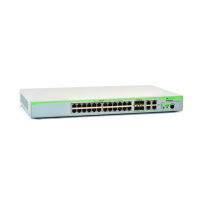
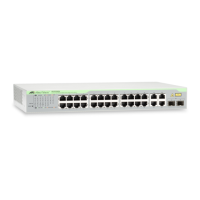
In a 19-inch rack
1. Ensure the rack has sufficient space for the switch and its cables. For the
switch’s requirements, see “Selecting a Site” on page 6.
2. Install cage nuts at the front of the rack so they are ready for the rack-
mount screws in the following steps.
3. Unpack the switch.
It may be helpful to temporarily remove any PSU or FOM so that the switch
is lighter and easier to manipulate during installation. For more information,
see the Removable Power Supply and Fan Installation Guide.
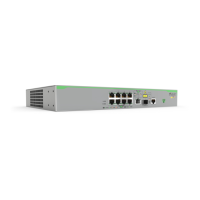
4. Screw one bracket to each side of the switch using the M4 screws provided.
On the x900-12XT switch, you can use the alternative set of holes on the
rack mount bracket to mount the switch further back in the rack.
For NEBS ensure the rack and hardware have been pre-treated, as
described in “Preparation for NEBS” on page 7.
Fitting a bracket on an x900-12XT/S switch
 Loading...