5
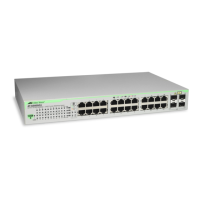
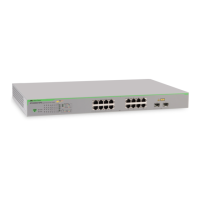
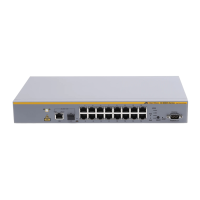
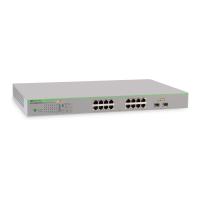
Figure 1. AT-GS950/16 and AT-GS950/24 Front Panels ....................................................................................................15
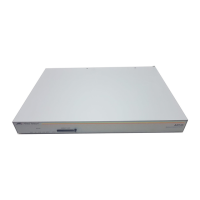
Figure 2. AT-GS950/16 and AT-GS950/24 Back Panels.....................................................................................................15
Figure 3. AT-GS950/16 and GS950/24 System and Port LEDs..........................................................................................18
Figure 4. Power Workgroup Topology.................................................................................................................................24
Figure 5. Collapsed Backbone - Hub Topology...................................................................................................................25
Figure 6. Attaching the Rubber Feet ...................................................................................................................................33
Figure 7. Attaching the Rack-Mount Bracket to the AT-GS950/16......................................................................................34
Figure 8. Attaching the Rack-Mount Bracket to the AT-GS950/24......................................................................................34
Figure 9. Mounting the AT-GS950/16 Switch on the Rack ..................................................................................................35
Figure 10. Mounting the AT-GS950/24 Switch on the Rack................................................................................................35
Figure 11. Removing the Dust Plug from the SFP Slot .......................................................................................................37
Figure 12. Inserting the SFP................................................................................................................................................38
Figure 13. Connecting the Twisted Pair Data Cables..........................................................................................................39
Figure 14. Removing the Dust Plug from the SFP...............................................................................................................40
Figure 15. Connecting the Fiber Optic Cable ......................................................................................................................40
Figure 16. Plugging in the AC Power Cord..........................................................................................................................41
Figure 17. Connecting the Console Cable...........................................................................................................................42
Figure 18. Login Menu.........................................................................................................................................................43
Figure 19. Main Menu..........................................................................................................................................................43
Figure 20. RJ-45 Connector and Port Pin Layout................................................................................................................48
Figures
 Loading...