
D
dlewisAug 11, 2025
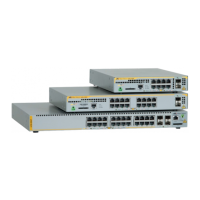
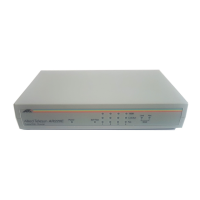
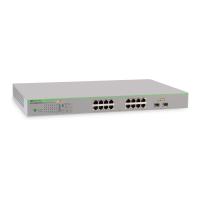
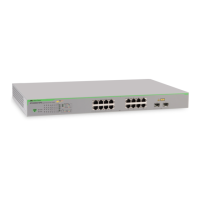
Why is the Allied Telesis Switch power LED off?
- EErica GuerraAug 11, 2025
The unit might not be receiving power. Please verify that the power cord is securely connected to both the power source and the AC connector on the back of the Allied Telesis switch. Also, ensure the power outlet is functional by testing it with another device. Try connecting the unit to an alternative power source or using a different power cord. Confirm that the voltage from your power source matches the required levels for your region.