FR
ES
DE
SE
IT
5-EN
Basic
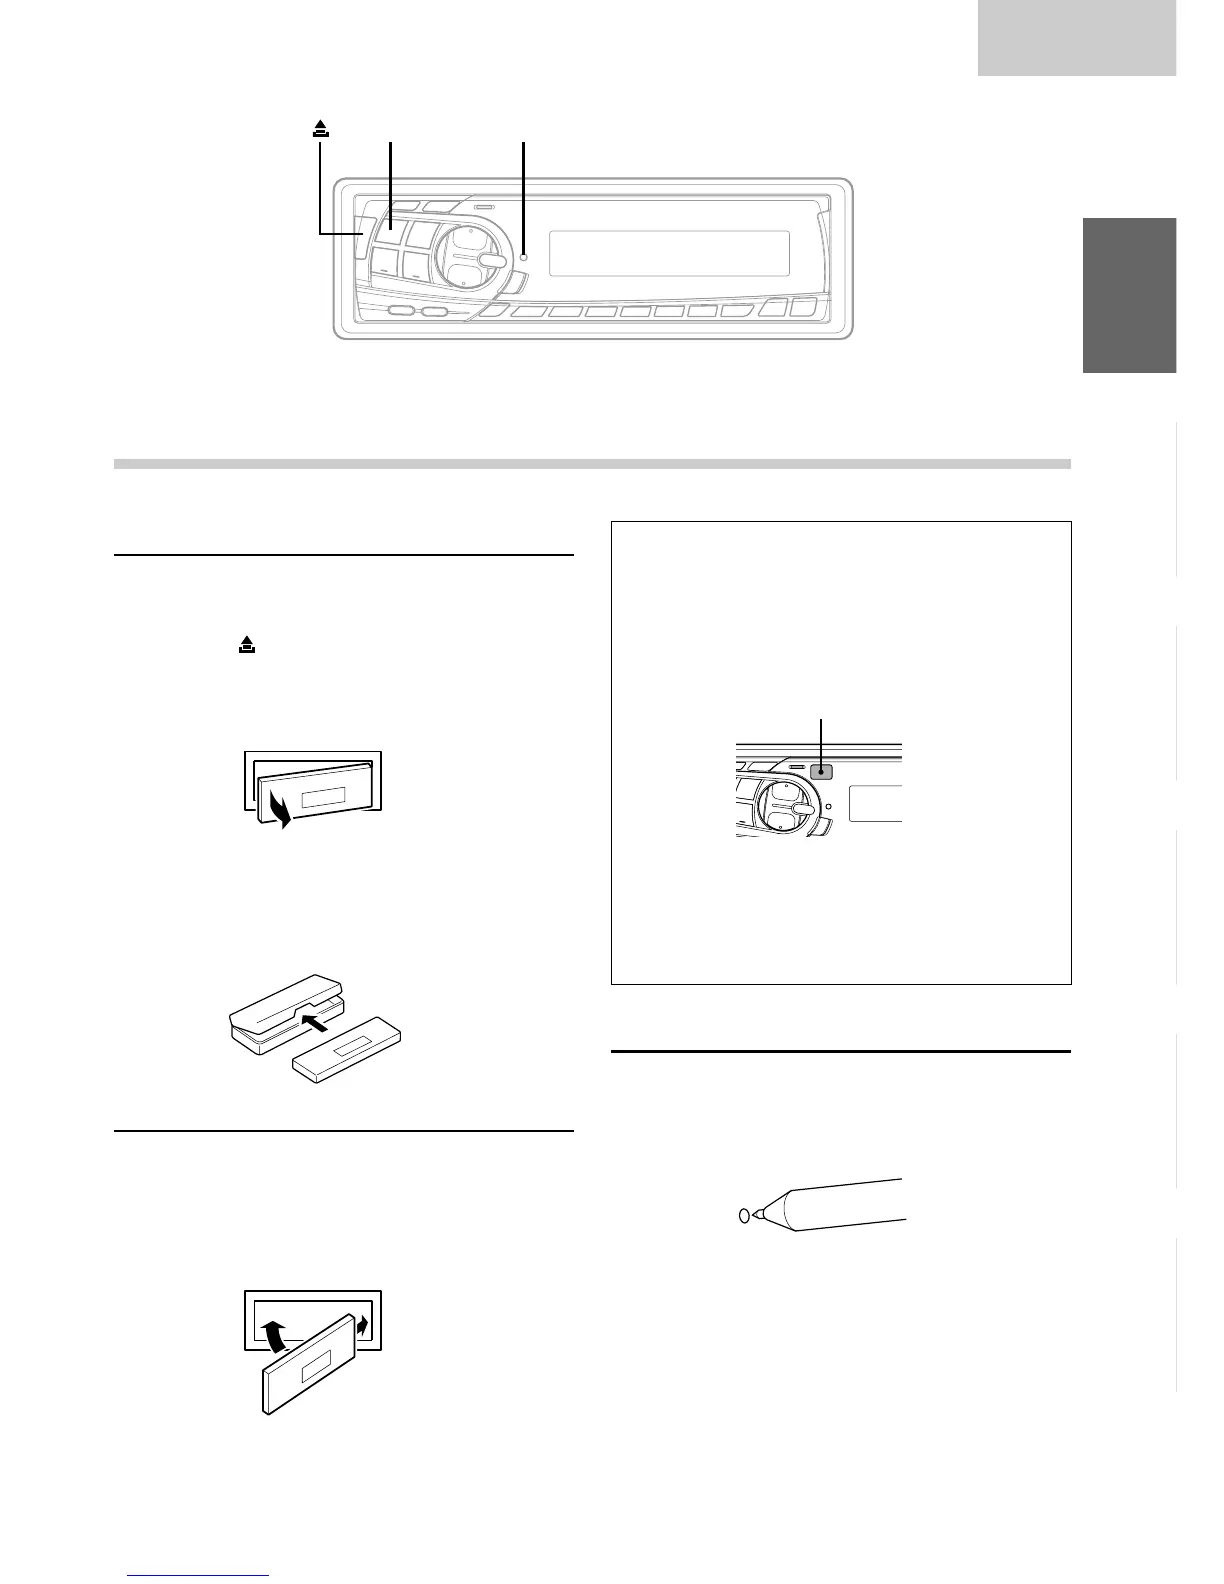
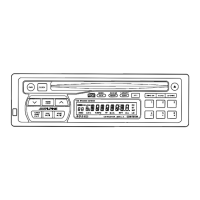
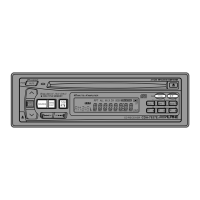
Detaching the Front Panel
1 Press the POWER button for more than 3
seconds to turn off the power.
2 Press the (Release) button at upper left side
until the front panel pops out.
3 Grasp the left side of the front panel and pull it
out.
NOTES
• The front panel may become hot in normal usage
(especially the connector terminals), this is not
malfunction.
• To protect the front panel, place it in the supplied
carrying case.
Attaching the Front Panel
1 First, insert the right side of the front panel into
the main unit. Align the groove on the front panel
with the projections on the main unit.
2 Push the left side of the front panel until it locks
firmly into the main unit.
NOTE
Before attaching the front panel, make sure that there is
no dirt or dust on the connector terminals and no
foreign object between the front panel and the main
unit.
Basic Operation
2
11
• Controlable with Remote Control
This unit can be controlled with an optional
Alpine remote control. For details, consult your
Alpine dealer.
Point the optional remote control transmitter at
the remote control sensor.
•
Connectable to Remote Control Interface Box
You can operate this unit from the vehicle's
control unit when an Alpine Remote Control
Interface Box (optional) is connected. For
details, contact your Alpine dealer.
Initial System Start-Up
Immediately after installing or applying power to the
unit, it should be initialized. Press the RESET switch
with a ballpoint pen or any other pointed object.
POWER RESET
Remote control sensor