29-EN
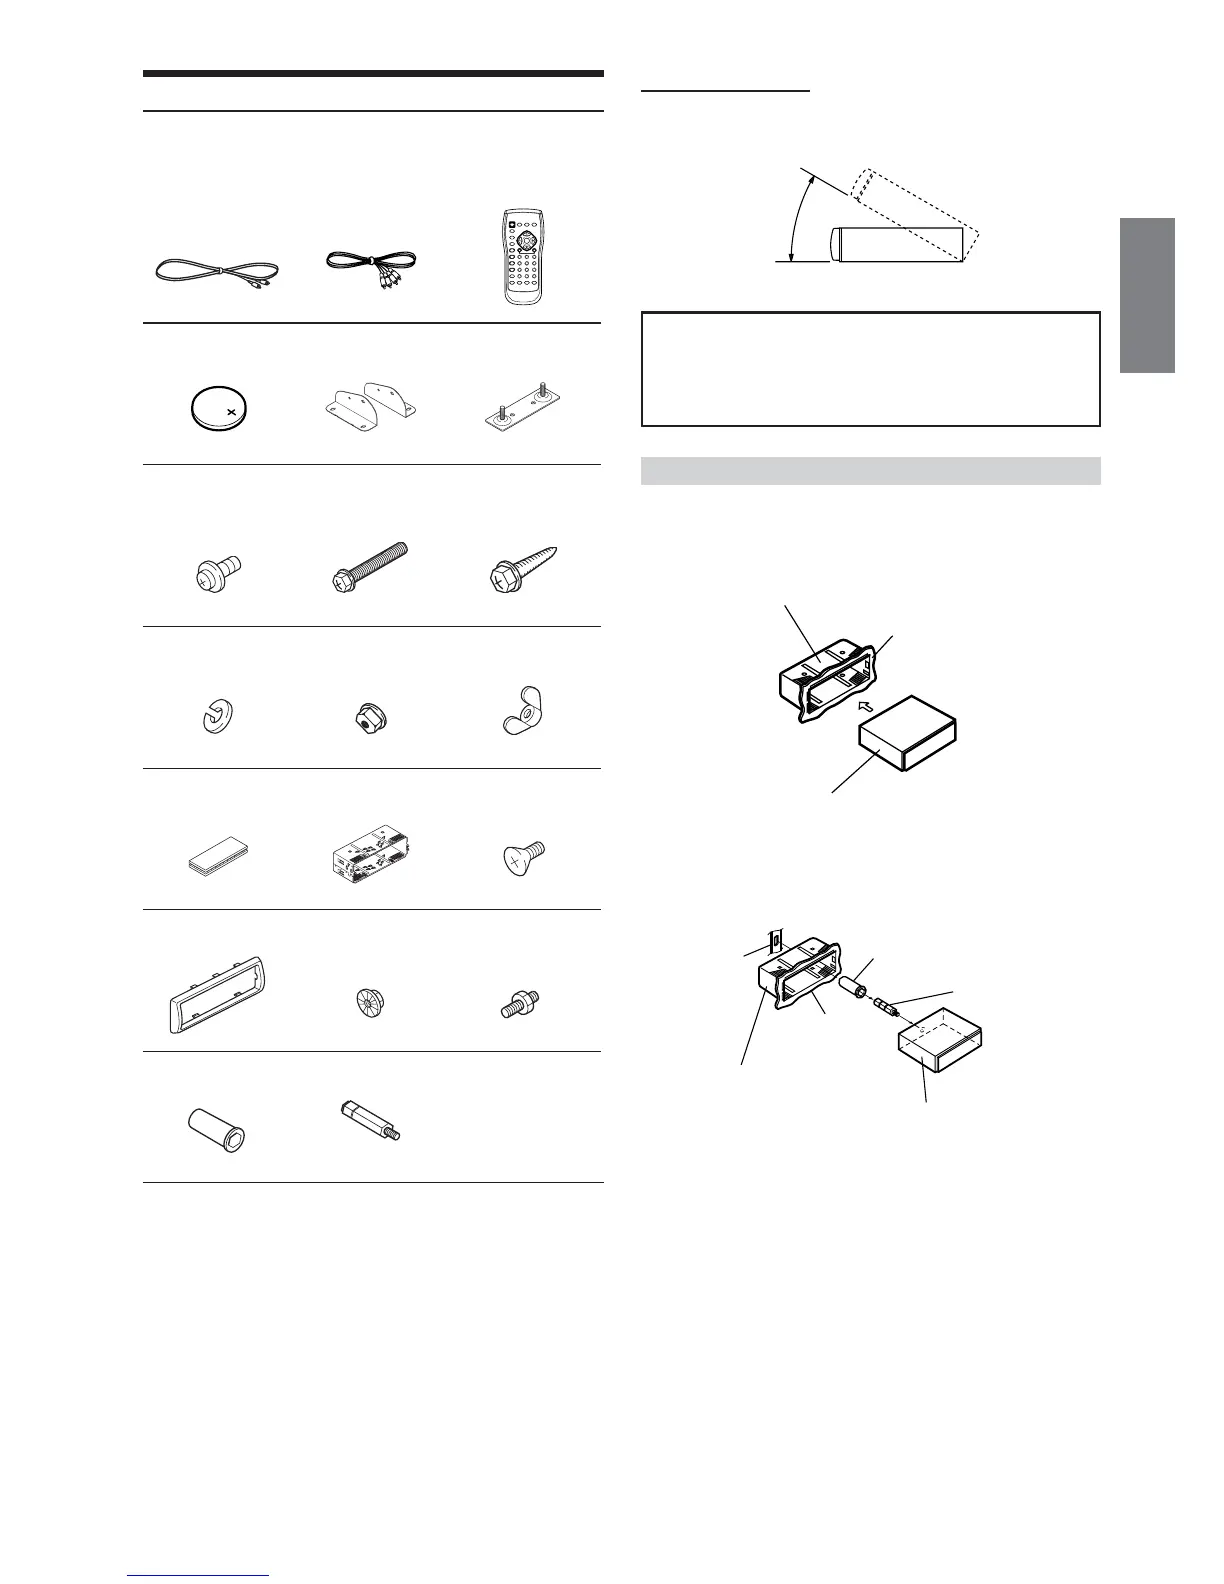
When installing into the dash board
Caution for installation
Be sure to remove the mounting sleeve squarely from the product,
refer to “Removal” (page 30).
1
• Remove the wrapping from the unit.
2
Slide the mounting sleeve into the dashboard and fix it with the
metal shackles.
Continued
Installation
Check accessory parts.
RCA-extension
cable (for video
signal 2m)
Battery (CR2025)
3 Screw with
double washer
(M5 × 10)
6 Spring washer
(M6)
9 Velcro fastener
# Front frame
& Rubber cap
RCA-extension
cable (for audio
signal 2m)
1 Bracket
4 Hex bolt (M6 × 50)
7 Flanged head hex
nut (M6)
! Mounting sleeve
$ Hex nut (M5)
( Hex bolt (M5 × 7)
Remote control
2 Floor base
5 Flanged self-
tapping screw
(M5 × 15)
8 Wing nut (M6)
" Flat head screw
(M5 × 8)
% Bolt stud
x 1 x 1 x 1
x 1
(1 each left and right)
x 2
x 4 x 4 x 4
x 4 x 4 x 4
x 2 x 1 x 4
x 1 x 1 x 1
x 1 x 1
Installation Location
Before deciding on the mounting location, check that opening and
closing the display will not hamper the gear shift in any position.
• Install at an angle of within 35 degrees from the horizontal.
Do not mount the unit in a location of extreme temperature
fluctuations (such as near an air conditioner or heater vent). Disc
read failures or other problems may result.
If mounted in such location, failures such as “Disc can not read.” or
other failure may occur.
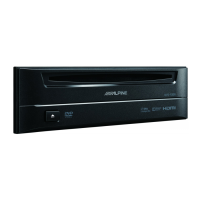
Mounting sleeve !
(Included)
Dashboard
DVE-5207
Dashboard
Rubber cap &
Bracket
Mounting sleeve !
Hex bolt (
DVE-5207