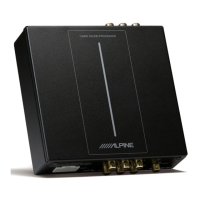
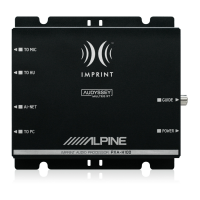
Wired Controller
Connect the wired controller (RUX-CSPl)
to
the
DSP
correctly, and ensure
that
it
starts normally before
use.
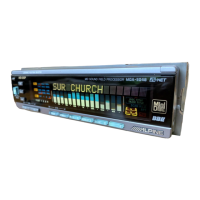
Startup Screen
After
the
wired controller is started,
the
dynamic
startup screen appears,
as
shown in Figure
1.
Figure 1
Master
Volume
After
it
is
started, enter the main interface
of
the
wired controller-Master Volume Interface,
as
shown
in Figure 2-1. Turn
the
button
to
adjust
the
master
volume. Turning
it
clockwise can increase
the
volume, while
turning
it
counterclockwise will
decrease
the
volume. The adjustment range
is
from
0
to
35. In addition, pressing the master volume
interface
of
the
wired controller briefly can
mute
the
DSP.
The
mute
interface is
as
shown in Figure 2-2.
Figure
2-1
Figure 2-2
10
-EN
Subwoofer Volume (SUB
W)
Press
and hold the
button
in the main interface
for
l
~4
seconds
to
enter
the
subwoofer volume
(SUB
W) interface,
as
shown in Figure
3.
Turn
the
button
of
the
wired controller
to
adjust
the
subwoofer
volume. Turning
it
clockwise can increase the
volume,
while
turning
it
counterclockwise will
decrease
the
volume (Adjustment range:
0~
15).
When the volume
is
turned
to
the
desired volume,
press
the
button
briefly
to
determine
the
selected
volume, and
then
return
to
the
main volume
interface directly.
Note:
If
the
wired controller is
not
operated for
about
4 seconds,
it
will
exit from
the
interface
to
the
main
interface (Master Volume Interface).
Figure 3
Sound Effect Presets (PRESET)
Press
and hold
the
button
in
the
main interface for
over 4 seconds
to
enter
the
sound effect presets
interface. And
then
turning
the
button
to
move
the
cursor
to
the sound array
"l
~6"
or
enter the "Skip"
page,
as
shown
in
Figure 4-1. The
number
after
PRESET
refers
to
the
sound effect data currently
used by
the
DSP.
!'RESET
1
D
4
f'RESET
1
2
5
Skip
Figure
4-1
3
6