Do you have a question about the Amana 30" and is the answer not in the manual?
Lists the necessary tools and parts for installation.
Specific requirements for installing the range in a mobile home.
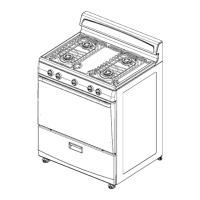
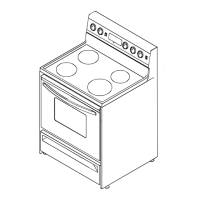
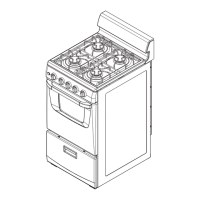
Details the overall dimensions and clearance requirements for the range.
Information on using Natural gas or LP gas with the appliance.
Guidance on connecting the gas supply line and shutoff valve.
Specifications for the gas pressure regulator and inlet pressures.
Steps for safely unpacking and preparing the range for installation.
Instructions for installing the crucial anti-tip safety bracket.
Details on making a gas connection using a flexible connector.
Steps for initial burner lighting and adjusting gas flames.
Procedure to verify the proper functioning of cooktop burners.
Procedure to verify the proper functioning of the oven and broil burners.
Detailed steps for converting the range from Natural gas to LP gas.
Steps to convert the gas pressure regulator for different gas types.
Procedure for changing surface burner orifices for gas type conversion.
Steps for changing the oven burner orifice for gas type conversion.
Final steps to complete the gas conversion process.
Steps to convert the gas pressure regulator for Natural gas.
Procedure for changing surface burner orifices to Natural gas.
Steps for changing the oven burner orifice to Natural gas.
Final steps to complete the Natural gas conversion.
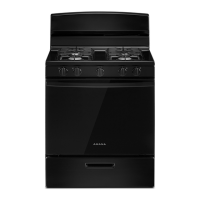
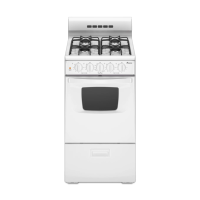
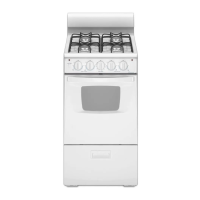
This document provides installation instructions for 30" (76.2 cm) freestanding gas ranges, including safety guidelines, installation requirements, and procedures for gas conversions.
This appliance is a freestanding gas range designed for cooking. It features a cooktop with multiple burners and an oven for baking and broiling. The range operates on either Natural gas or LP gas, requiring specific conversion procedures depending on the gas type available. It incorporates an electronic ignition system for both cooktop and oven burners, eliminating the need for standing pilots. The range is designed to be installed in a kitchen, either in a recessed opening or as a standalone unit, and must be properly secured with an anti-tip bracket for safety.