4
Routine Maintenance
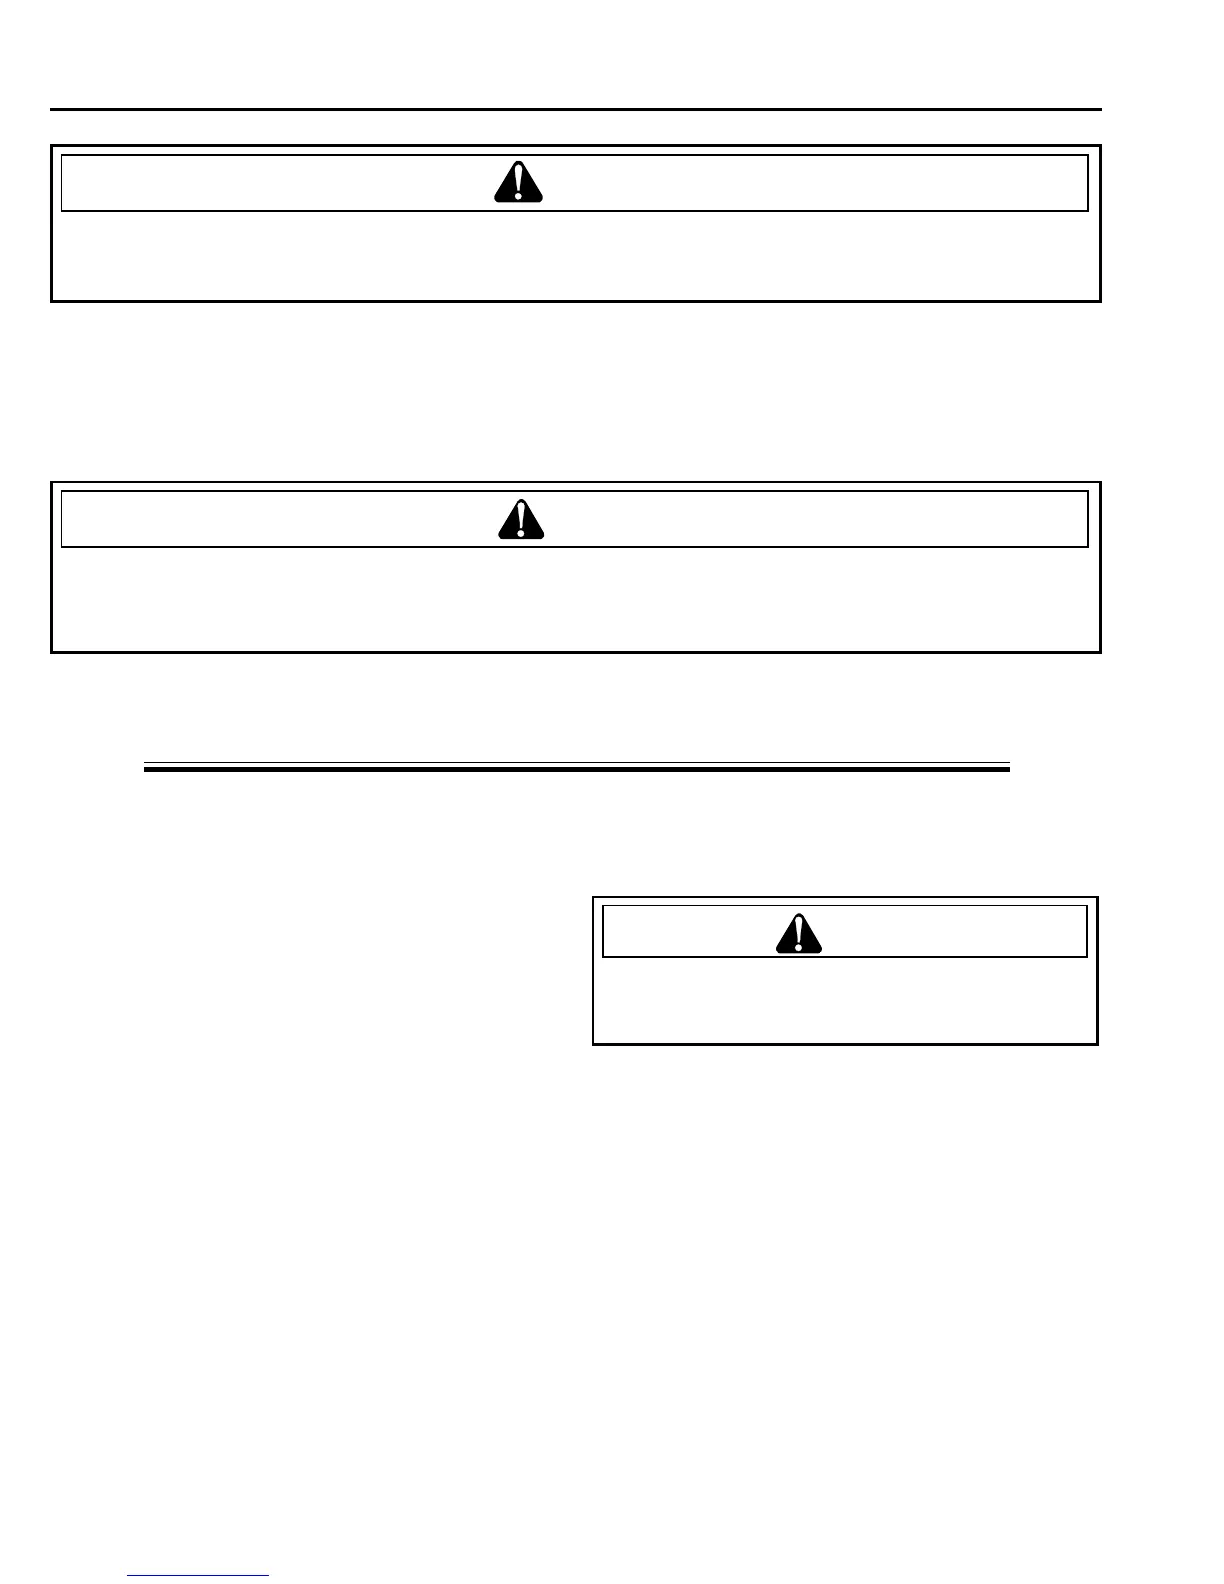
Replacing or Cleaning Filter
IMPORTANT NOTE: Never operate unit without a filter
installed as dust and lint will build up on internal parts
resulting in loss of efficiency, equipment damage and
possible fire.
A return air filter is not supplied with this unit; however,
there must be a means of filtering the return air. The
filter(s) may be located in the return air duct(s). Consult
with your installing dealer for the actual location of the
return air filter(s) in your unit.
See Specification Sheet for filter sizes.
A dirty filter is the most common cause of inadequate
heating or cooling performance. Filter inspection should
be made at least every two months; more often if neces-
sary because of local conditions and usage.
Dirty throwaway filters should be discarded and replaced
with a new, clean filter. Dirty permanent filters should be
washed with water, thoroughly dried and sprayed with a
filter adhesive before being reinstalled. (Filter adhesives
may be found at many hardware stores.) Permanent
filters should last several years. However, should one
become uncleanable, it should be replaced.
When installing a new filter or reinstalling an old one,
always make certain the air flow arrows on the filter point
in the proper direction.
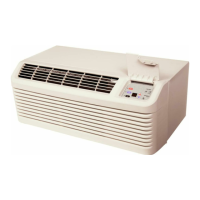
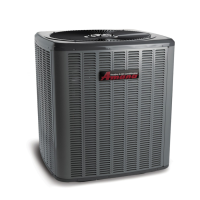
Clean Outside Coil (Qualified Servicer Only)
WARNING
To avoid death or personal injury due to electrical
shock, disconnect the electrical power before
cleaning the coil(s).
The coil with the outside air flowing over it should be
inspected annually and cleaned as frequently as neces-
sary to keep the finned areas free of lint, hair and debris.
Indoor Air Circulating Blower Motor
Lubrication
The air circulating blower motor bearings are perma-
nently lubricated and do not require additional oiling.
Outdoor Coil Fan Motor Lubrication
The fan motor is permanently lubricated and does not
require additional oiling.
Compressor
The compressor motor is hermetically sealed and does
not require additional oiling.
CAUTION
This unit must not be used as a “construction heater” during the finishing phases of construction on a new
structure. This type of use may result in premature failure of the unit due to extremely low return air temperatures
and exposure to very dirty atmospheres.
1. Turn on the electrical power supply to the unit.
2. Place the room thermostat selector switch in the COOL or HEAT position (or AUTO if available, and if automatic
changeover from cooling to heating is desired).
3. Set the room thermostat to the desired temperature.
WARNING
To prevent death or personal injury, always disconnect the electrical power before inspecting or servicing the unit.
Since all of the compressor protection devices reset automatically, the contactor and outdoor fan may be
energized when reset.
NOTE: These units are not designed to provide mechanical cooling at outdoor temperatures below 50°F. If low
ambient cooling is needed, consult a qualified servicer.
Operating Instructions