Installation & Operation Guide Page 12 of 48
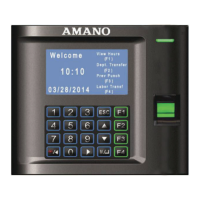
MTX-30 Startup Welcome Screen (Power On)
Once the terminal is wall mounted and the communication connections have been made, connect the terminal to AC
power and proceed on to setup and enroll users.
To start-up, perform the following:
Ensure the AC Power Adapter is connected to the MTX-30 terminal and plugged into an outlet. The MTX-30 terminal
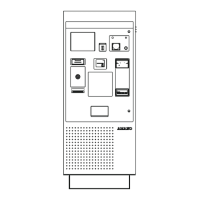
will display the splash screen, perform a diagnostic check, and then display the Welcome screen (see figure).
Figure 0-6 Welcome Screen
Note: The time and date can be set with the terminal keypad, or downloaded to the terminal from the host PC utilizing
Time Guardian software. The information such as date, time, daylight saving time (DST), finger templates, and
hours worked sent from Time Guardian software will have precedence over existing similar information. That is
to say Time Guardian software will act as the master / source.
Upon power up, the Green LED indicator will blink once every second to signify the terminal is operating properly.
All normal time and attendance functions (validation for punch in/out) must be performed from the "Welcome" screen.
Press the power On/Off /◄ button to shut down the MTX-30 Fingerprint terminal and display "halting
system….Shutdown 2 secs, 1sec". The MTX-30 terminal will retain all templates and transactions while the power is
off.
Normal Punch IN/OUT Display
The system is ready to use after the MTX-30 terminal and the host PC with Time Guardian software are connected and
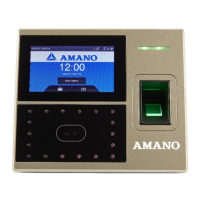
setup. Upon user recognition at the terminal, the terminal will first briefly display his/her name [first 8 characters of the first
and last name combined], followed by the User ID and validation status (see figure).
Figure 0-7 Validation Screen
If View Hours is enable: The terminal will display the "As of" date followed by the current pay period hours worked for the
user that just punched in (see figure for example).
 Loading...