Version 1.1 ©Copyright 2022, Ambient LLC. All Rights Reserved. Page 25
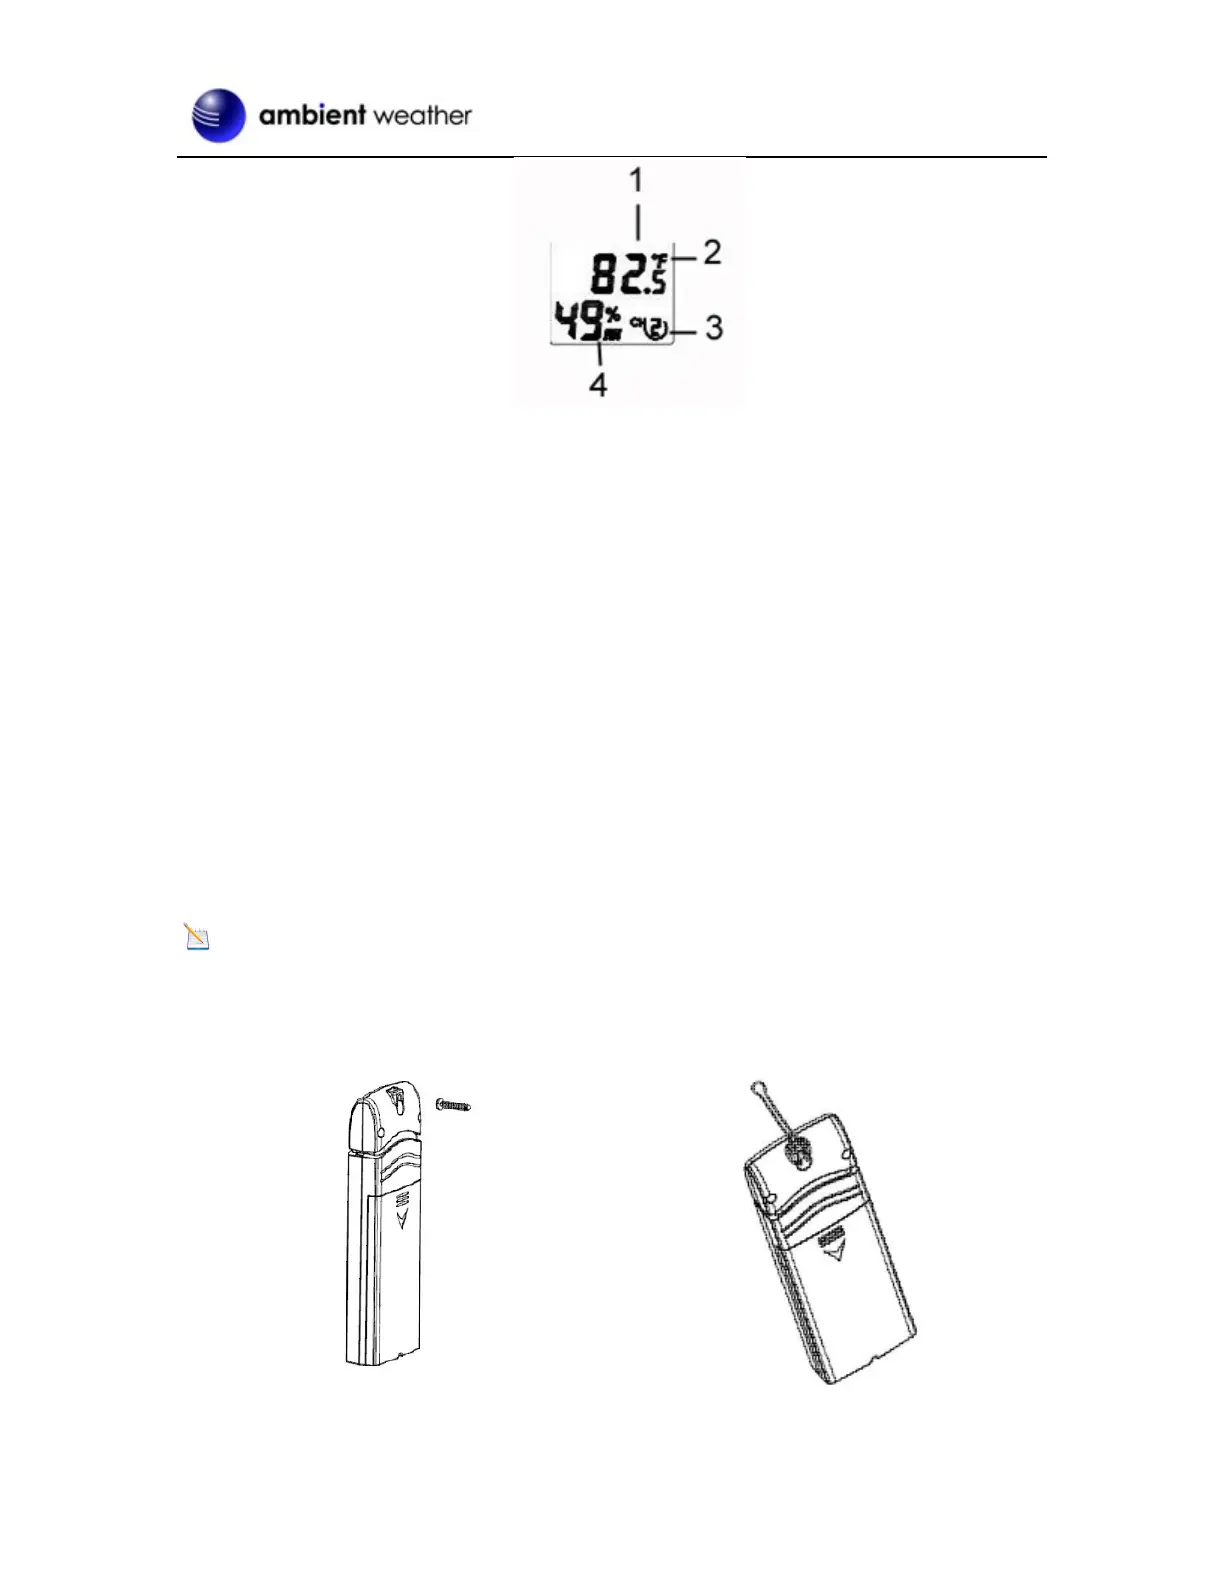
Figure 11
(1) temperature
(2) temperature units (°F vs. °C)
(3) channel number
(4) relative humidity
7. Close the battery door.
8. Repeat for the additional remote transmitters, verifying each remote is on a different channel.
2.11.4 Sensor Placement
It is recommended you mount the remote sensor outside on a north facing wall, in a shaded area, at a
height at or above the receiver. If a north facing wall is not possible, choose a shaded area, under an
eve.
Direct sunlight and radiant heat sources will result in inaccurate temperature readings. Although the
sensor is weatherproof, it is best to mount in a well-protected area, such as an eve.
1. Use a screw or nail to affix the remote sensor to the wall, as shown in Figure 6.
2. Hang the remote sensor up on string, as shown in Figure 7.
Note: Make sure the sensor is mounted vertically and not lying down on a flat surface. This will
insure optimum reception. Wireless signals are impacted by distance, interference (other weather
stations, wireless phones, wireless routers, TVs, and computer monitors), and transmission barriers,
such as walls. In general, wireless signals will not penetrate solid metal and earth (down a hill, for
example).
Figure 12
Figure 13
 Loading...