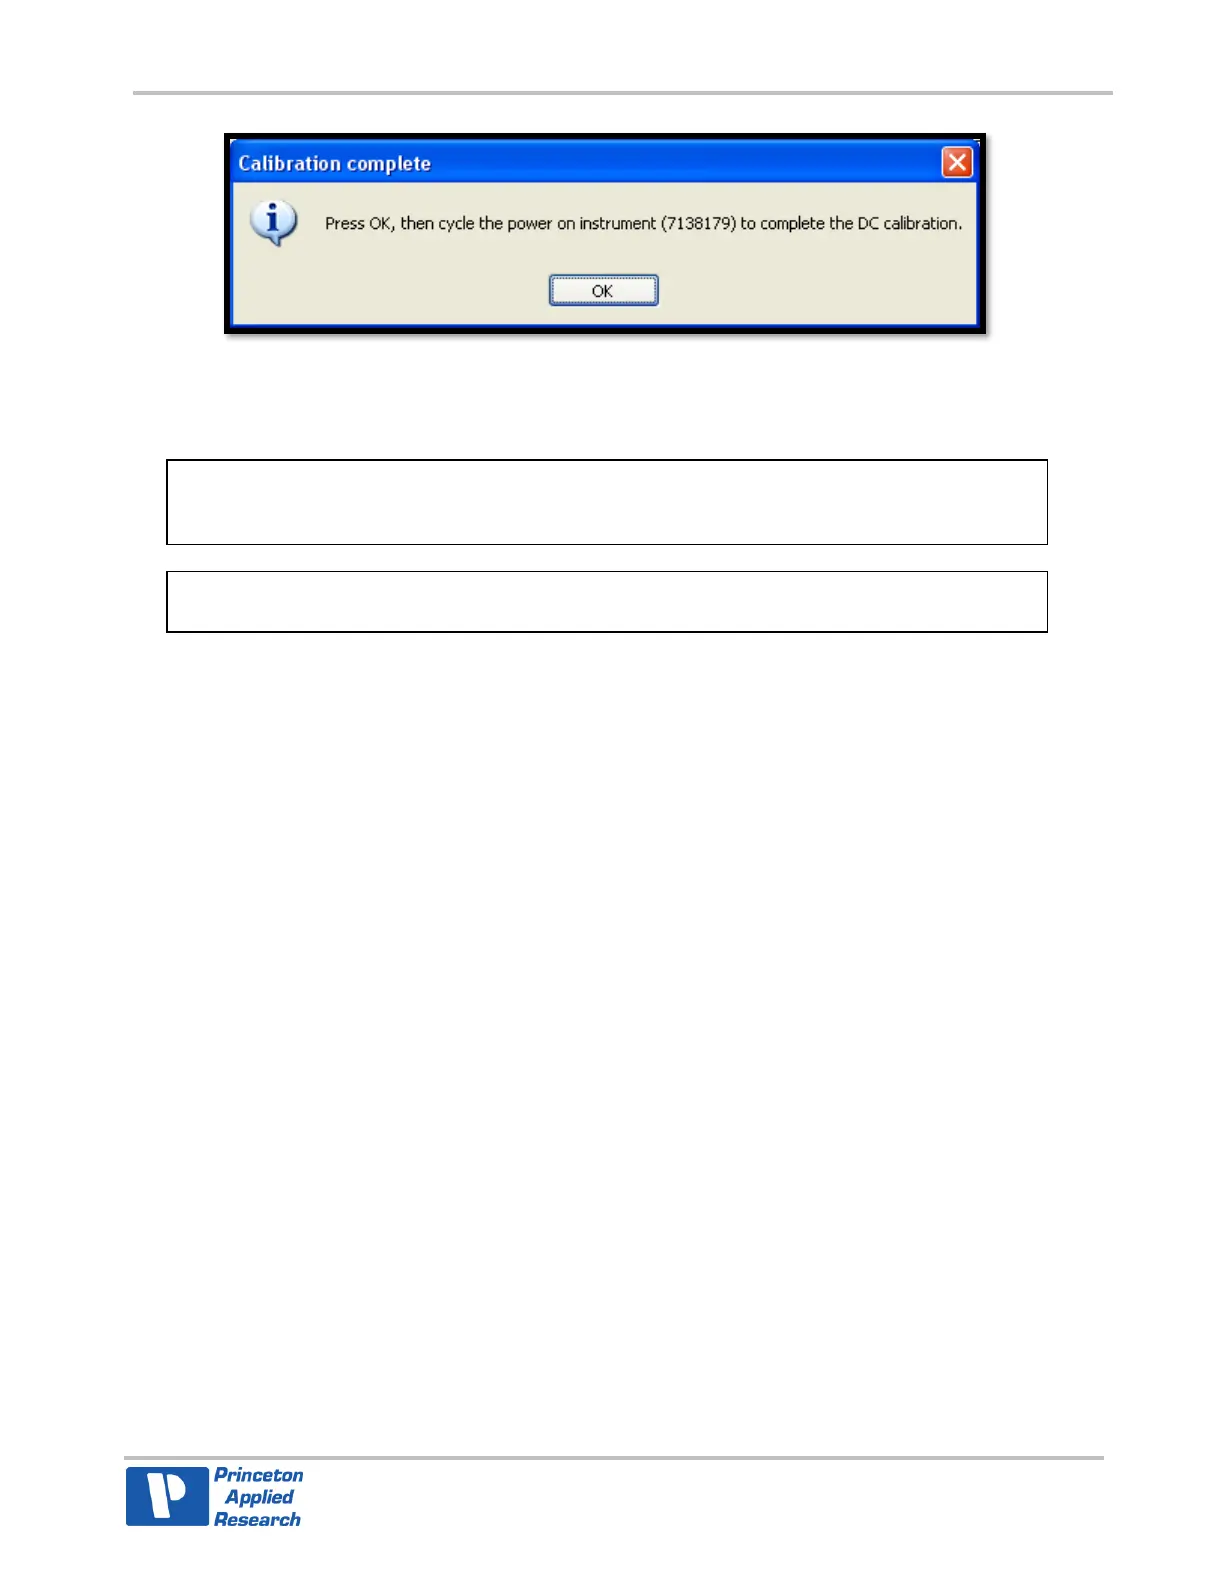
Figure 13. Calibration Complete Message
The calibration will not take effect until the system is re-booted by cycling the power on the potentiostat.
2.3. LCI Checkout Procedure
As shown in Section 1.2.2, the VersaSTAT LC is equipped with a built-in 10Mohm resistor that can be
used as a “dummy cell” to perform a limited test of the system for proper operation.
To test the LCI with a VersaSTAT using dc voltage scan:
1.
Connect the cell leads to the built-in 10Mohm dummy cell (The WE cable connects to the W pin
jack, the SE cable connects to the S pin jack, the RE cable connects to the R pin jack and the CE
cable connects to the C pin jack).
2.
Select “New Experiment” in VersaStudio and choose the Staircase Linear Scan Voltammetry
action. Set the Initial Potential = -100mV, Final Potential = +100mV, Step Height=1mV, Step
Time=1s, Acquisition Mode=Average, Electrometer=Single Ended, E and I Filters = 10Hz (as
shown below). Once setup, select “Run” to acquire the data.
3.
Once the data collection has finished, select all of the data points (Data>Select All) and perform a
Line Fit by selecting the Line Fit button at the top of the graph.
4.
The vertex currents should be +/-10nA, and the slope should be 1.0E-7 (the inverse of which is
10Mohm).
The PARSTAT4000 + VersaSTAT LC combination accesses additional lower current ranges than when
used with a VersaSTAT. These lower ranges have longer settling times, so the Checkout Procedure is
slightly different. If you use the VersaSTAT + VersaSTAT LC Check Out procedure on this combination,
data around 0 Amps will show a large measurement artifact (spike).
To test the LCI with a PARSTAT4000 using dc voltage scan:
1.
Connect the cell leads to the built-in 10Mohm dummy cell. (The WE cable connects to the W pin
jack, the SE cable connects to the S pin jack, the RE cable connects to the R pin jack and the CE
cable connects to the C pin jack.)
2.
Select “New Experiment” in VersaStudio and choose the Staircase Linear Scan Voltammetry
action. Set the Initial Potential = -100mV, Final Potential = +100mV, Step Height = 3.5mV, Step
Time = 7s, Acquisition Mode = Average, Electrometer = Single Ended, E and I Filters = 10Hz (as
shown below). Once setup, select “Run” to acquire the data.
 Loading...