A113X1 Development Kit User Guide
5.0 (2018-05-22) AMLOGIC, Inc. Proprietary
6
3. Developer’s Initial Test
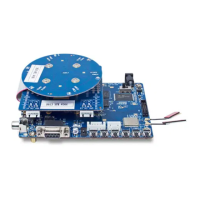
3.1 Get the Latest Firmware(Image) for Burning
In order to perform an initial test, developers can download a pre-built binary directly from the following
website and download aml_upgrade_package_xxxxxxxx.img .
http://openlinux.amlogic.com:8000/download/A113/Image
Note : If the user wants to obtain the newest Voice UI solution from DSP Concepts, please contact DSP Concepts directly at:
info@dspconcepts.com
Developers need to download the follow tools for Upgrade the firmware:
Step 1. Navigate to http://openlinux.amlogic.com:8000/download/A113/Tool, and click on windows, then
download USB_Burning_Tool_v2.1.3.zip and unzip it which used for Windows host.
Step 2. Navigate to http://openlinux.amlogic.com:8000/download/A113/Tool, and click on windows, then
download flash-tool-v4.7 which used for Ubuntu host.
3.2.1 Upgrade from Windows Host
Step 1. Upgrade with USB_Burning_Tool which version is 2.1.2 or above, and install it on windows PC .
Supported for win7,win8,and win 10.
Step 2. Copy aml_upgrade_package.img to your PC.
Step 3. Connect the USB cable between PC and board , it will install device driver automatically when
power on the development board, or you can Install it manual with driver as follow site: \”Directory for
install USB_Burning_Tool”\USB_Burning_Tool\WorldCup_Device\InstallDriver
Step 4. If your want to download your new firmware to the board, you should follow these steps:
a)Keep holding down the button “USB_BOOT_SW”
b)Connect the USB cable between PC and development board,then the message “Connect success”
shows via USB_Burning_Tool, and stop to press button “USB_BOOT_SW” after Connect success.
 Loading...