US/50 User's Guide 37
US/50 General Operation and Application Procedures
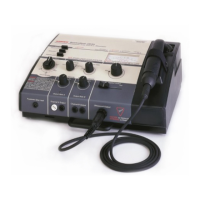
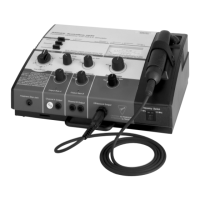
4. Connect the assigned ultrasound transducer to the generator's Ultrasound
Output Transducer Connector and place the handle in the transducer cradle.
5. Connect the dispersive pad to the white Stimulator Output jack.
6. Reduce the Low Volt AC Intensity control for Stimulator Output to the
0/Reset position enabling the audible "click".
7. Reduce the Ultrasound Intensity control to "0" and set the Ultrasound
Interrupted Output slide control at the Off position.
8. Set the Low Volt AC Output Mode control to Tetanize.
9. Set the Pulse/Surge Rate control at the Slow position.
10. Prepare a contact medium at and around the treatment sites with a liberal
coating of Amrex Conductance and Coupling Gel. Properly secure the
thoroughly moistened dispersive pad insuring that the entire conductive area
of the pad makes full contact. The conductive area of the dispersive pad
must be at least twice the area of the transducer faceplate. Hand the
"Treatment Stop" Switch to the patient and explain its function.
11. Turn the Power/Timer knob and set it to the desired treatment time.
Note: When the treatment time is less than ten (10) minutes, turn the Power/
Timer knob clockwise past the ten (10) minute mark and then set it back to
the desired time. Allow one (1) minute for the ultrasound modality to warm-
up.
12. Depress the Internal Power Ultrasound switch to the on (down) position.
The Ultrasound On indicator light (located above the upper left corner of the
ultrasound meter) will illuminate.
13. Depress the Internal Power Stimulator switch to the on (down) position. The
Stimulator On indicator light (located in the upper left corner of the Low
Volt AC Stimulator section) will illuminate.
14. Depress the Internal Power Combination switch to the on (down) position.
The Combination On indicator light (located above the middle of the
ultrasound meter) will illuminate.
15. Verify that the Low Volt AC Stimulator Intensity control for Stimulator Output
is set at the 0/Reset position.
16. Verify that the Ultrasound Intensity control is set at the "0" position before
removing the transducer from the cradle and placing the transducer faceplate
on the prepared treatment site.