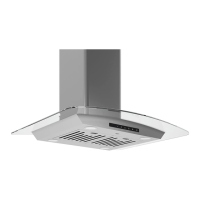
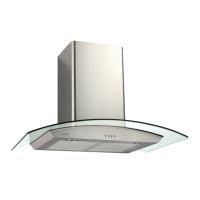
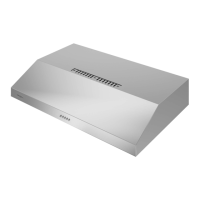
Installations (refer to Page 4 for parts):
Step 1: Measuring
•
Measure the distance between stove top and the bottom of range hood. A distance of 24” to 30” is
recommended with a minimum of 30” for gas stove tops.
•
To reach 9ft ceiling make sure hood is installed at 30” from cooking surface
•
If you require longer chimney flue to reach your ceiling please contact vendor.
Step 2: Installing the hood mounting bracket
•
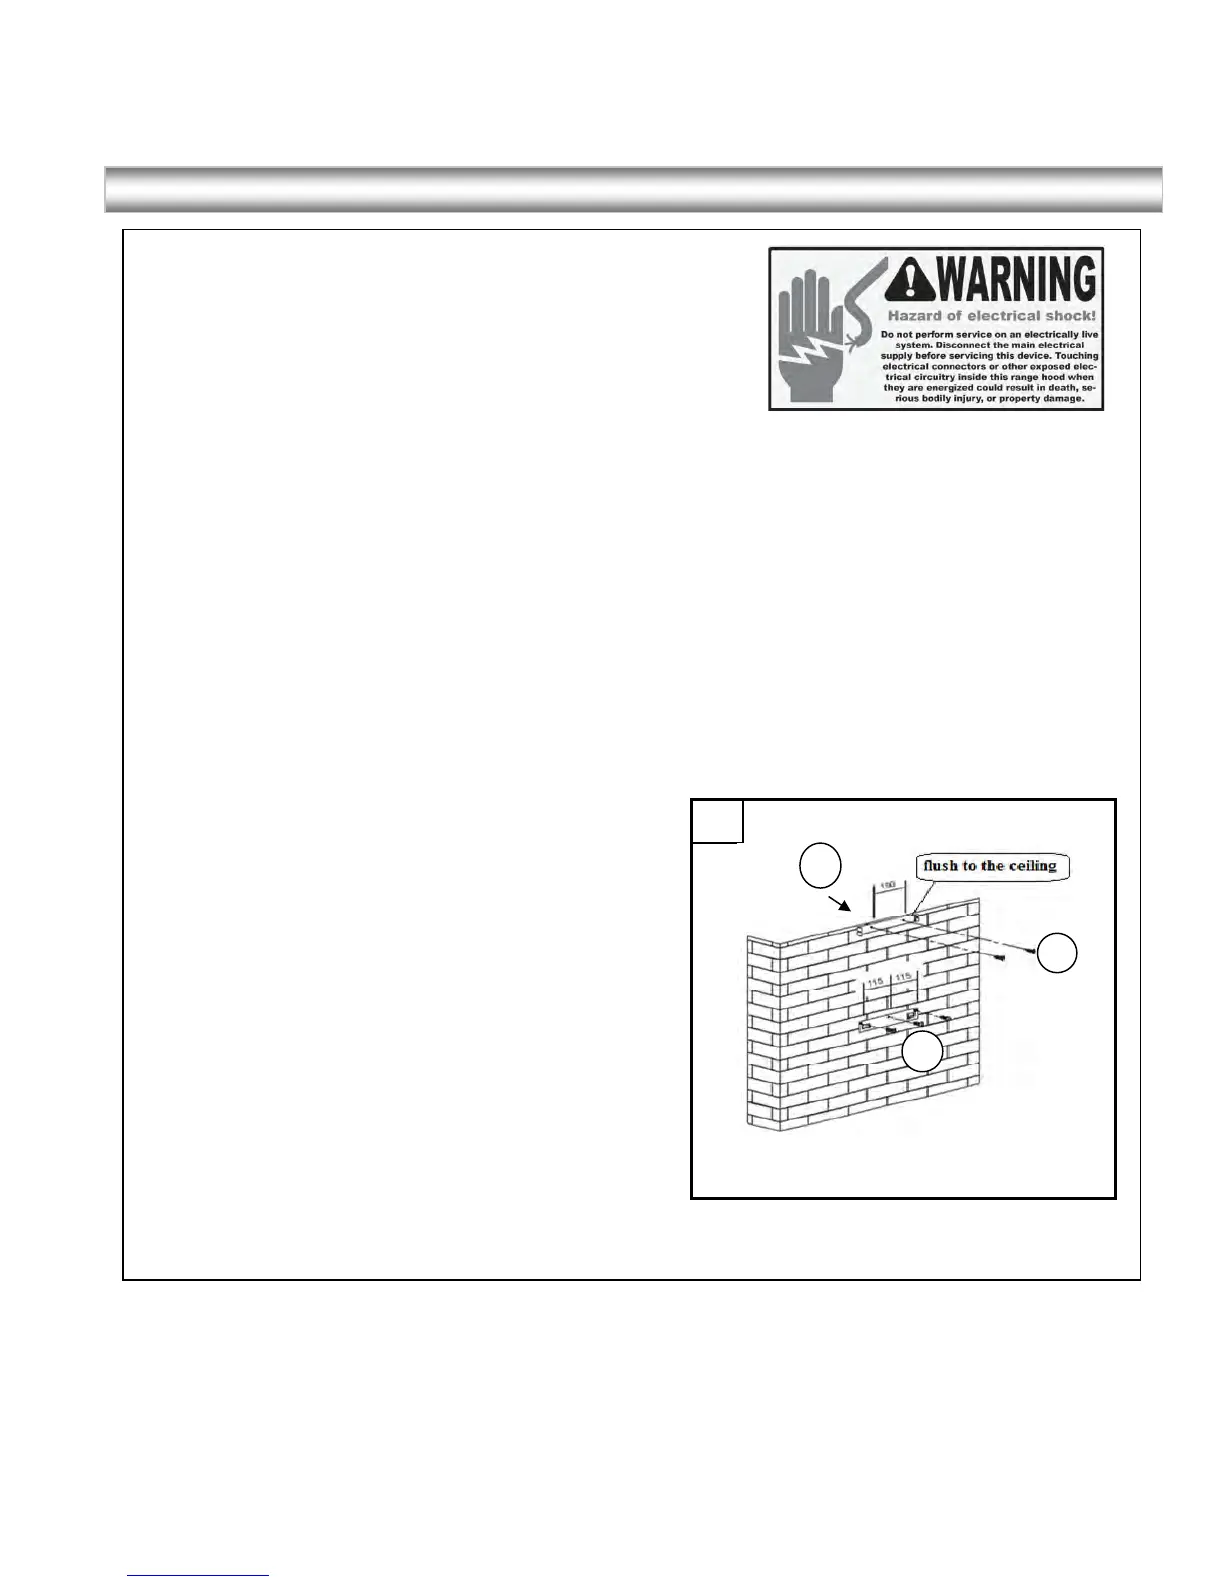
The range hood will be installed on top of this bracket (requires screw A & B) (see figure # 1)
•
Using references in
Height & Clearance
on Page 5 and
Measurements and Diagrams
on Page
20, Drill 3 Holes that will be used to fix the lower mounting bracket.
Step 3: Installing the upper chimney bracket
•
Drill 2 holes according to the size of the upper mounting bracket. The upper mounting bracket
should be positioned flush with the top of the outside chimney (See figure 1)
•
Screw upper and hood mounting brackets in tightly.
NOTE: Use threaded drywall anchors only when
mounting the hood on sheet rock. Mounting
the hood on wall studs or lumbars is highly
recommended.


 To Next Page