MOUNTING INSTRUCTIONS
PAWL SPRING MOUNTING
Installing the winch is easy, if you follow these instructions. The numbers in ( ) refer to the
position numbers in the parts list.
Tools required for the installation:
• Allenkey(4mm)
• Allenkey(5mm)
• Ø6.5mm(1/4”)drill
• Beddingcompound
1. DrillboltholesØ6,5mm(1/4”)usingthewinchtemplate.
Be sure that no dust comes in contact with the winch, while drilling.
2. Remove screw (1) and top cap (2).
3. Remove self-tailing arm (3) and drum (5).
4. Apply a light coat of bedding compound on the bottom of the base (16).
Ensure that each bolt hole is bedded. Keep drain grooves clear.
5. Fastenbase(16)intoplaceusing5pcs.M6(1/4”)countersunkheadscrews.
Uselargewashersorabackingplate.
6. Assemble in reverse order.
7. Checkthatthewinchisfunctioningcorrectly:
-Thedrumshouldoperatesmoothly,whenturningthedrumclockwisebyhand.
-Thedrummustnotturnwhentryingtoturnthedrumanticlockwisebyhand.
-Whileturningthewinchhandleclockwisethedrumshouldturnslowly.
-Whileturningthewinchhandleanticlockwisethedrumshouldturnquickly.
Note the curved
spring“arm”
• 5xM6(1/4”)countersunkheadscrewsandcorresponding
nuts(lengthdependingondeckthickness)
• 5xlargewashersorbackingplate
• Ringspannertomatchnuts
p4
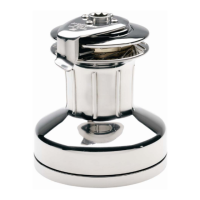
40ST (V.5.0)
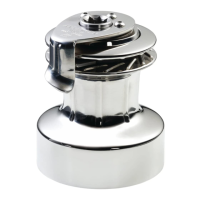
40ST FS (V.5.0.F)