Rev 05/12/21 pg. 29
Flush Procedure
The Flush procedure allows you to clean the system with water. This procedure should be used when changing from
one procedure to another (e.g., when preparing to do an ADF analysis after completing an NDF analysis) or when
doing an NDF procedure after a previous NDF procedure with more than two hours between procedures, or before
storing the instrument.
Amylase tends to be sticky. You should always clean the Amylase Dispenser
Assembly and flush Port B after every NDF procedure unless the next
procedure you are running is another NDF, and you run it within two hours
of the previous procedure.
To perform a Flush of your analyzer, follow the instructions below.
Turn the instrument’s Power Switch to the ON position. The Display will light.
Verify that the water supply is on and the drain hose is securely in the drain.
Press the arrow keys on the Keypad until you see “Select Flush”
on the Display.
Press ENTER on the Keypad.
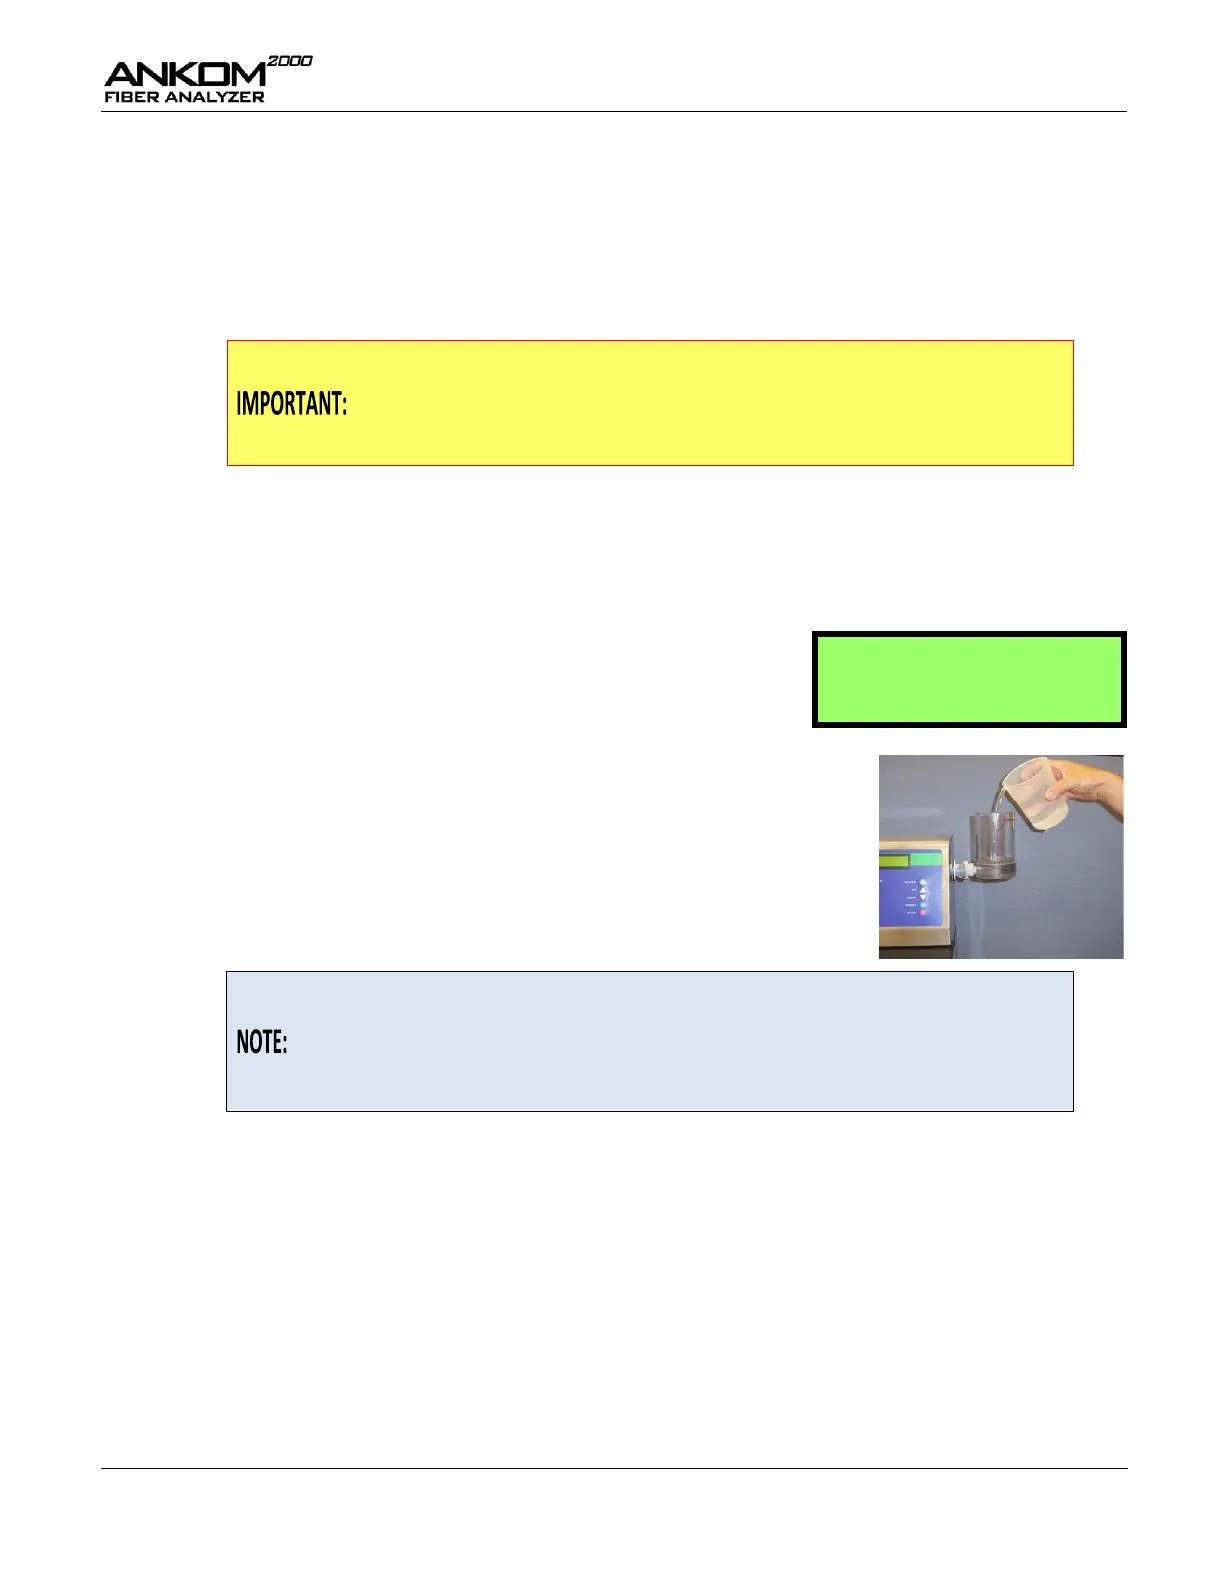
Attach the Amylase Dispenser Assembly to port B.
Fill the dispenser with about 100 ml of hot water.
Attach the Amylase Dispenser Assembly to port A.
Fill the dispenser with about 100 ml of hot water.
If you press and hold the START key on the Keypad during the Flush
operation, water will flow into the Vessel. This will rinse the bottom of the
Vessel, but it will not rinse all the way to the top. If you need to rinse
anything from the top part of the inside of the Vessel, pour hot water into
the Vessel as needed during the Flush operation.