To protect equipment, always turn off the PC and LCD monitor before connecting.
1. Connect the power cable to the AC port on the back of the monitor.
2. Connect one end of the 15-pin DVI /D-Sub cable to the back of the monitor and connect the other end
to the computer's DVI /D-Sub port.
3. Turn on your monitor and computer.
If your monitor displays an image, installation is complete. If it does not display an image, please refer
Troubleshooting.
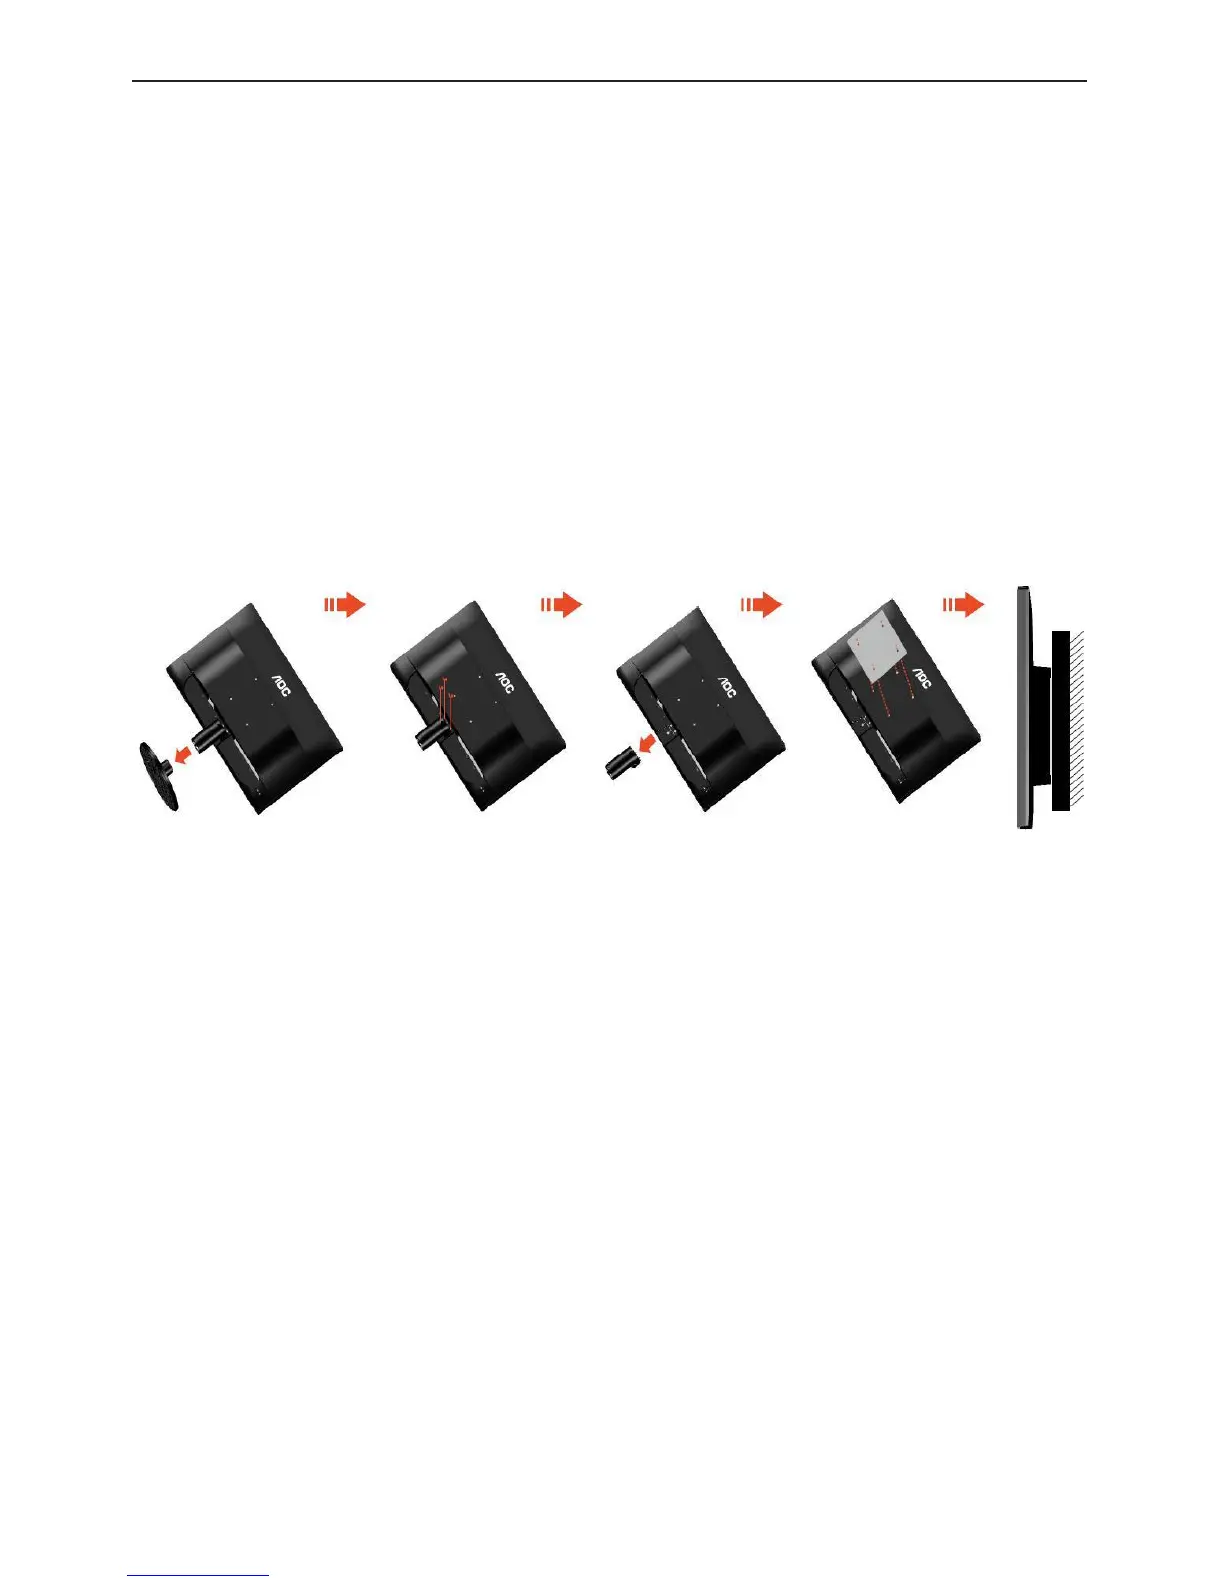
2.5 Wall Mounting
Preparing to Install An Optional Wall Mounting Arm.
This monitor can be attached to a wall mounting arm you purchase separately. Disconnect power before
this procedure. Follow these steps:
1. Remove the base.
2. Follow the manufacturer's instructions to assemble the wall mounting arm.
3. Place the wall mounting arm onto the back of the monitor. Line up the holes of the arm with the holes in
the back of the monitor.
4. Insert the 4 screws into the holes and tighten.
5. Reconnect the cables. Refer to the user's manual that came with the optional wall mounting arm for
instructions on attaching it to the wall.
Note: VESA mounting screw holes are not available for all models, please check with the dealer or official
department of AOC.