8、Installation of Electric Actuators
8.1 Installation Sites
8.1.1 Notes for interior installation
◎Pls don’t install non-explosion-proof product to the place with explosive gas
◎When installing in the submerged or outdoor, please inform to us in advance
◎Please reserve space for cable repairing , manual operation.
8.1.2 Notes for outdoor installation
◎
In order to avoid rain, direct sunlight and so on, a protective cover or enclosure IP68 is available
◎
Please reserve space for cable repairing , manual operation.
8.1.3 Ambient temperature
◎Ambient temperature at -30℃~+60℃;
◎When Ambient temperature is below zero, need to install space heater.
8.1.4 Fluid temperature
When equipped with valve, the heat of the fluid will transfer to the body, then the body temperature will rise.
◎Standard bracket: when the fluid temperature is below +65℃, with standard bracket or without bracket;
◎ Intermediate temperate bracket: when the fluid temperature is over +65 ℃ , with intermediate temperate
bracket;
◎High-temperature bracket:when the fluid temperature is over +180℃, with high-temperature bracket.
8.2.1Turn valve by hand and check the situation, then turn to full-closed position
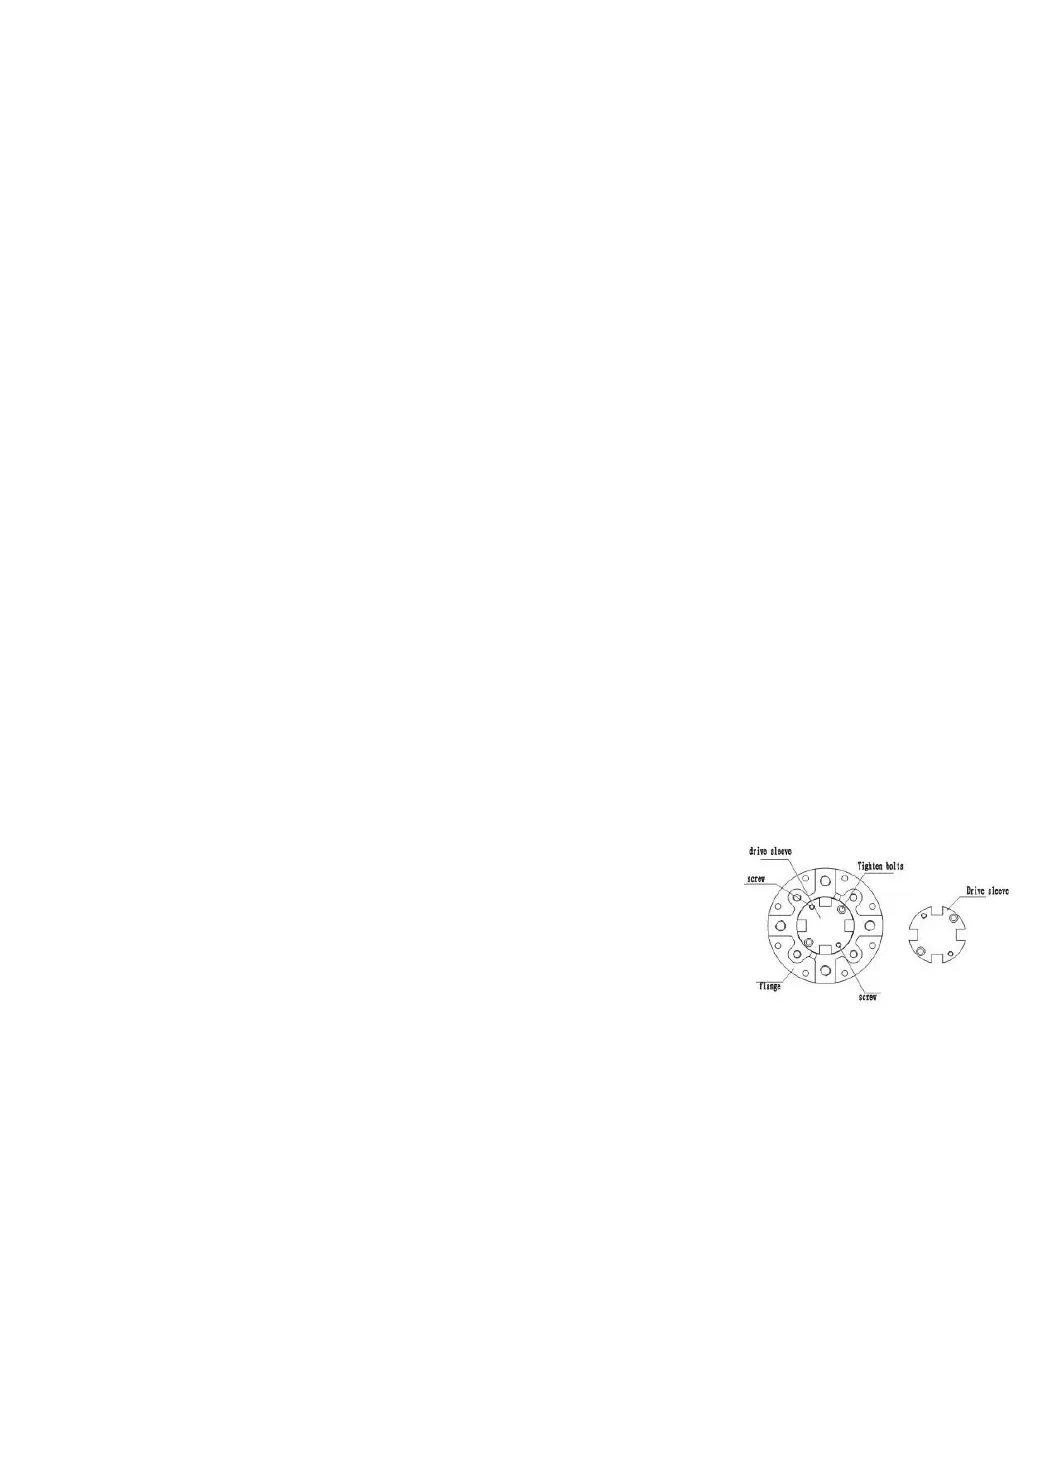
8.2.2 The drive shaft is removable and solid before leaving factory (picture 9)
(Note:the size of drive shaft can be machined according to user’s requirement in
8.2.3 Before mounting,attention to keep correspondence with the rotate direction
between electric actuator and valve
8.2.4 Fix the bracket on valve
8.2.5Turn electric actuator to full-closed position, fix valve stem and electric actuator drive shaft
Picture 9
by coupling and screws.
8.2.6 Put the electric actuator on bracket, and screw lightly
8.2.7Turn valve by manual to full-closed position and confirm at right situation .
8.2.8Turn electric actuator by manual to confirm non-eccentric, smooth movement, and attention no over travel!
Note: Decrease hysteresis of the coupling as far as possible.
 Loading...