12
OPERATINGGUIDELINES
● Toletsystemsavethedesiredsleeptimervalueintothememory,
simply let go of the adjustment knob and the system will
automaticallysavethevalueintoCPUmemory.
3. Turn on the soldering iron function switch to start using the
solderingiron.
4. The sleep timer will start counting down once thesoldering iron
function switch is turned ON and no adjustments are made to
solderingironsettemperature.
5. When the timer expires, the soldering iron will shut down its
heater and display three dashes “ “. This indicates the
solderingironisinsleepmode.
6. TowakethesolderingironsimplyadjustthetemperatureknobA3.
7. Todisablethesleeptimersimplysetthesleeptimerdurationto0.
8. Accessanddisablethesleepfeatureofthesolderingiron:
● TurnSolderingiron,SMDandSmokeabsorberfunctionswitchoff.
● PressandholdthehotairtemperatureincreasebuttonA6.
● The soldering iron display A2 will turn to “t##” , indicating it is
nowonsleeptimeradjustmentmode.
● Turn the soldering iron adjustment knob completely counter
clockwisetosettimerto“t00”.
● letsystemsavethedesiredsleeptimervalueintothememory.
SOLDERINGIRONDIGITALCALIBRATION
1. Thesolderingironhasadigitalcalibrationfeaturethatallowsthe
usertoeasilyadjustthetemperatureoffsetofthesolderingiron+
or—50degrees.
2. Restthecalibrationnumberofthesolderingiron:
● TurnSMDandSmokeabsorberfunctionswitchoff.
● TurnSolderingironfunctionswitchon.
● PressandholdthehotairtemperatureincreasebuttonA6.
9
SMDREWORKING
1. EnsureAllfunctionswitches(B1,B2,B3)areinoffposition.
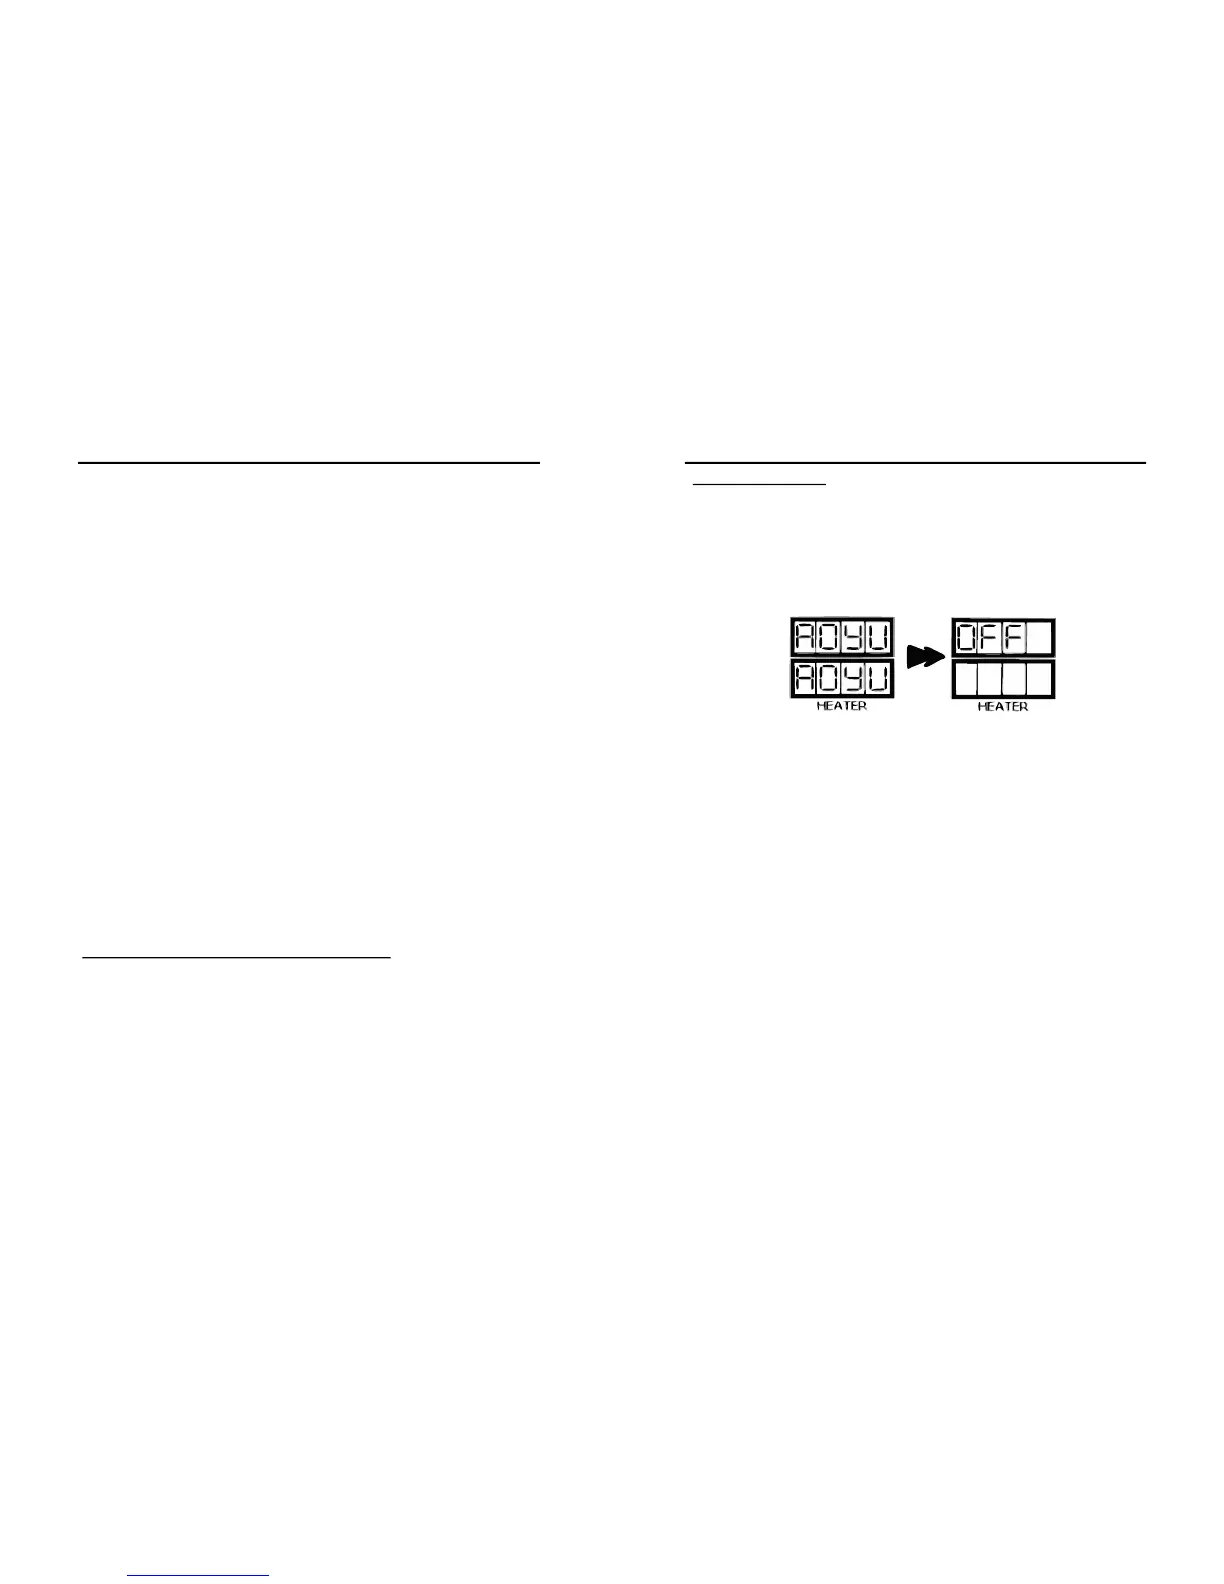
2. With the unit plugged to the main power source, turn on the
systembyswitchingthemainpowerswitchon.Thepanelshould
initially display the product name in a scrolling manner and
displayOFFonpanelC2after.
NOTE:
Theproductnamemayscrollmorethanonceuponpluggingthe
system to the power source. The system is trying to determine the
appropriate operating frequency based on the user location. See Basic
TroubleshootingGuide(page1415).
2. TurnONthe“SMDRework”functionswitch,B3.
3. Thesystemwillstarttoblowhotairandincreasethetemperature
to 90°C, by default. Display panel, C2, shows the userdefined
(set) temperature while display panel, C3, shows the actual
temperatureofthesystem.
4. Adjust air pressure by turning knob A1. It is recommended to
keepthe knobsettingat3 orabove.Itisalsoadvisedto adjust
the airflow level first before increasing the air temperature to
avoidbuildingoftoomuchheaton thehotairgunthusburning
theheatingelement.
NOTE:
If air pressure knob is set to minimum upon switching the SMD
ReworkON, the systemwill automatically runat averageairflow toprotect
thedevicefromexcessiveheat.Theuserwillgainfullcontroloncetheknob
hasbeenadjustedtothedesiredairflowlevel.
OPERATINGGUIDELINES
 Loading...