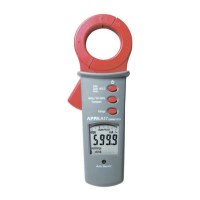
103N / 105N / 106
EN
1. Connect the red test lead to “mA” terminal and the other
(black) test lead to “COM” terminal, or use the “A” and
“COM” terminal in the 10A range.
2. Set function selector rotary switch to “ mA
” or “ A ” .
3. Measurement of AC current can be performed by pushing
the “BLUE” switch.
4. Connect the test leads to the circuit to be measured.
1. Connect the red test lead to the “
VΩHz” terminal and
the other (black) test lead to the “COM” terminal.
2. Set the rotary function selector to “Ω
” position to
measure the resistance.
3. For correct reading, ensure that the device being tested
contains no voltage.
4.Connect the test leads across the resistor to be measured.
In order to ensure the best accuracy in measurement of
low resistance, short the test leads before measurement
and memorize the test probe resistance in mind. This is
necessary to subtract for the resistance of the test leads
themselves.
1. Connect the red test lead to the “
VΩHz” terminal and
the other (black) test lead to the “COM” terminal.
2. Set the rotary function selector to “Ω
” position.
3. Connect the test leads to the circuit to be measured. The
internal sounder operates if the resistance of the circuit
measured is lower than 30Ω approximately.
3-3 Current Measurements
3-4 Resistance Measurement
3-5 Continuity Check by Buzzer
NOTICE
UNSTABLE DISPLAY MAY OCCUR ESPECIALLY AT
400mV RANGE, EVEN THOUGH YOU DON’T PUT
TESTED LEADS INTO INPUT TERMINALS. IN THIS
CASE, IF AN ERRONEOUS READING IS SUSPECTED,
SHORT THE “
VΩHz” TERMINAL AND THE “COM”
TERMINAL, AND MAKE SURE THE ZERO DISPLAY.
 Loading...