Quartz™ Bath Installation Guide 08
6
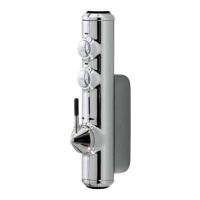
Attach the supply pipes to the Quartz Smart Valve
™
, ensuring
that the cold and hot feeds are fitted into the appropriately
marked inlets.
7
Run a pipe from the mixed water outlet of the Quartz Smart Valve
™
to the proposed siting
for the bath fill outlet.
To ensure optimum performance use the minimum amount of elbows.
To maximise flow rates we recommend using copper pipe with the minimum amount of elbows.
Suitable non restrictive double check valves (not supplied) MUST be fitted to the blended
outlet pipe in line with the current Water Supply Regulations.
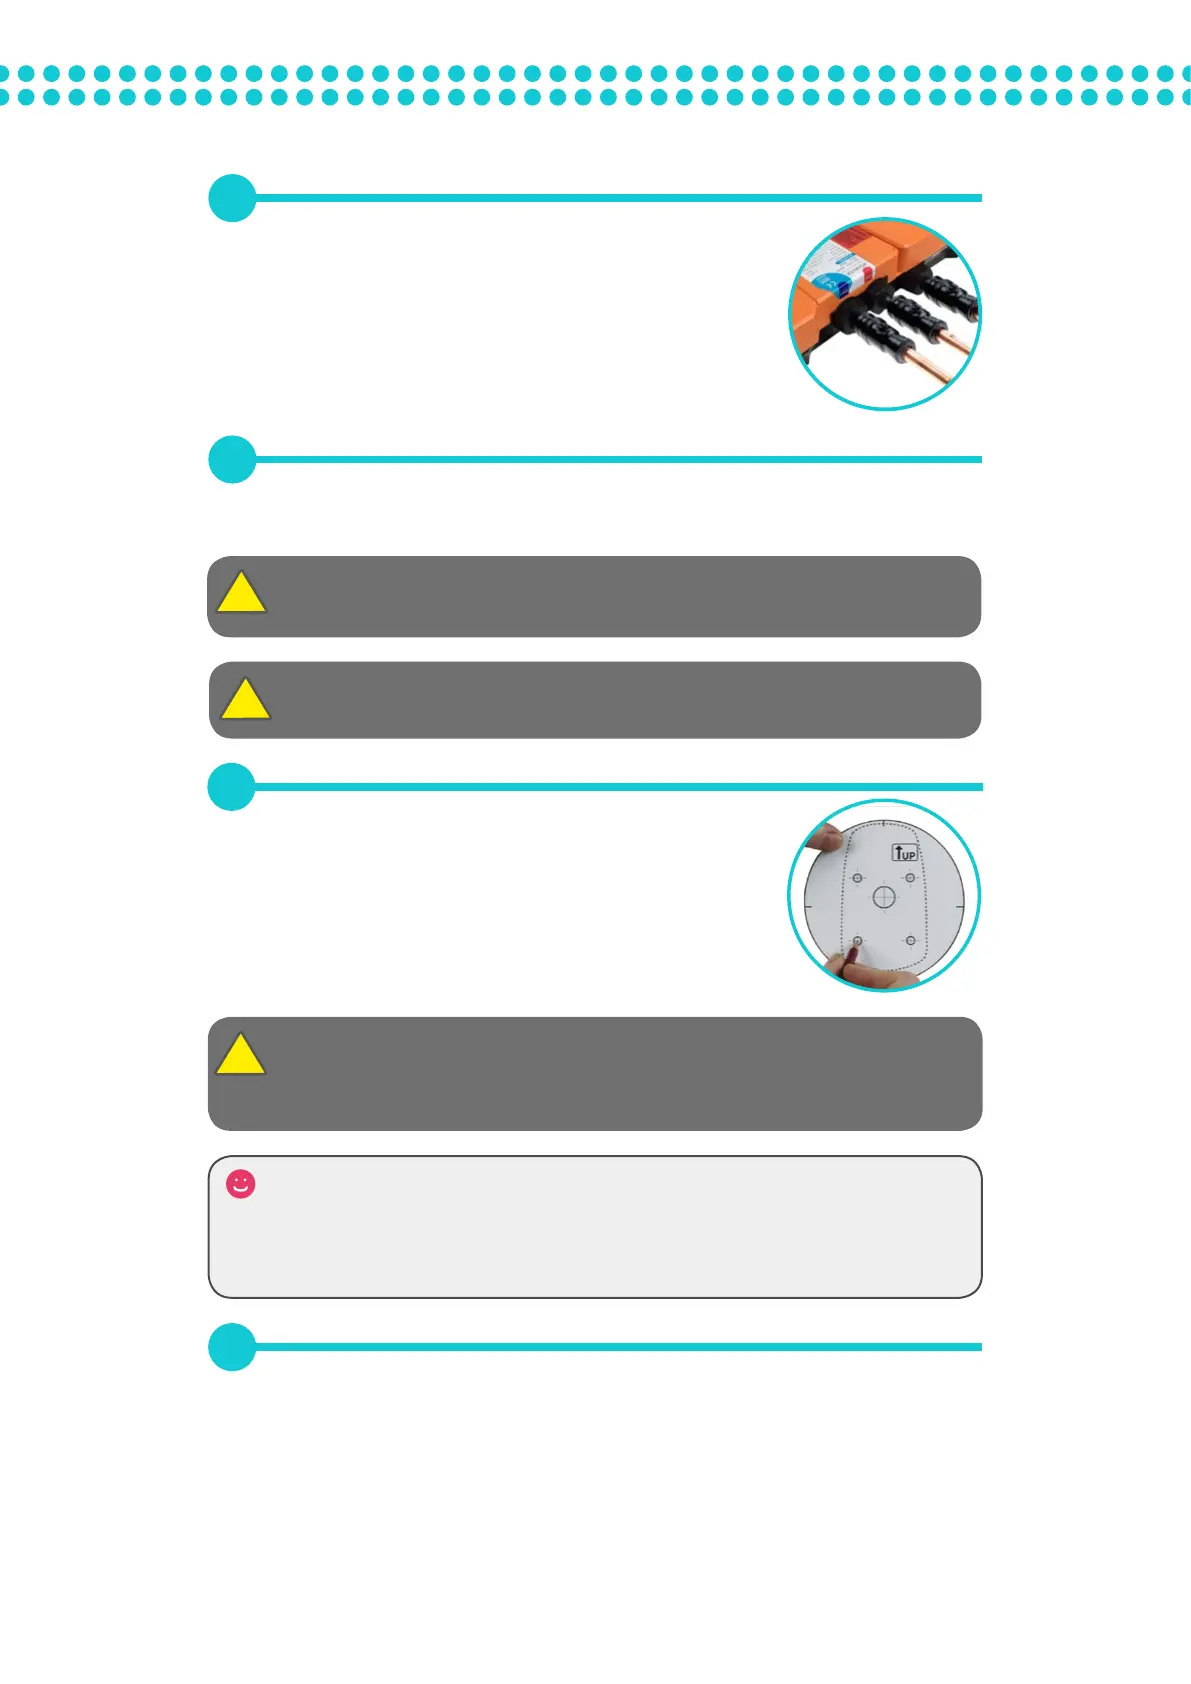
8
Place the paper template on the wall in the desired location for
the bath controller and mark all fixing points and the data cable
entry point. Remove the template and drill a Ø16mm hole at the
appropriate position for the data cable.
Ensure the data cable is the correct way round as both ends dier in type of connection used.
The data cable should be run in conduit to allow for replacement if required.
Care should be taken to ensure the mounting holes do not pierce the data cable conduit.
If installing this Quartz
™
product as a replacement product, it may be necessary to purchase
a concealed retro-fit wall plate to cover the existing hole in the tiling. The cavity in the wall
should be plugged using a suitable material for the wall plate to be
secured to. Contact our Customer Service Department to purchase product code:
QZD.B3.RWP.14 – Quartz Smart Valve
™
concealed retro-fit wall plate.
9
Drill and prepare the four wall fixings for the bath controller using the fixings provided,
(if suitable).